Red Dead Redemption 2 has been an enormous hit for RockStar. It’s no wonder that many people purchased the game when it was first published.
The game itself is not difficult to finish unless you play on extremely difficult skill sets, but it requires a significant amount of time. The storyline is comprehensive and captivating, therefore you will frequently find yourself deeply involved in the game.
The game has six major chapters, which may not seem like much when compared to games like Uncharted, which can have 20-22 chapters per game, but the segments in Red Dead Redemption 2 are pretty lengthy.
It takes a long time to complete a chapter, considering the many tasks you must complete and the immense extent of the map.
Red Dead Redemption 2: Chapter 2: Horseshoe Overlook Walkthrough and Guide
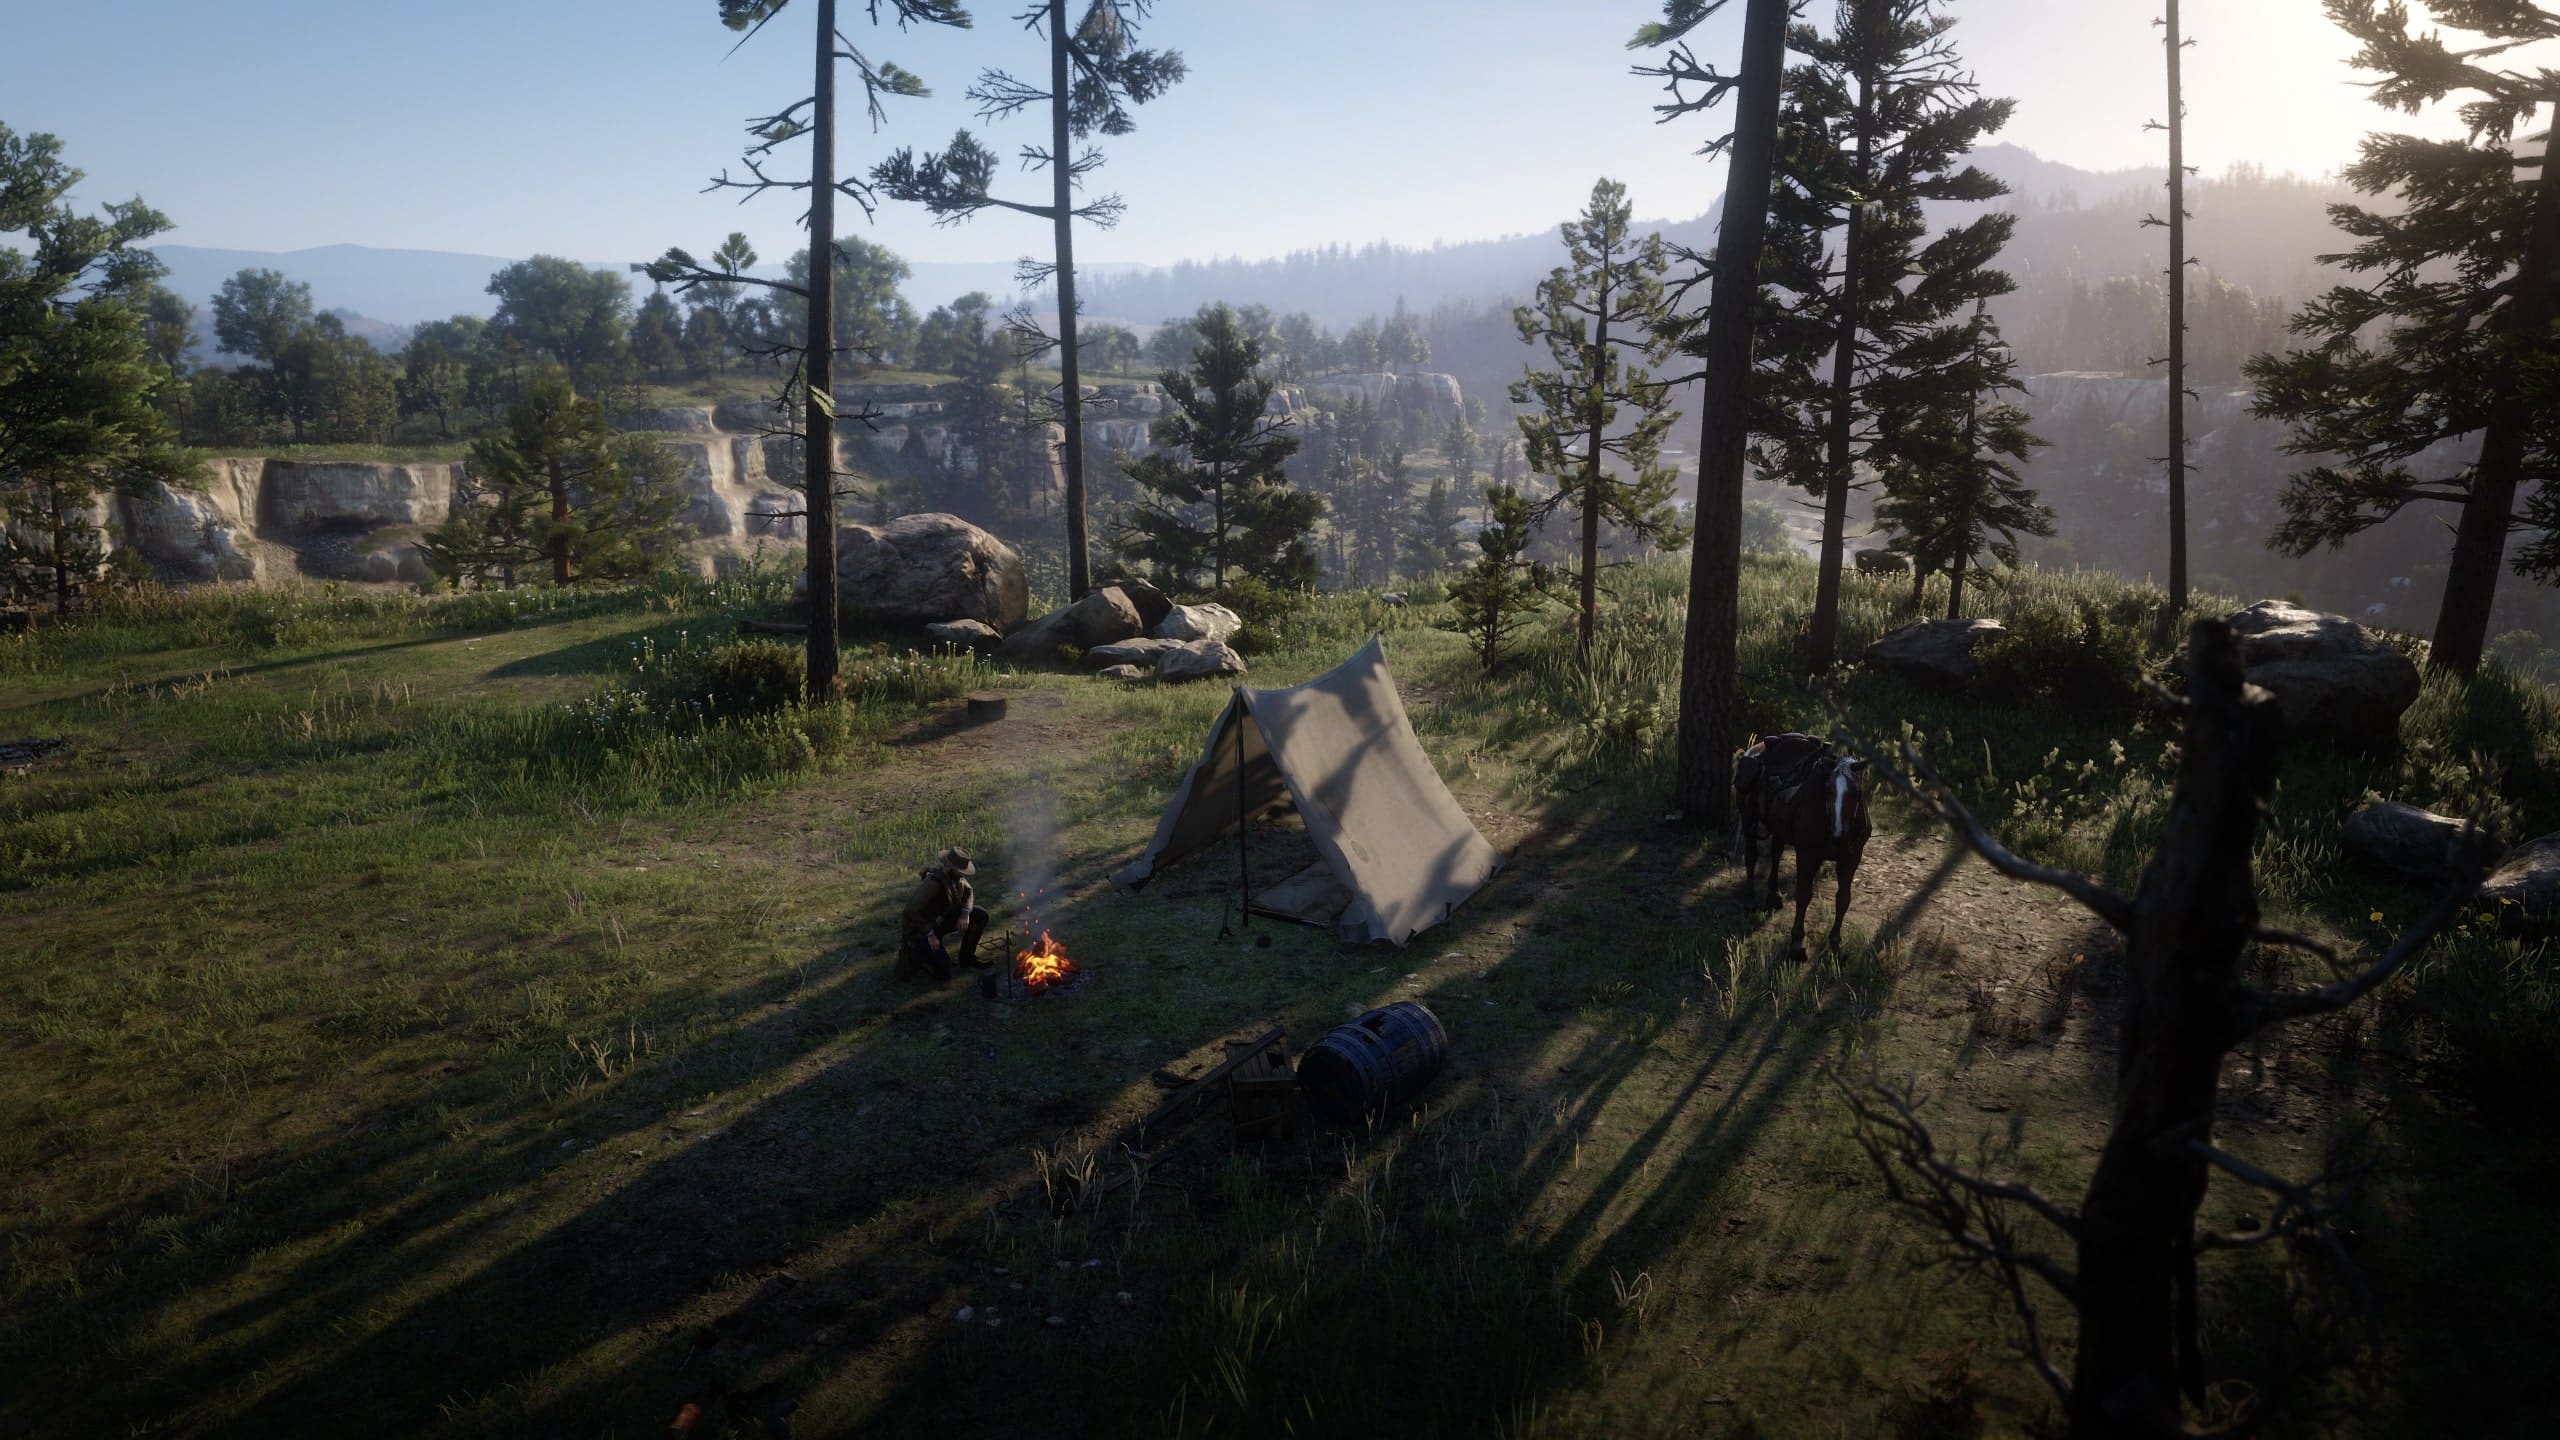
During the events of Chapter 2, Horseshoe Overlook serves as the Van der Linde Gang’s center.
They’re just outside of Valentine, a swampy livestock village, working out their next steps and gathering endurance. Dutch is attempting to find a new aircraft for the group.
Hosea is looking for robberies, while Karen and the daughters are restless after being trapped in the mountains. Some familiar acquaintances resurface.
Polite Society, Valentine Style
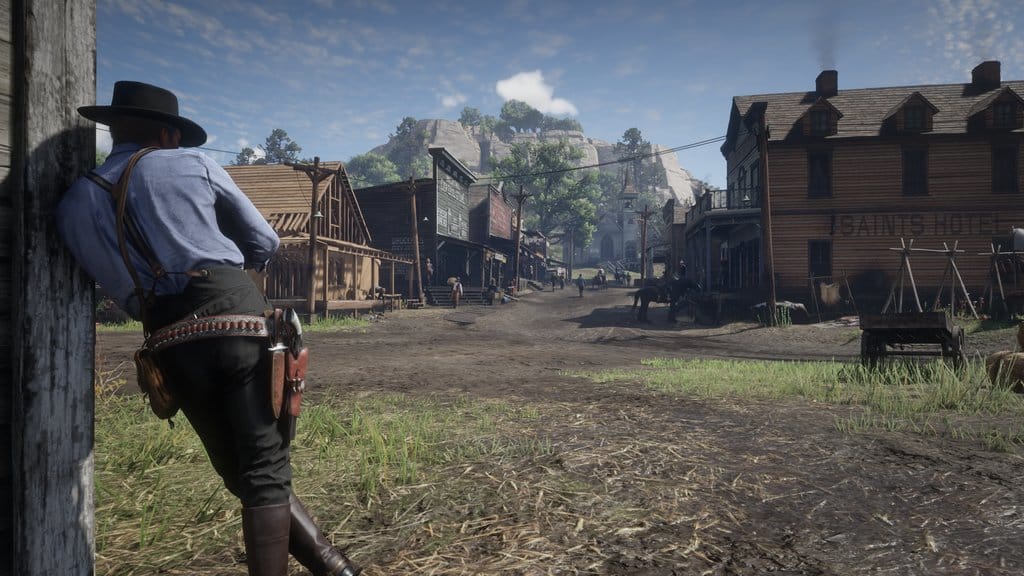
Go to Uncle to begin this task. He is easy to locate since he is the chart marker nearest to the camp. Uncle, along with a few of the ladies, will go to the neighboring town of Valentine with you.
Drive the cart and follow the yellow route on your minimap. You can enter movie mode and hold X/A to follow the road as you drive further down the path. You will ultimately be moved to action by an out-of-control carriage, but you don’t have to halt.
Continue to follow the yellow line on the minimap and you’ll be in the heart of town in no time. Follow Uncle to the local shop once you’ve gotten off the wagon.
Once inside, Uncle will direct you to select a tobacco. Cigars harm your stamina core marginally but significantly replenish your Dead Eye core. Uncle is eager to purchase, so don’t hesitate!
When you’ve finished making the required purchases, return outside to await the ladies who accompanied you. Uncle shall split some booze with you while you wait on the seat – you will fall asleep.
One of your female acquaintances will wake you up with some excellent information about a passenger train full of wealthy passengers arriving shortly.
Defend the Ladies
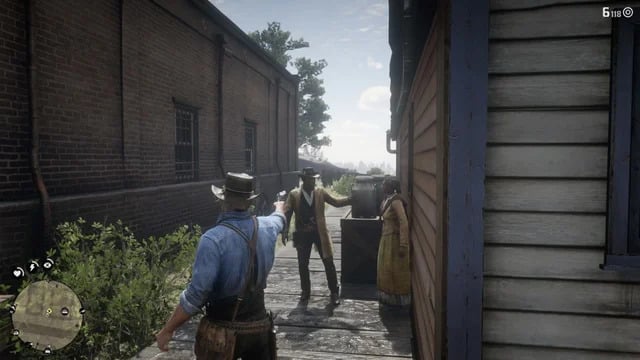
Unfortunately, the other two ladies who walked off to rob some males have tarnished this positive news. You’ll notice Tilly being threatened by a guy across the street. Simply aim your pistol at him to scare him into backing down. He’ll leave, and you’ll have to help with locating Karen.
Simply turn towards where Tilly had been and approach the entrance with the words “HOT MEALS” inscribed on it.
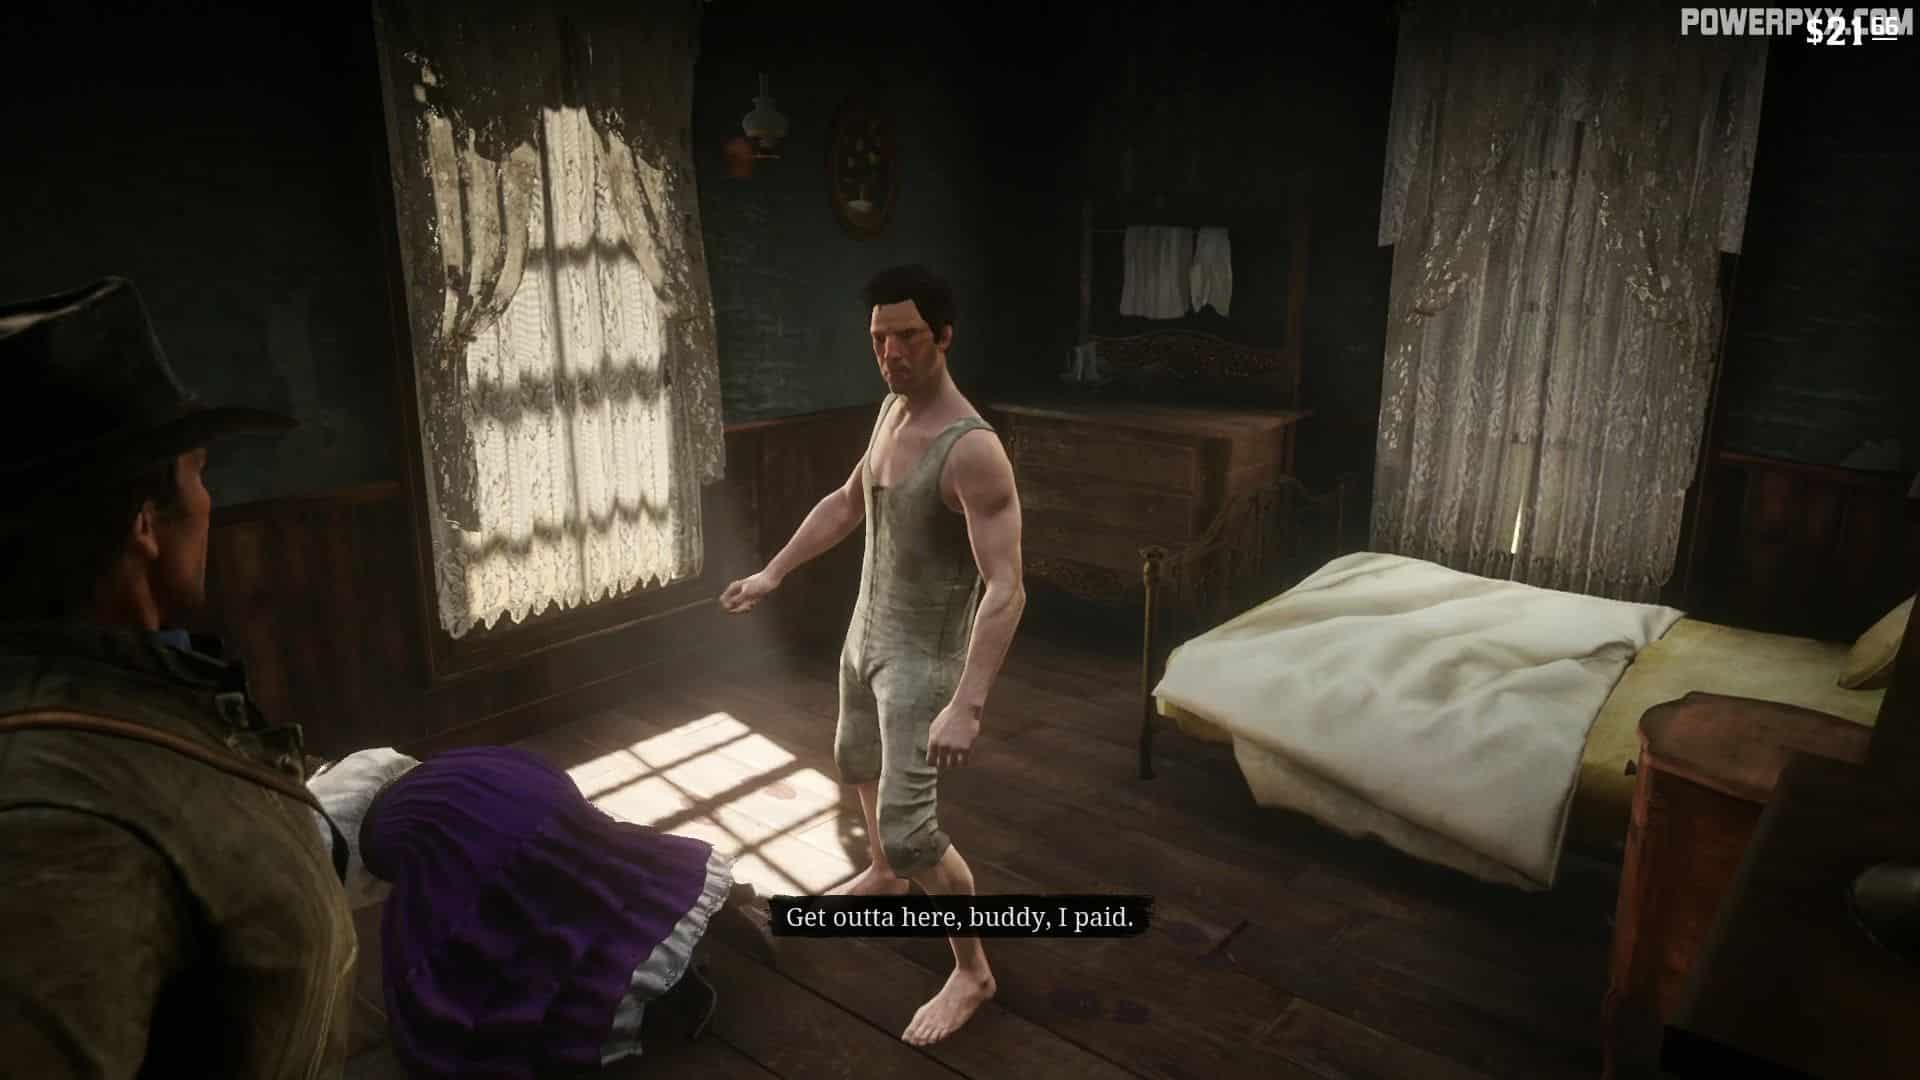
Fight the guy who was harassing Karen after you had located her in room 2B on the right at the top of the steps. You have the alternative of following her out right away or staying behind to loot the apartment. There are only items worth $1 inside, nothing particularly valuable.
Follow the Strange man from Blackwater
When you step outside, a guy riding a horse charges you of having visited Blackwater previously. You refute it, but the frightened man flees.
You’ll ride a borrowed horse to the mission’s commencement. (remember to return it after the mission). The guy is running southeast; chase him.
You are going to succeed if you don’t tumble off your horse, and you’ll ultimately catch him because that man slips off his steed and ends up dangling off an edge.
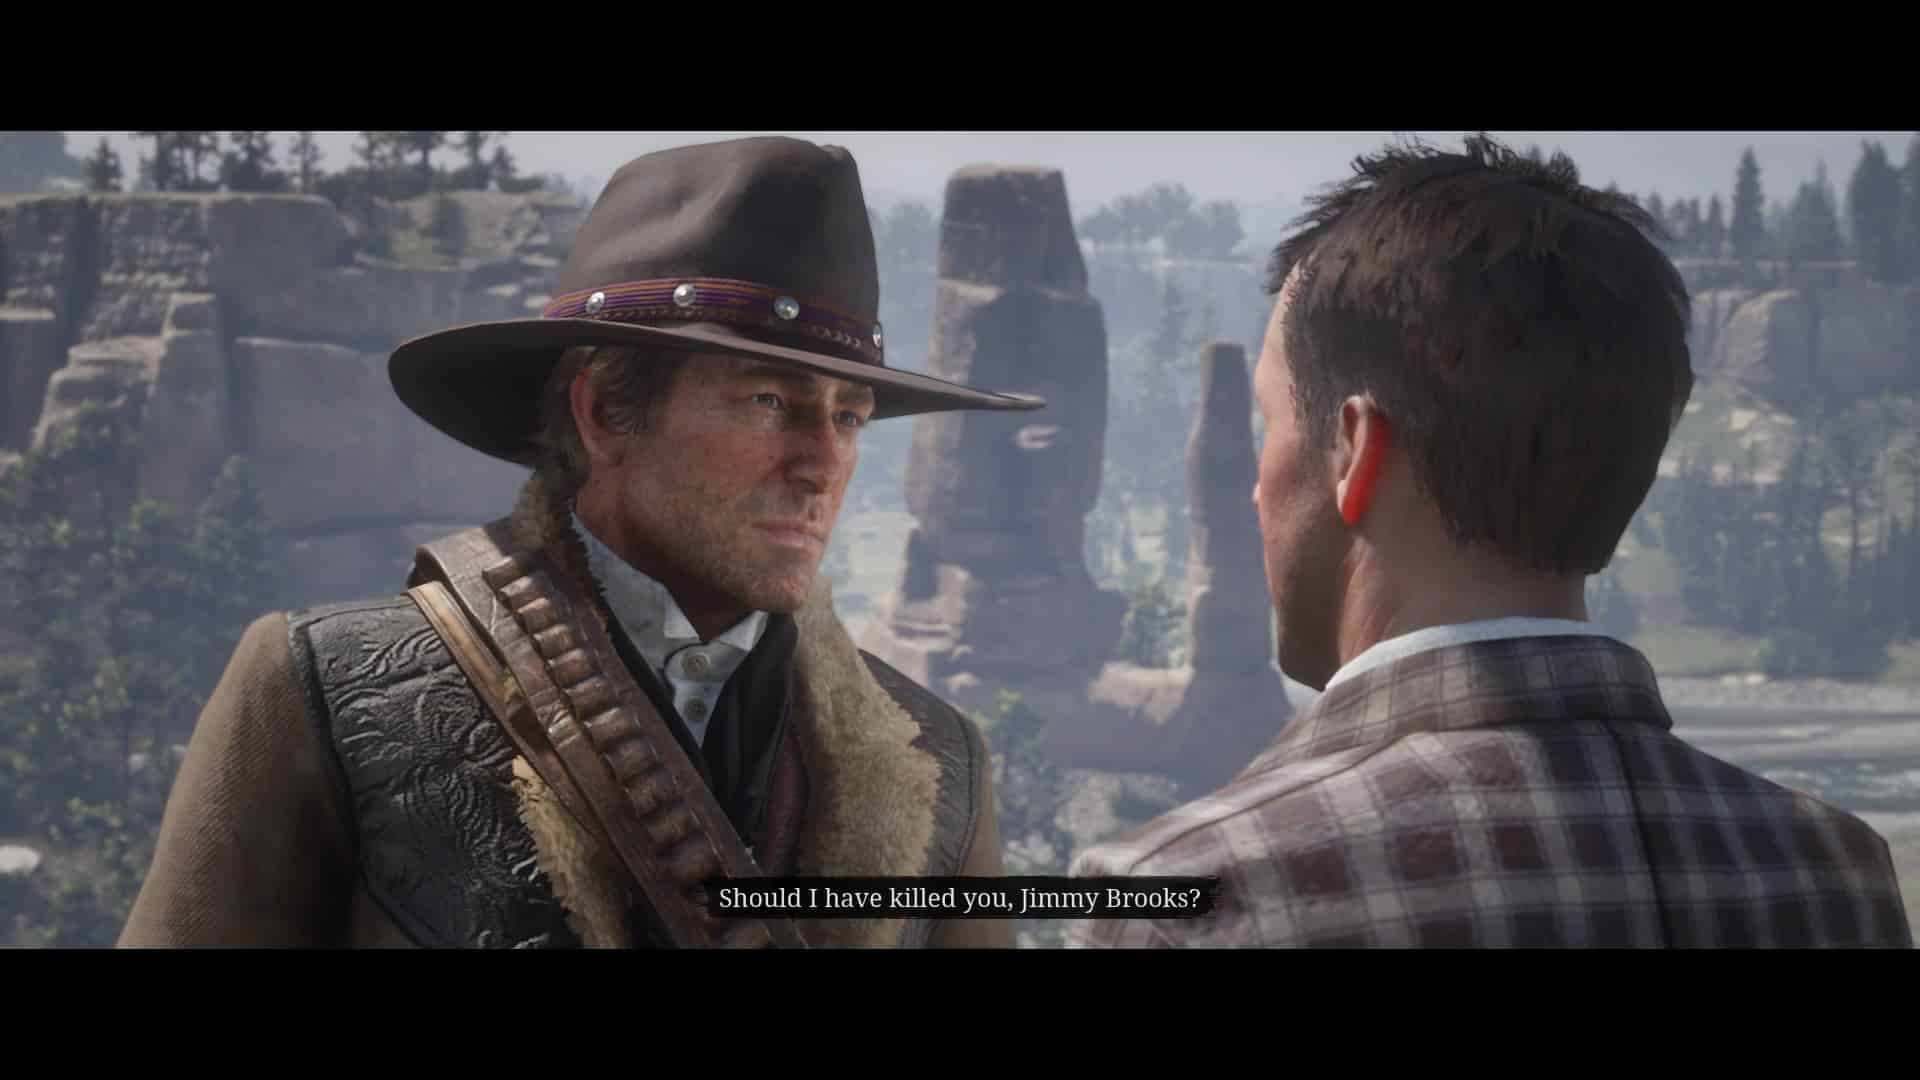
You acquire honor by aiding him, and you find out his identity – Jimmy Brooks. He gives you a nice steel pen for saving him, which makes him believe you’re a decent guy. Arthur still threatens him, and Jimmy says he has never seen him before getting off the track.
Jimmy Brooks waves goodbye and cycles away. This terminates the quest Polite Society, Valentine Style.
Americans at Rest
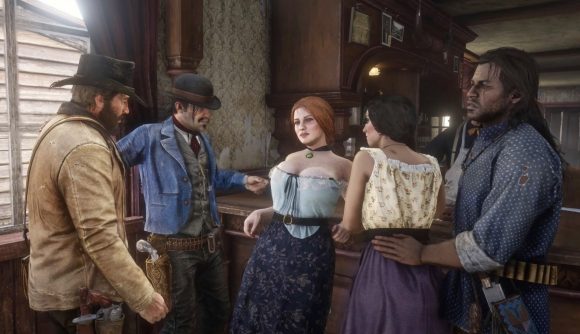
On Valentine, look for Javier inside the Saloon. He’s at the bar with Charles, talking to a few ladies. Arthur will quickly drive them away.
Bill is soon to arrive as Arthur, Javier, and Charles wait for him at the bar. Bill enters the building, but as he does so, he runs into another customer. Before the other man has a chance to explain, Bill starts a fight with him.
A full-blown barfight occurs.
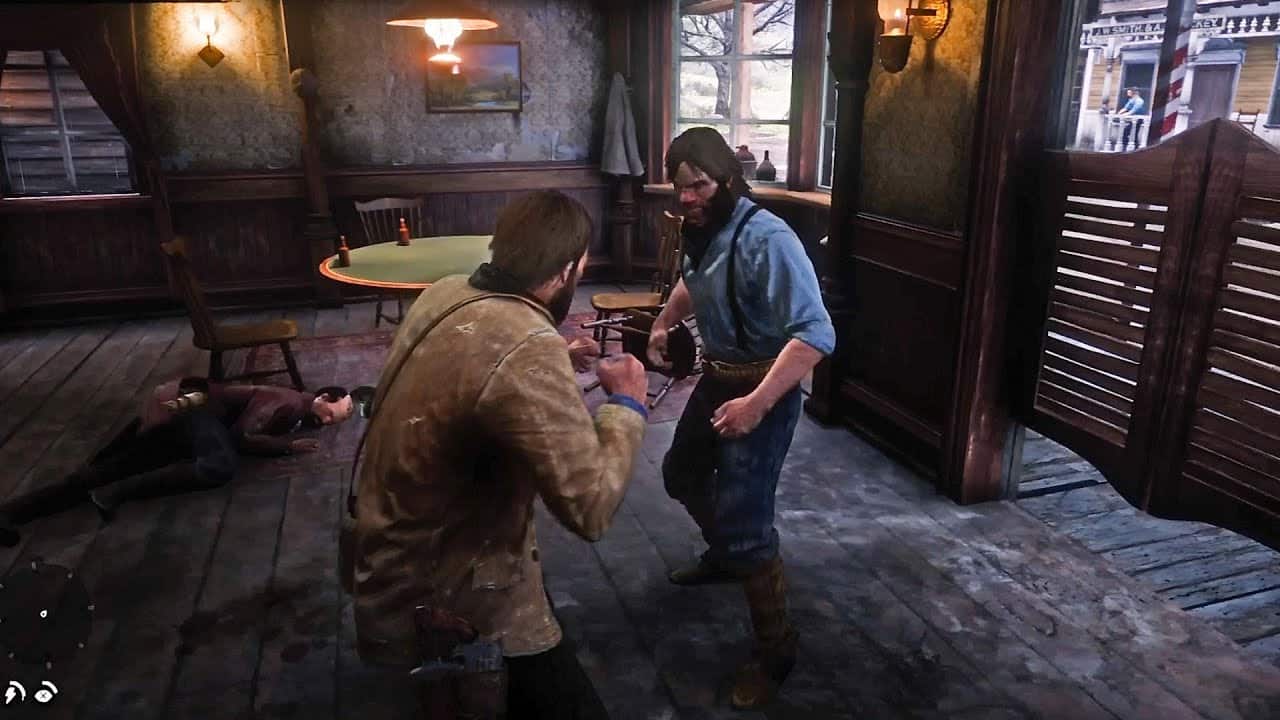
Tommy, the saloon’s strongest local, will appear from upstairs after some fighting.
He’ll assault Javier right away, while another guy jumps you. Tap the hit icon several times to break free as quickly as possible.
Time your dodges, then launch counter-attacks as soon as possible. Attack only when there is an opportunity. If you get grappled, use the strike option to break free.
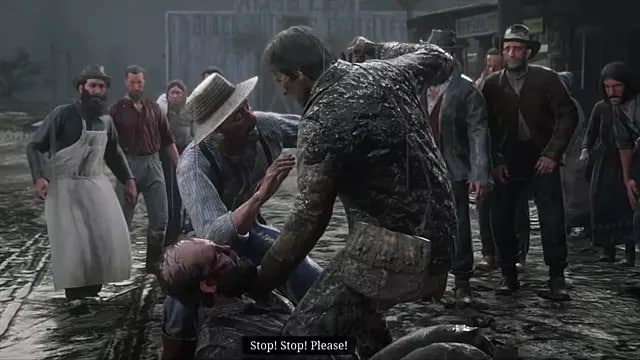
A bystander will implore you to spare Tommy after the fight, which you do.
You’ll run into Dutch and a few other people, including an old acquaintance who was searching for you in Blackwater.
He claims that a few bounty hunters are keeping your buddy Sean and also some O’Driscolls are after Dutch. Charles is sent to gather more details, and when you’re ready, you should get washed up and go meet Javier.
Paying a Social Call
Talk to Kieren, the guy you caught during Old Friends, who is chained up at the camp, to begin this mission. The sequence will start. Dutch will cut you off and threaten to castrate Kieren or geld him.
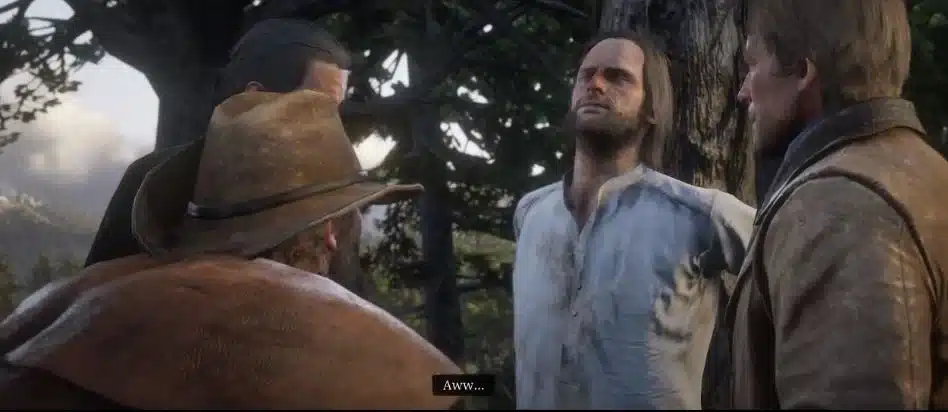
After being threatened with heated bolt cutters while having his clothes pulled down, he will speak and inform you that Colm O’Driscoll is being held at Six Point Cabin.
After that, you must adhere to Kieren’s directions to locate Colm and his group in Cumberland Forest.
You must proceed on foot after leaving your horses over the hill, per his instructions. Take out the throwing blades from your satchel, equip the tossing blades, and silently eliminate the three fugitives.
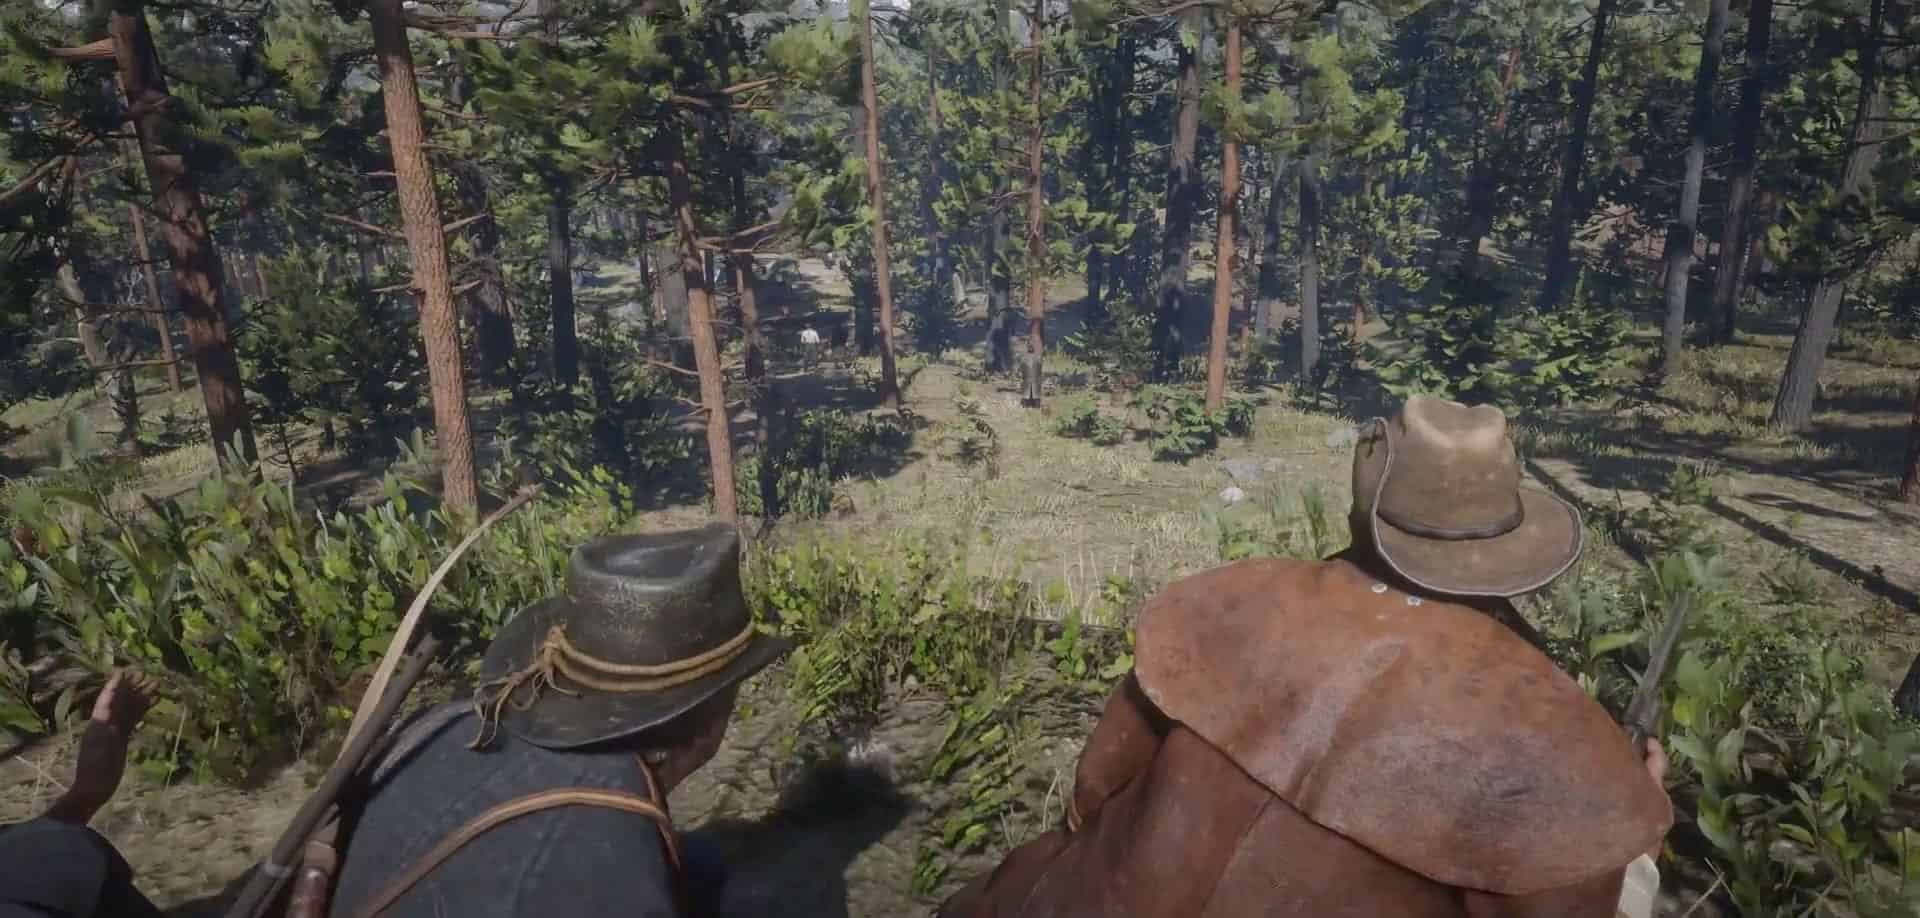
But after you defeat them, a battle will start. Make every effort to stay protected while battling.
Loot the corpses after the surviving O’Driscolls have fled. You should search the house; your friends will advise you. Once you’ve had your fill of looting, go there.
When you try to enter the door, a brief cutscene occurs in which an O’Driscoll pushes you over from behind. Unexpectedly Kieran steps in to save the moment.
Colm turns out not to be here, which makes Arthur very angry with Kieren; however, Bill and John assure him that Kieran is not a danger.
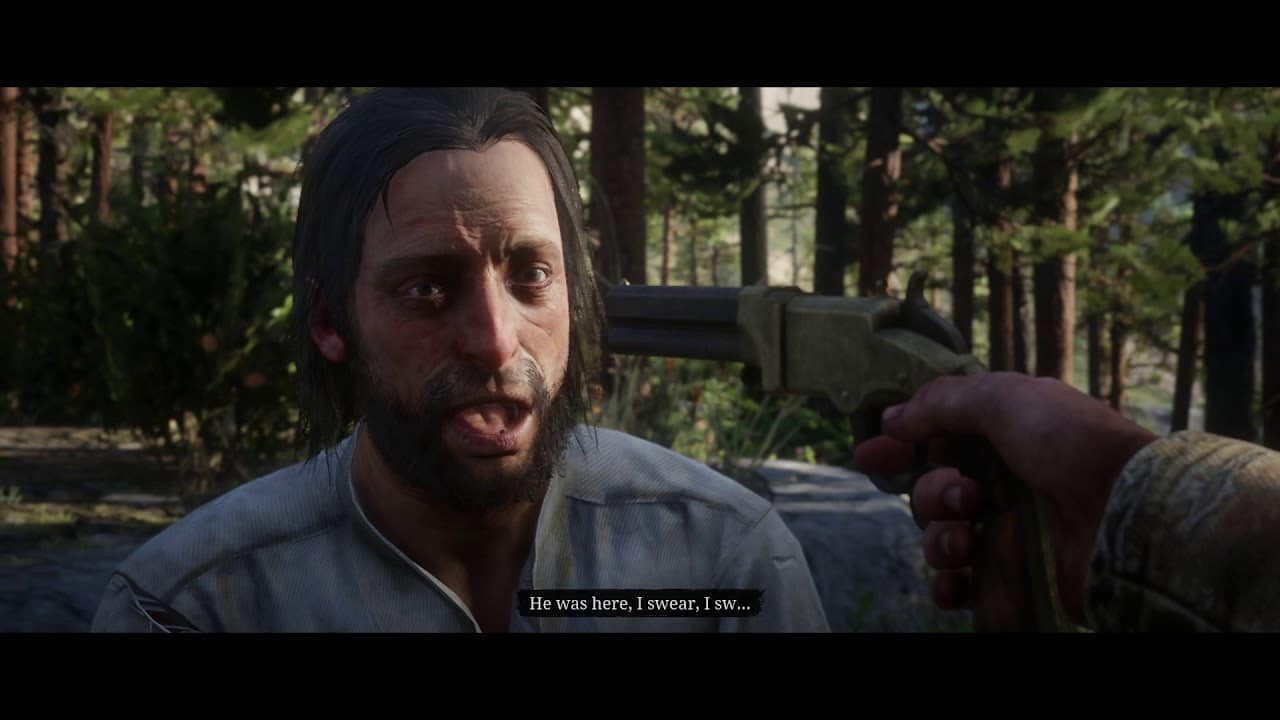
Kieren returns the favor by informing you that there is money in the chimney.
Go inside and steal from the property.
A double-barreled shotgun is mounted above the stove, and there are a few piles of cash on the table. You’ll be asked to cleanse the shotgun, which will boost its stats. There’s $600 in the chimney – your share is $100.
A Quiet Time
Start this task by speaking with Dutch at the camp. Exasperated, Lenny rides into camp on his horse. As it happens, Micah was taken into custody at Strawberry.
Lenny was almost hanged, but he managed to escape. Dutch requests that Arthur saves him. But first, you have to accompany Lenny to the saloon in Valentine and have a “quiet drink” there.
A man will settle down next to you in the bar and begin making fun of Arthur and Lenny as soon as you enter. Avoid wanting to hit this joker; instead, charm or intimidate him to get him to go away quietly.
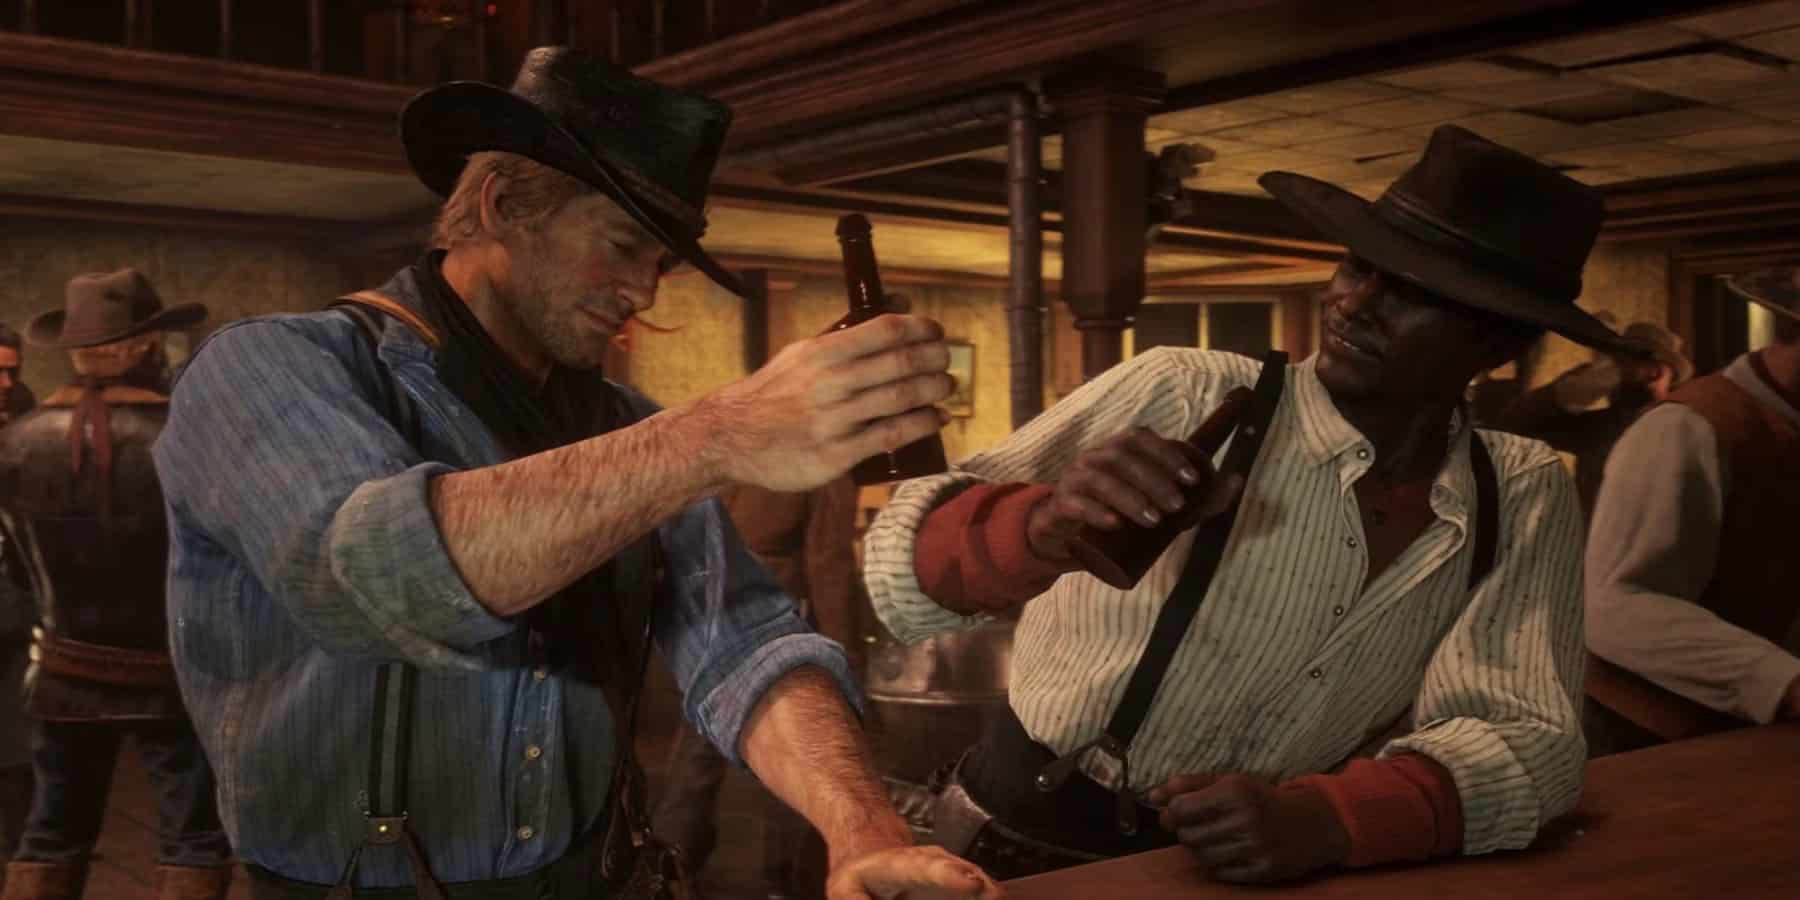
After that, you and Lenny will get drunk, but by the time the cutscene is over, you won’t know where Lenny disappeared.
Look around the bar for Lenny. The server will inform you that Lenny moved upstairs if you speak with him.
But if you want to locate Lenny, go to the back of the staircase, which is opposite the steps; there, he’ll be imbibing while resting against the handrail.
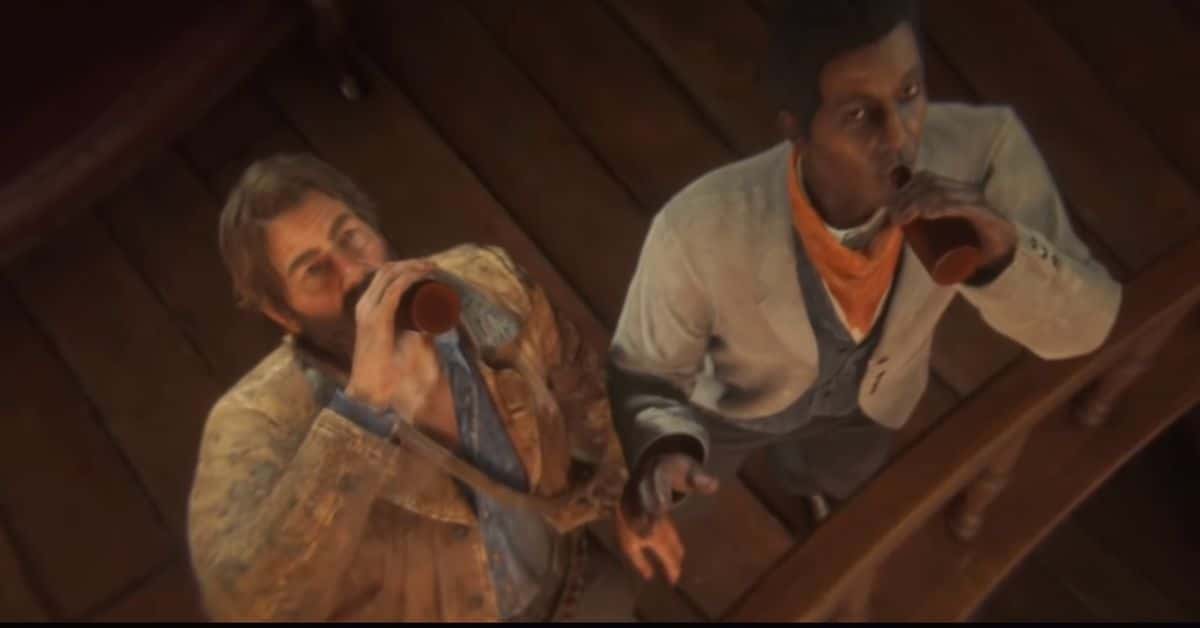
Again, you’ll be so wasted. Lenny will be engaged in a struggle with two guys when you awaken, up at the bar. descend the steps. You appear to be about to battle when you once more pass out.
You catch views of everyone dancing in a line, and the next thing you know, you’re outside taking a pee.
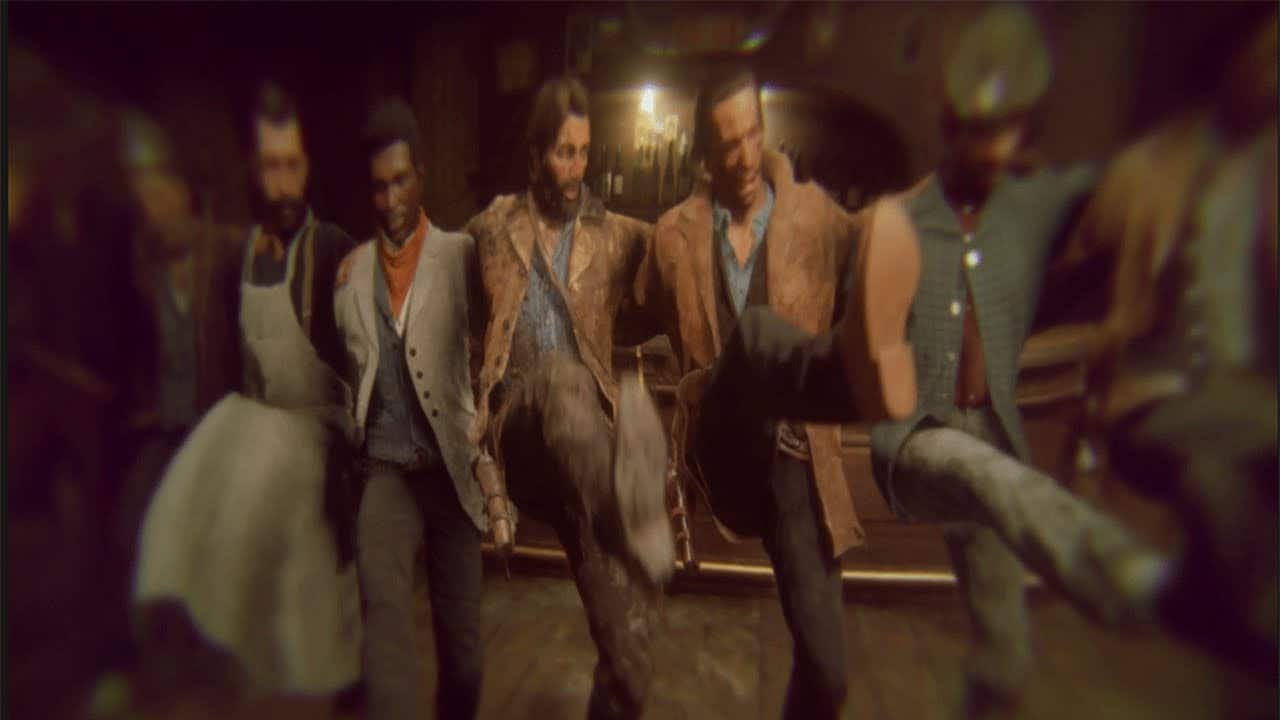
Everyone inside appears a little like Lenny when you go back in to search for him, but you can tell it’s not him because none of them are dressed right.
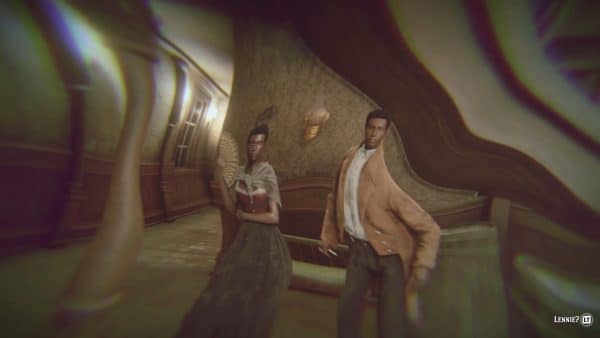
Eventually, the actual Lenny will locate you downstairs, and you’ll get into a fist battle with him. However, you’ll go dark once more.
The previous guy, whom you either charmed or threatened, it doesn’t matter which, you’ll soon find yourself sinking him.
Don’t be concerned about hitting the “Drown” option. You don’t appear to be able to properly murder him. The police will show up after a further brief inebriated animation, capture Lenny, and then go after you.
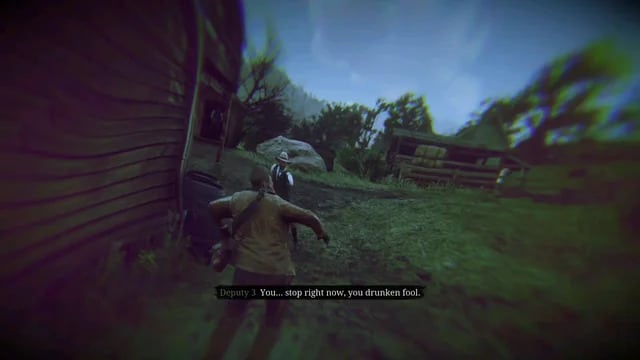
If you manage to escape, the task will be over when you come to the nearby forests. If you are discovered, Lenny will pay the $10 fee to have you both released, bringing the task to an end.
Good, Honest, Snake Oil
The first of 10 bounty hunter secondary tasks available in Red Dead Redemption 2 is this one. As a result, it ought to be separated into a separate “Bounty Hunting” part of the book rather than being incorporated into the Chapter 2 narrative tasks.
Simply step into the Valentine sheriff’s station to start “Good, Honest Snake Oil.” This will open a cut sequence in which the sheriff asks you to bring in Benedict Albright alive in exchange for $50. You’ll also receive a chart pointing to the north of Valentine. If you go there, you’ll find Albright camped on a small rocky ledge.
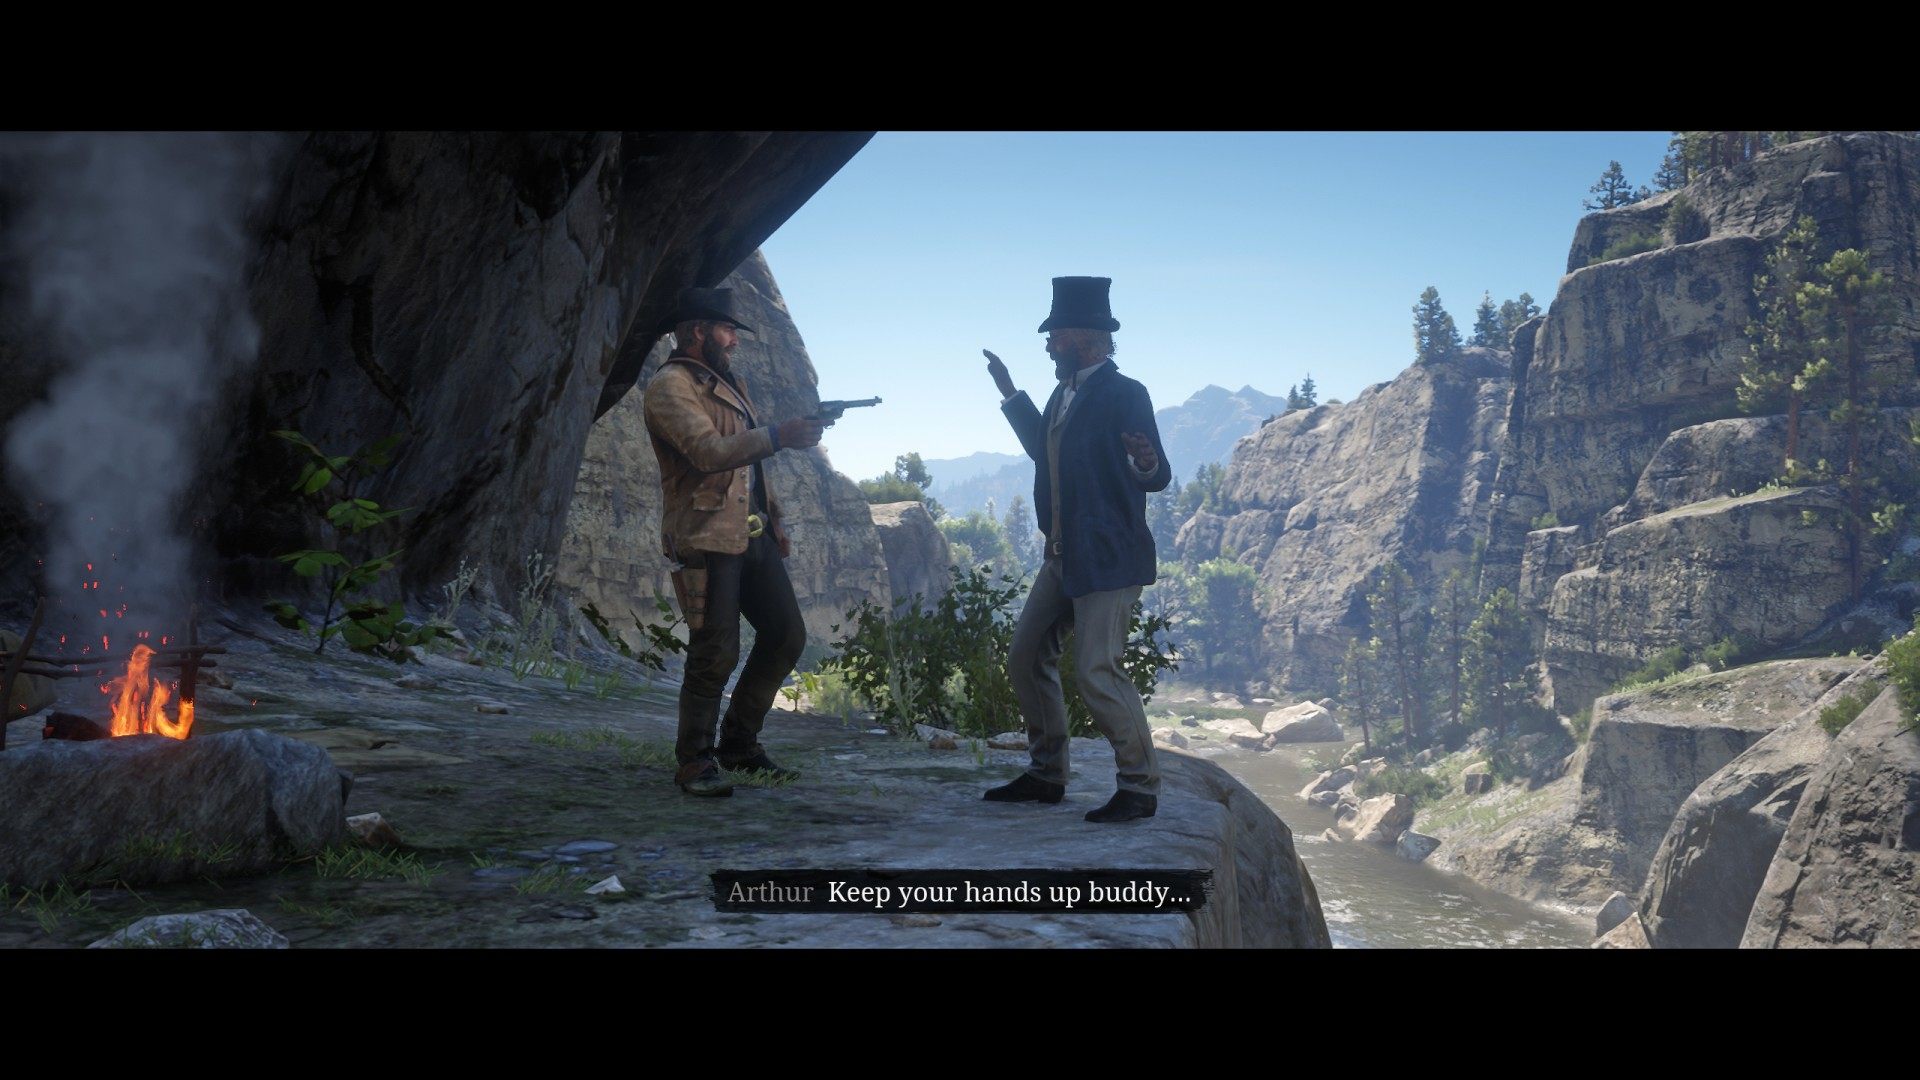
If you see Albright in front of you, pull out your rope. Another scenario will begin when Arthur approaches Albright and attempts to apprehend him.
When Albright finally tries to flee, he instantly falls off the ledge and hangs there by his fingers, at which point the player regains control of Arthur. Albright will collapse if he isn’t raised back up quickly.
If you are successful, charge him, hogtie him, and ride back to the magistrate to claim the gold medal and an additional $50.
Albright will end up in the water if he slips. Return to your horse and follow him. Albright will make it through about half a mile of cascades and rapids before arriving in a calm pool next to the trail you’ve been riding.
If you don’t immediately lasso him and pull him out of the ocean, he will perish here (use the horse before dismounting to hogtie). He will perish if you hogtie him in the ocean. After that, go back to the constable to receive $50 and a bronze award.
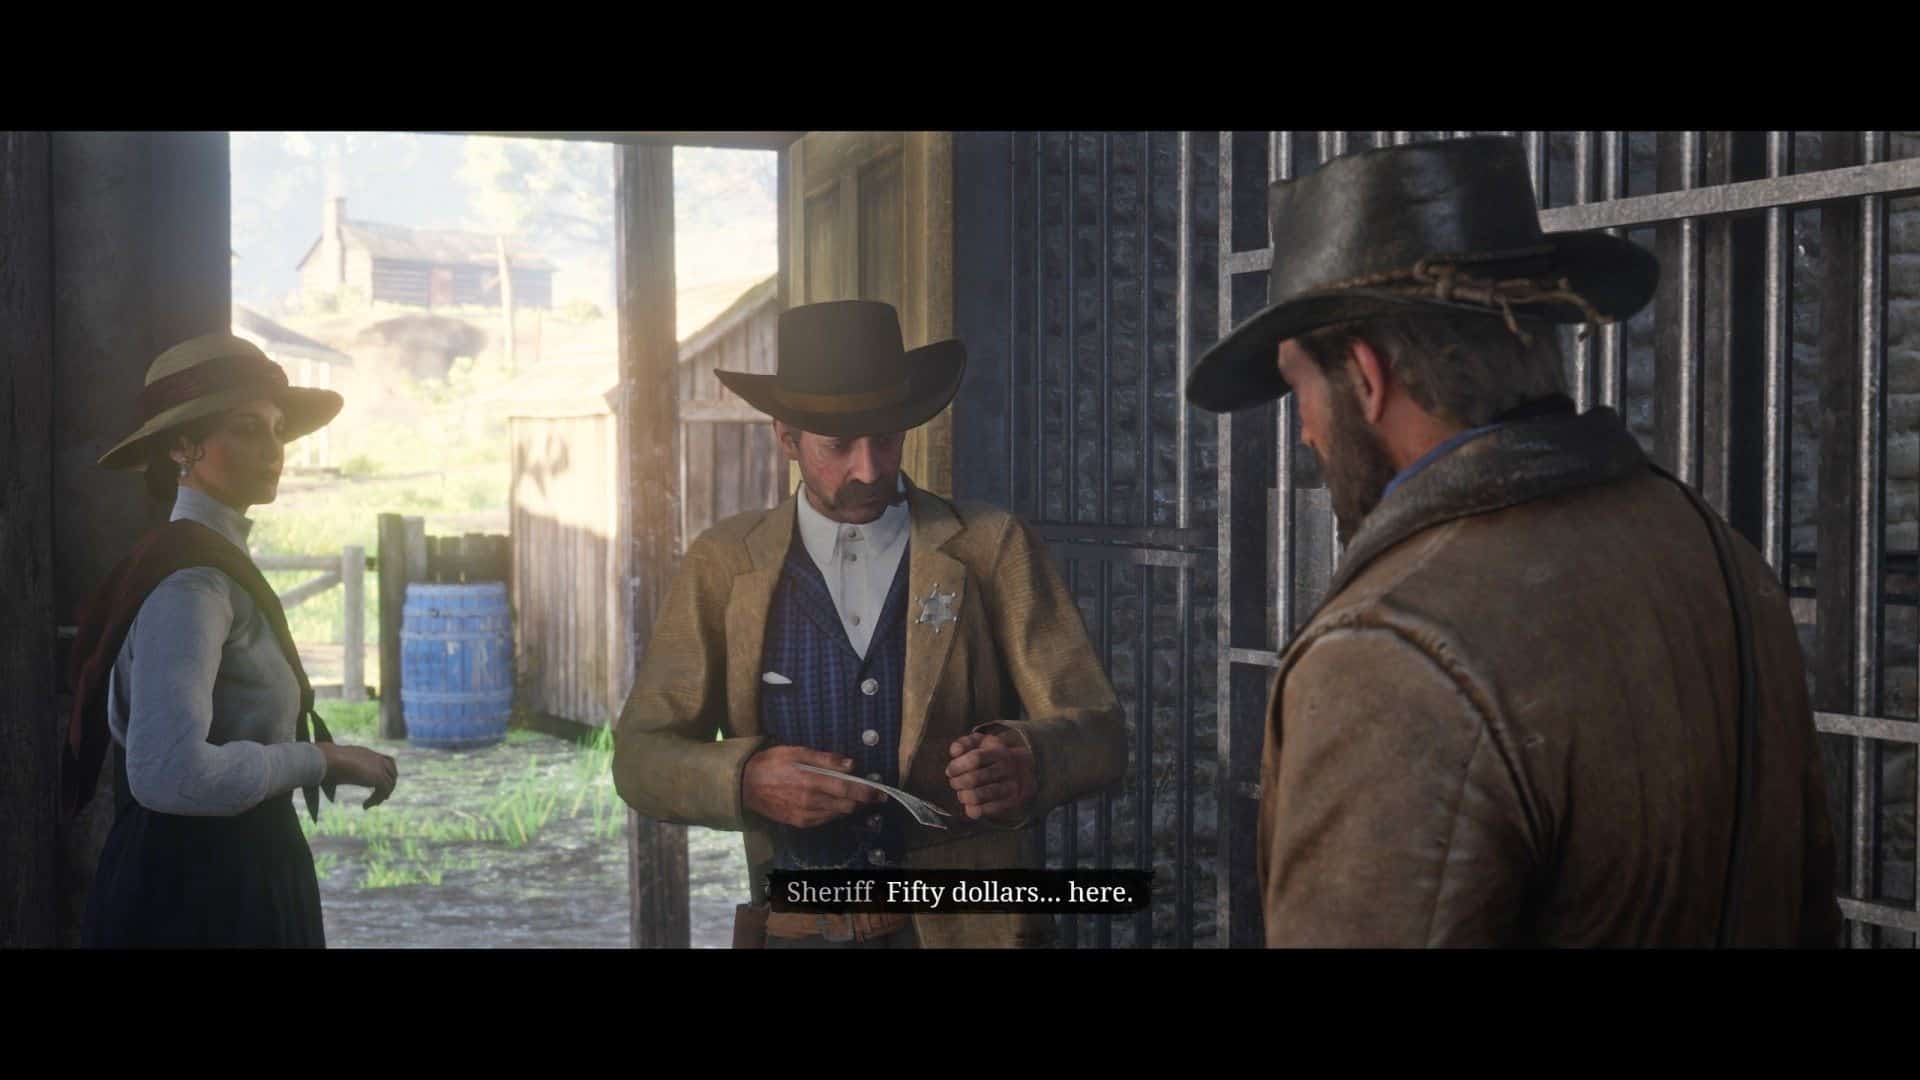
After resting, go back to the sheriff to claim your reward. He’ll inform you when you walk in that Albright taunted you all the way to the hangman. The facade will now display a wanted sign. If you accept it, the bailiff will then give you your next task.
Money Lending and Other Sins
Speak with Strauss in the camp to begin this quest. Before anything else, you must complete the first five tasks in Chapter 2. The Ledger behind Dutch’s shelter in camp will be unlocked after this task is finished. He has some work for you to do. mainly by pursuing debtors who owe you all money.
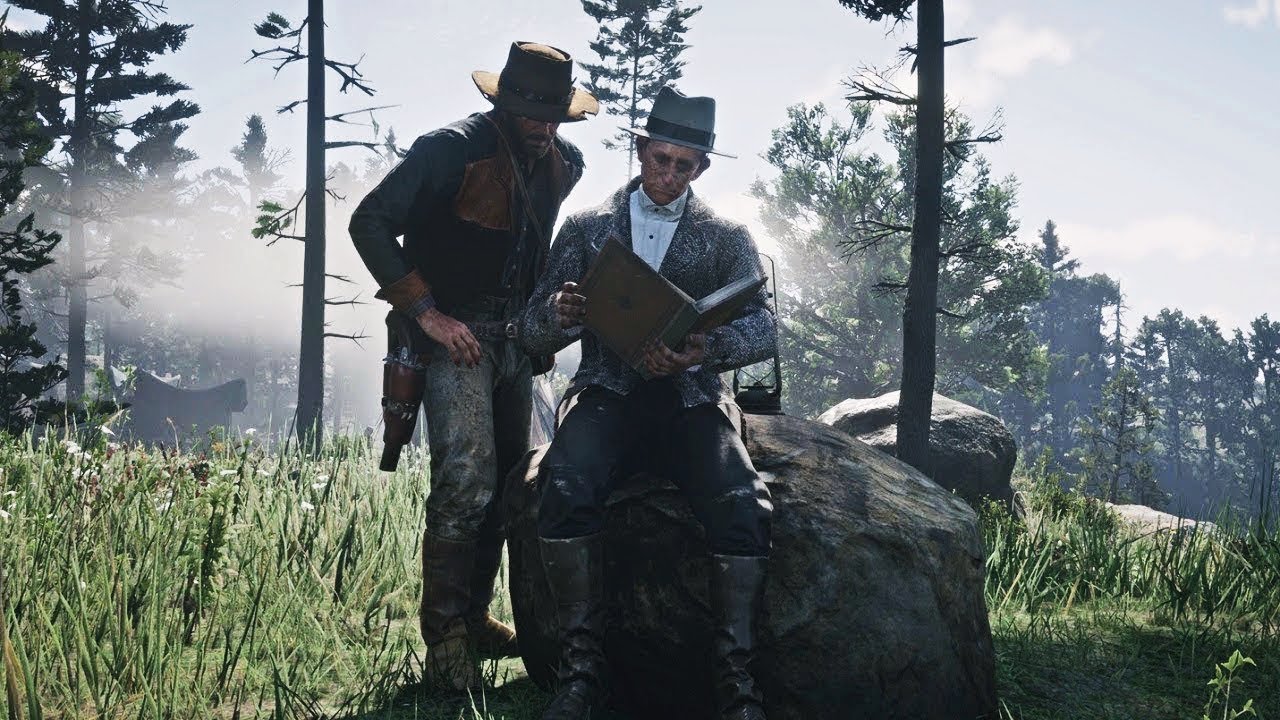
These individuals are indicated on the chart by a yellow region with the letters LS. The three creditors you have got to pick from are shown on your map right now.
Although there are three spots on the map marked by the yellow highlight, you only need to accomplish one of them to achieve the mission. To collect the debt from someone, scroll down to their name.
Mr. Wrobel
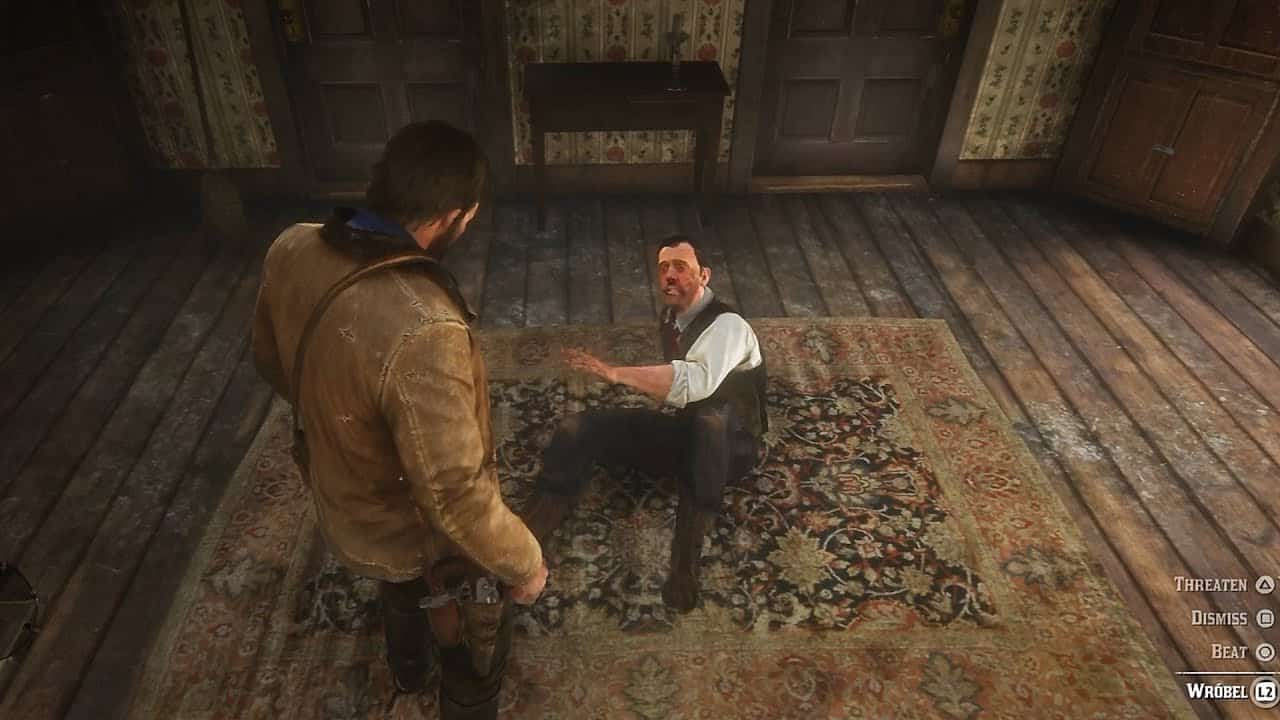
There isn’t much worth there. Bring it back to camp now. Refer to the chart below or search for the yellow marker at camp that resembles a suitcase and has the dollar sign on it to find where to turn it in.
Lilly Millet
Lilly Millet can be found at Emerald Ranch, northeast of camp.
She’s specifically seated outside a big structure next to a man called Cooper-who will begin attacking you after attempting to rob Lilly. Take the opportunity to disguise yourself, then beat him up to recover Lilly’s credit money.
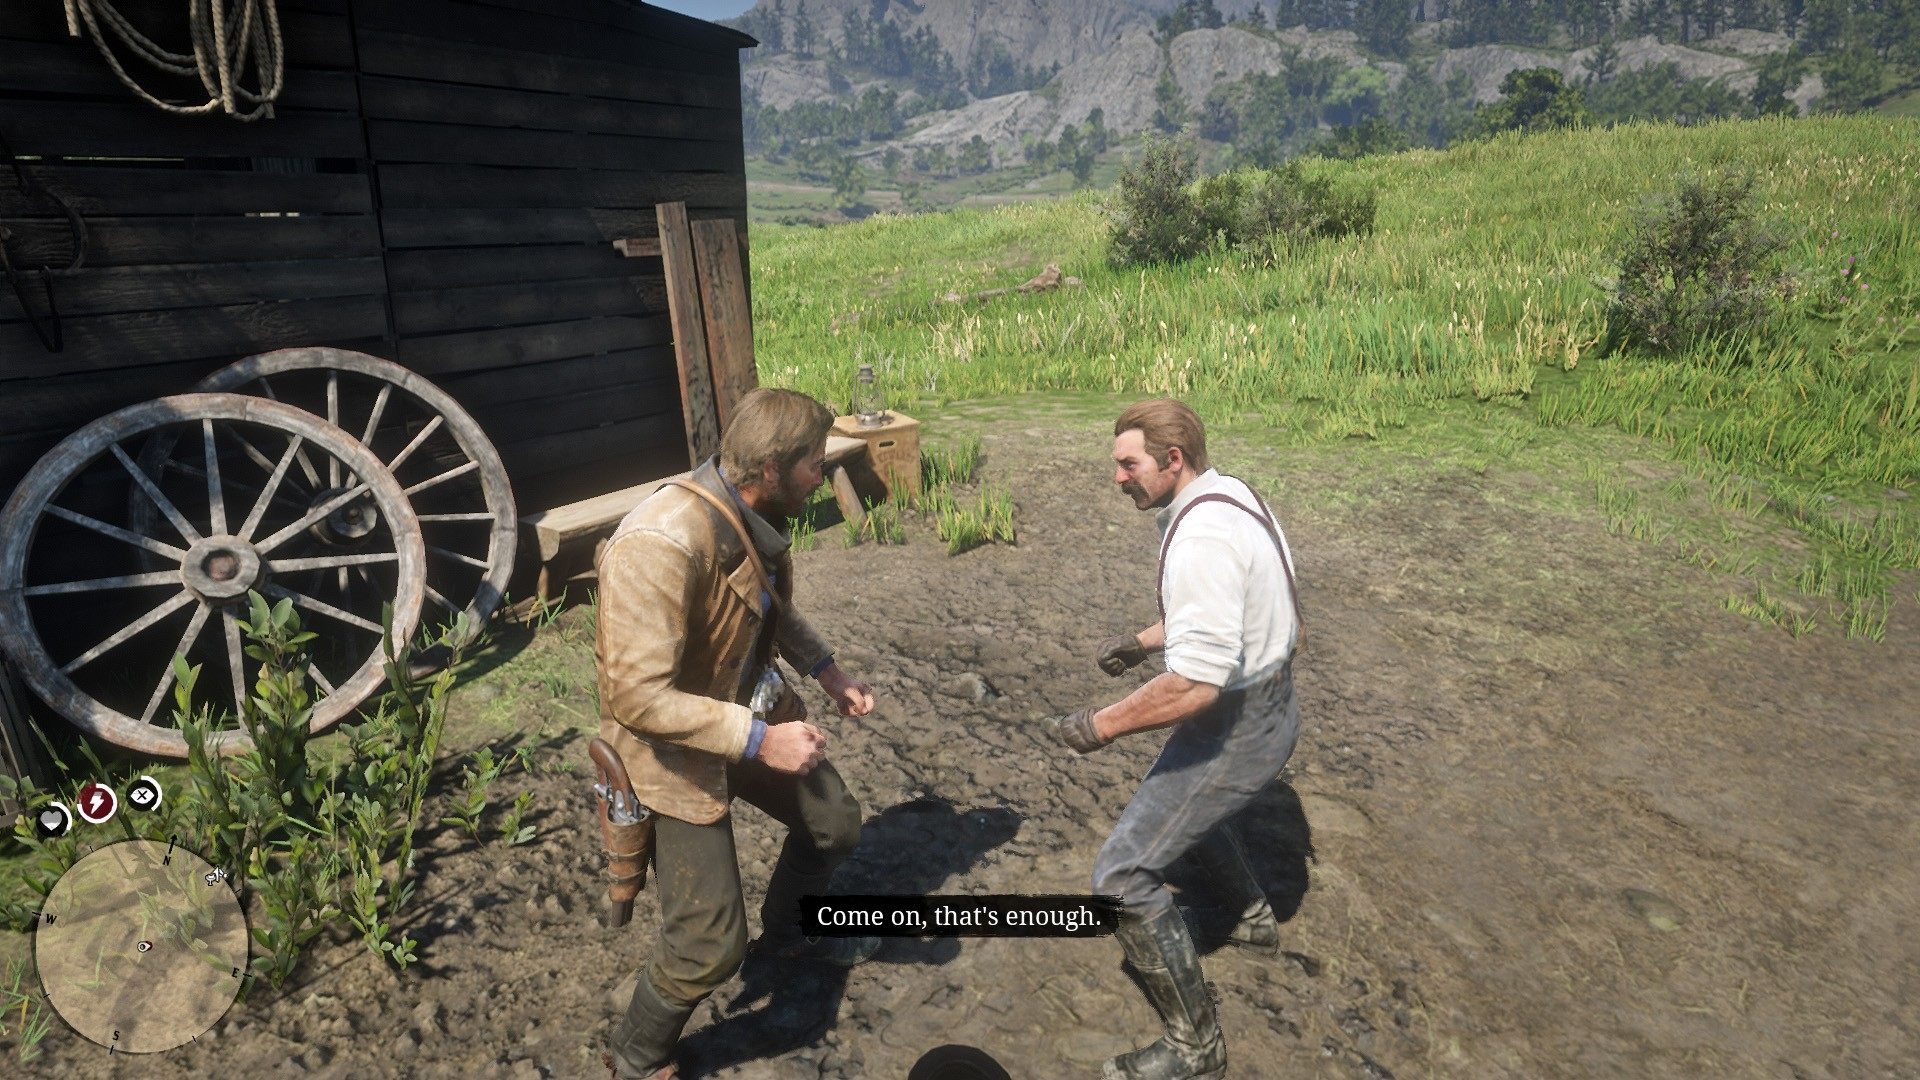
If someone witnesses you doing this, they’ll think you’re stealing, despite Arthur’s clear inquiries that he’s only collecting a bill. Remember to give in your money at camp.
Chick Matthews
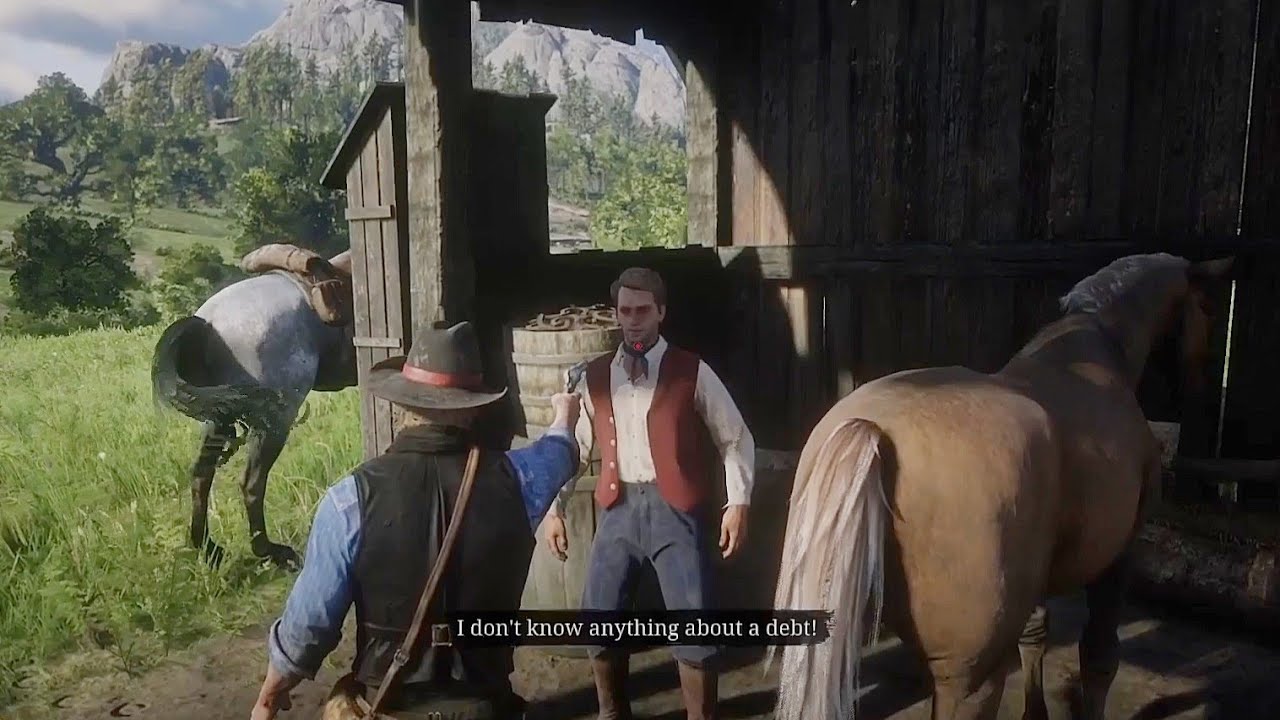
As you chase him, get your rope ready. To keep Chick bound with your lasso, don’t forget to press down the L2 command.
Once you have him on the ground, just examine him to discover a treasure map leading to all of his worldly belongings. The marker will immediately show up on your real map. To locate the tree, plunder it, and return to camp with the obligation, head north.
Turning in the Debt
You’ll make about $4 in personal earnings for each credit. Regardless of whether you turn in one, two, or all three, follow the instructions to access the ledger and buy an improvement for the camp.
To determine what to purchase, consult our reference to Camp Upgrades. For instance, particular acquisitions will enable fast transit.
Following that, Strauss will come up to you and a movie will start. He’ll ask Arthur to pursue Thomas Downes, who will now show up on your grid, as one more deadbeat.
Money Lending and Other Sins Part 3
You can begin this right away or come here later. Downe’s Ranch is northwest of the site, as shown on your chart.
Mr. Thomas Downes is presumably looking to his crops to the right of the home when you visit during the day.
He will use a rake to scare you, but you will be able to take it away from him and throw him to the ground.
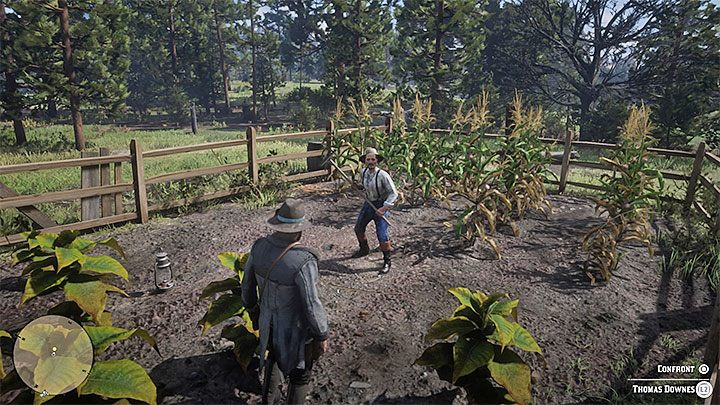
The game will still have Arthur beat him a little amount if all you decide to do is intimidate him; the results are the same regardless of what you do.
In the end, his family will approach you to speak with you, saying that Thomas isn’t feeling well and requesting more time.
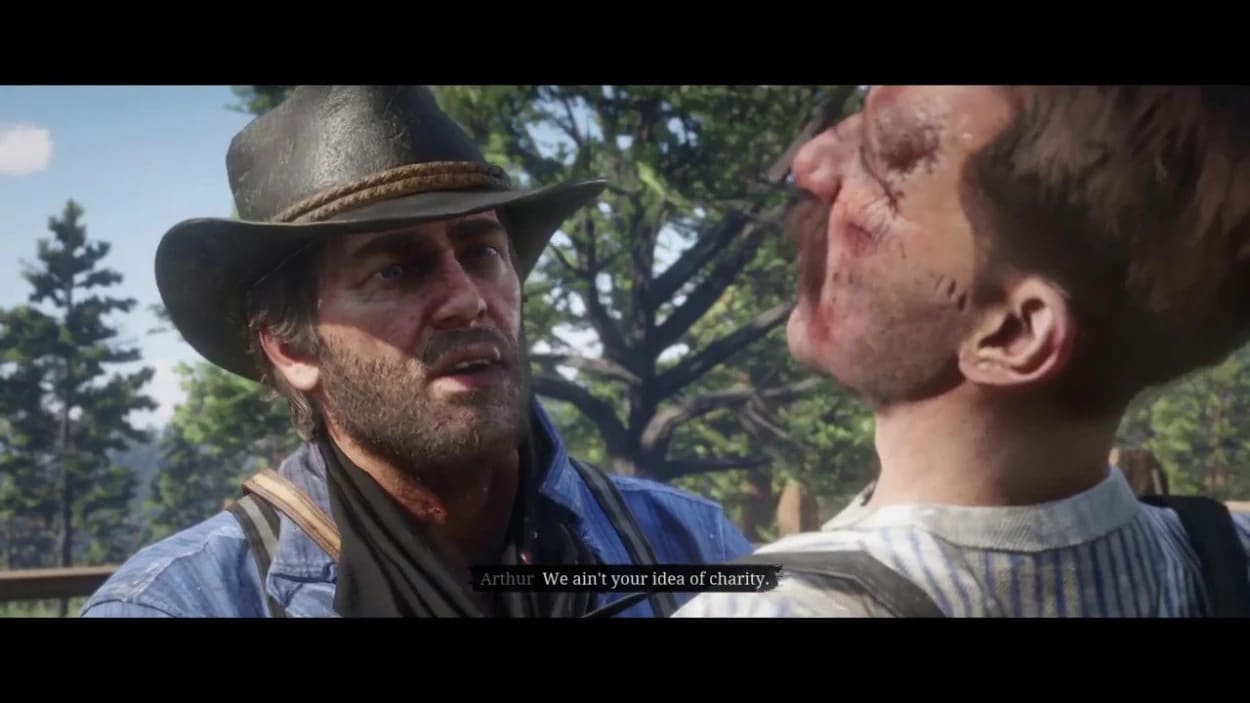
A brief cutscene of Arthur returning to the camp will play after the events.
Exit Pursued by a Bruised Ego
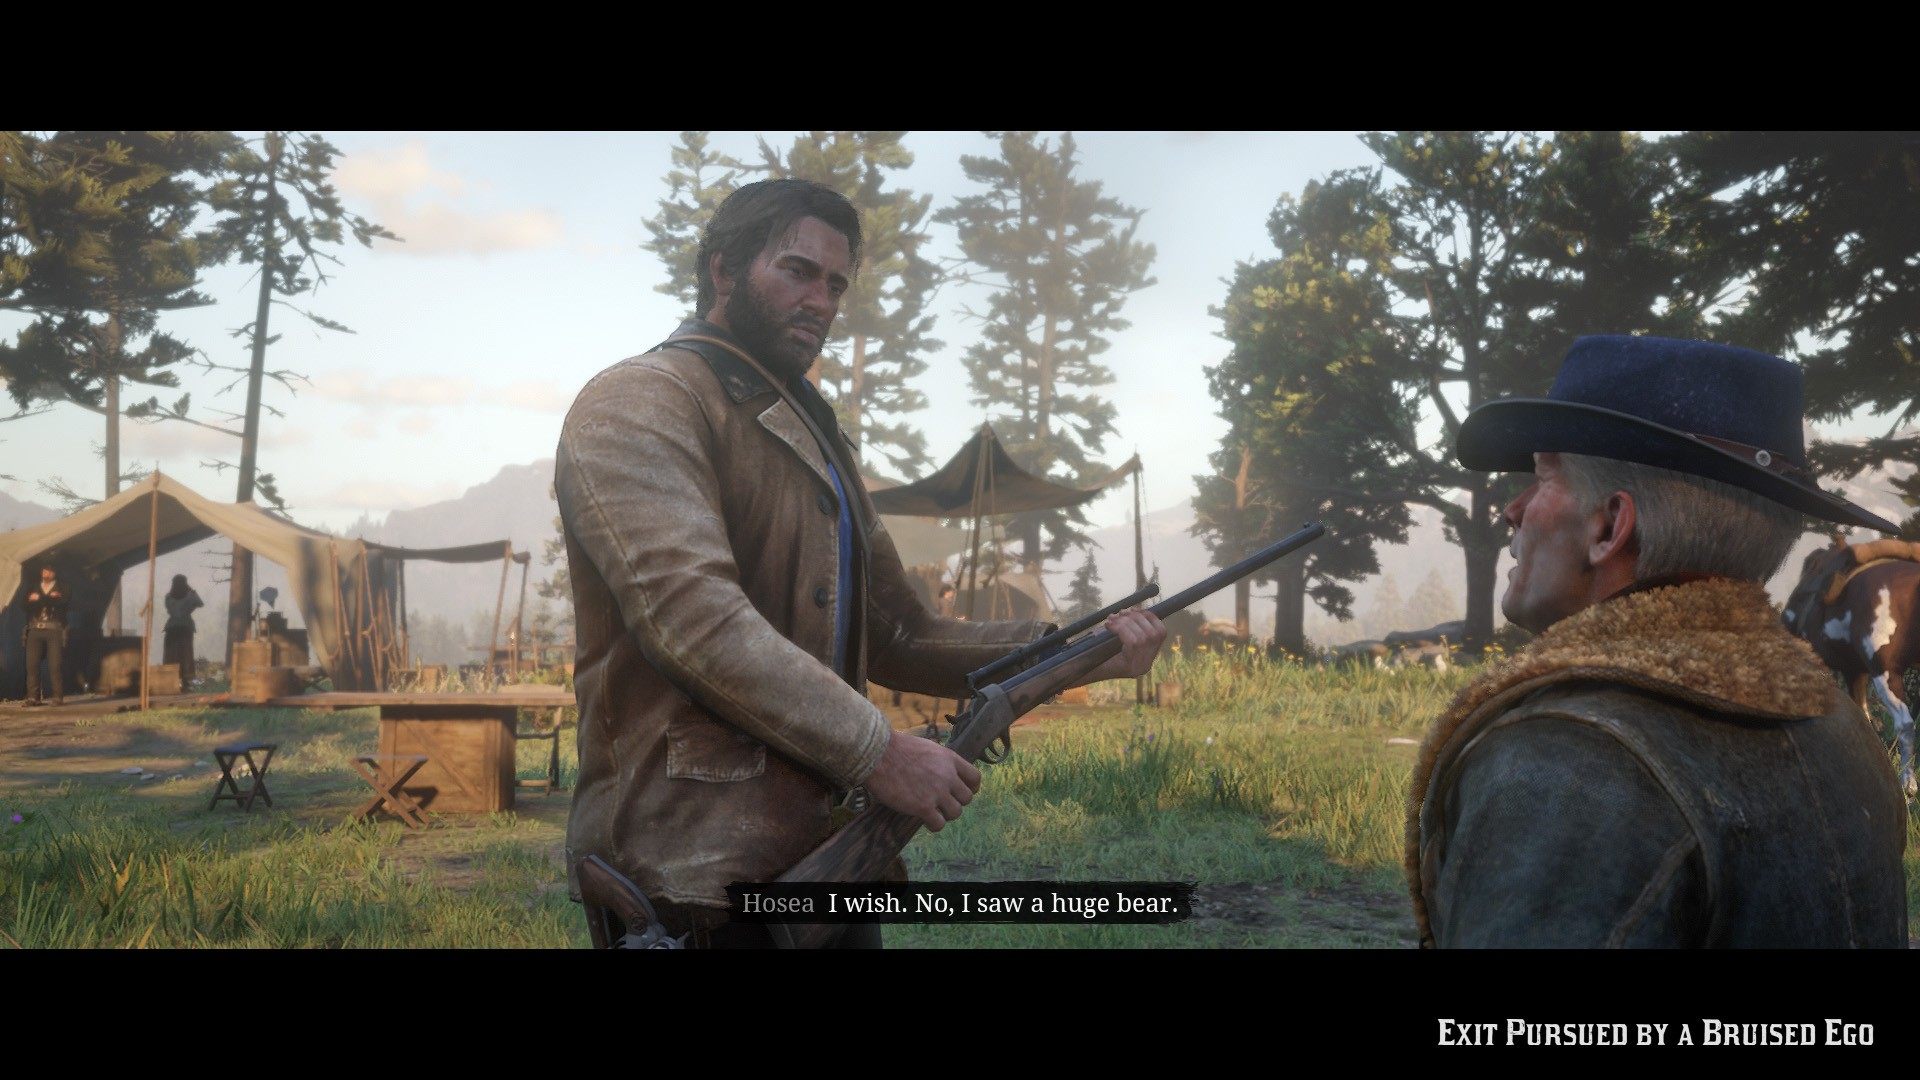
Begin this quest by speaking with Hosea at the Horseshoe Overlook shelter. You’ll be heading nearby the Dakota River with Hosea to locate a beast of a bear, which will take a day or two. It will be the very first Legendary Animal you encounter.
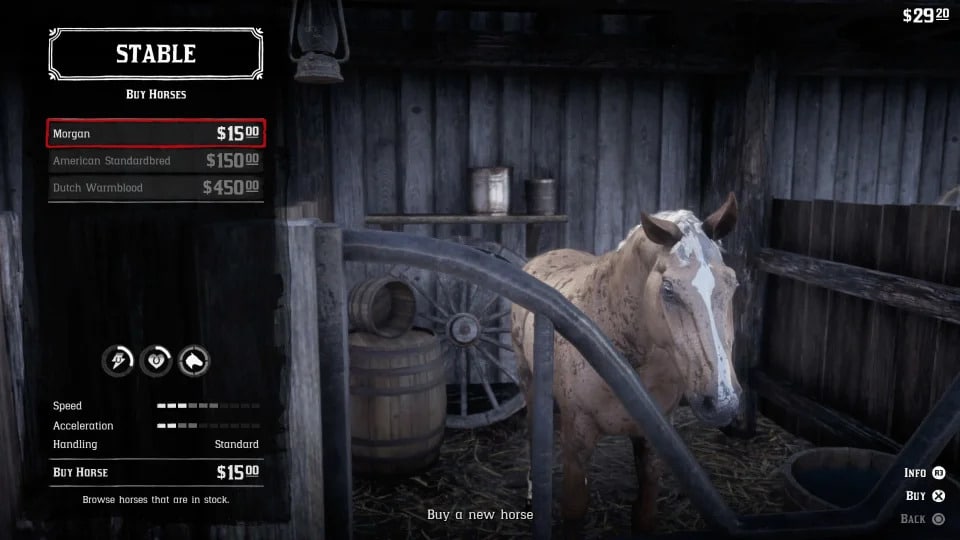
You’ve chosen to trade in your big horse at Valentine to purchase a new horse. Transfer your saddle to the large horse so you can ride him. Hosea will lead you to Valentine.
You’ll talk about a few individuals you’ve lost and whether the bonds you took from the train in Who the Hell is Leviticus Cornwall have been sold on the way.
You’ll have to settle the horse you’re riding with L3, but you’ll finally arrive at Valentine’s stables. You can only sell the draft horse for about $5. You can either trade him or keep him steady.
Unfortunately, you will be required to purchase a horse now, and you will not be able to swap it out once you have purchased it.
Making a Camp
Continue following Hosea after selling the horse. You will ultimately come to Moonstone Pond. Hosea will advise you to capture rabbits for a meal.
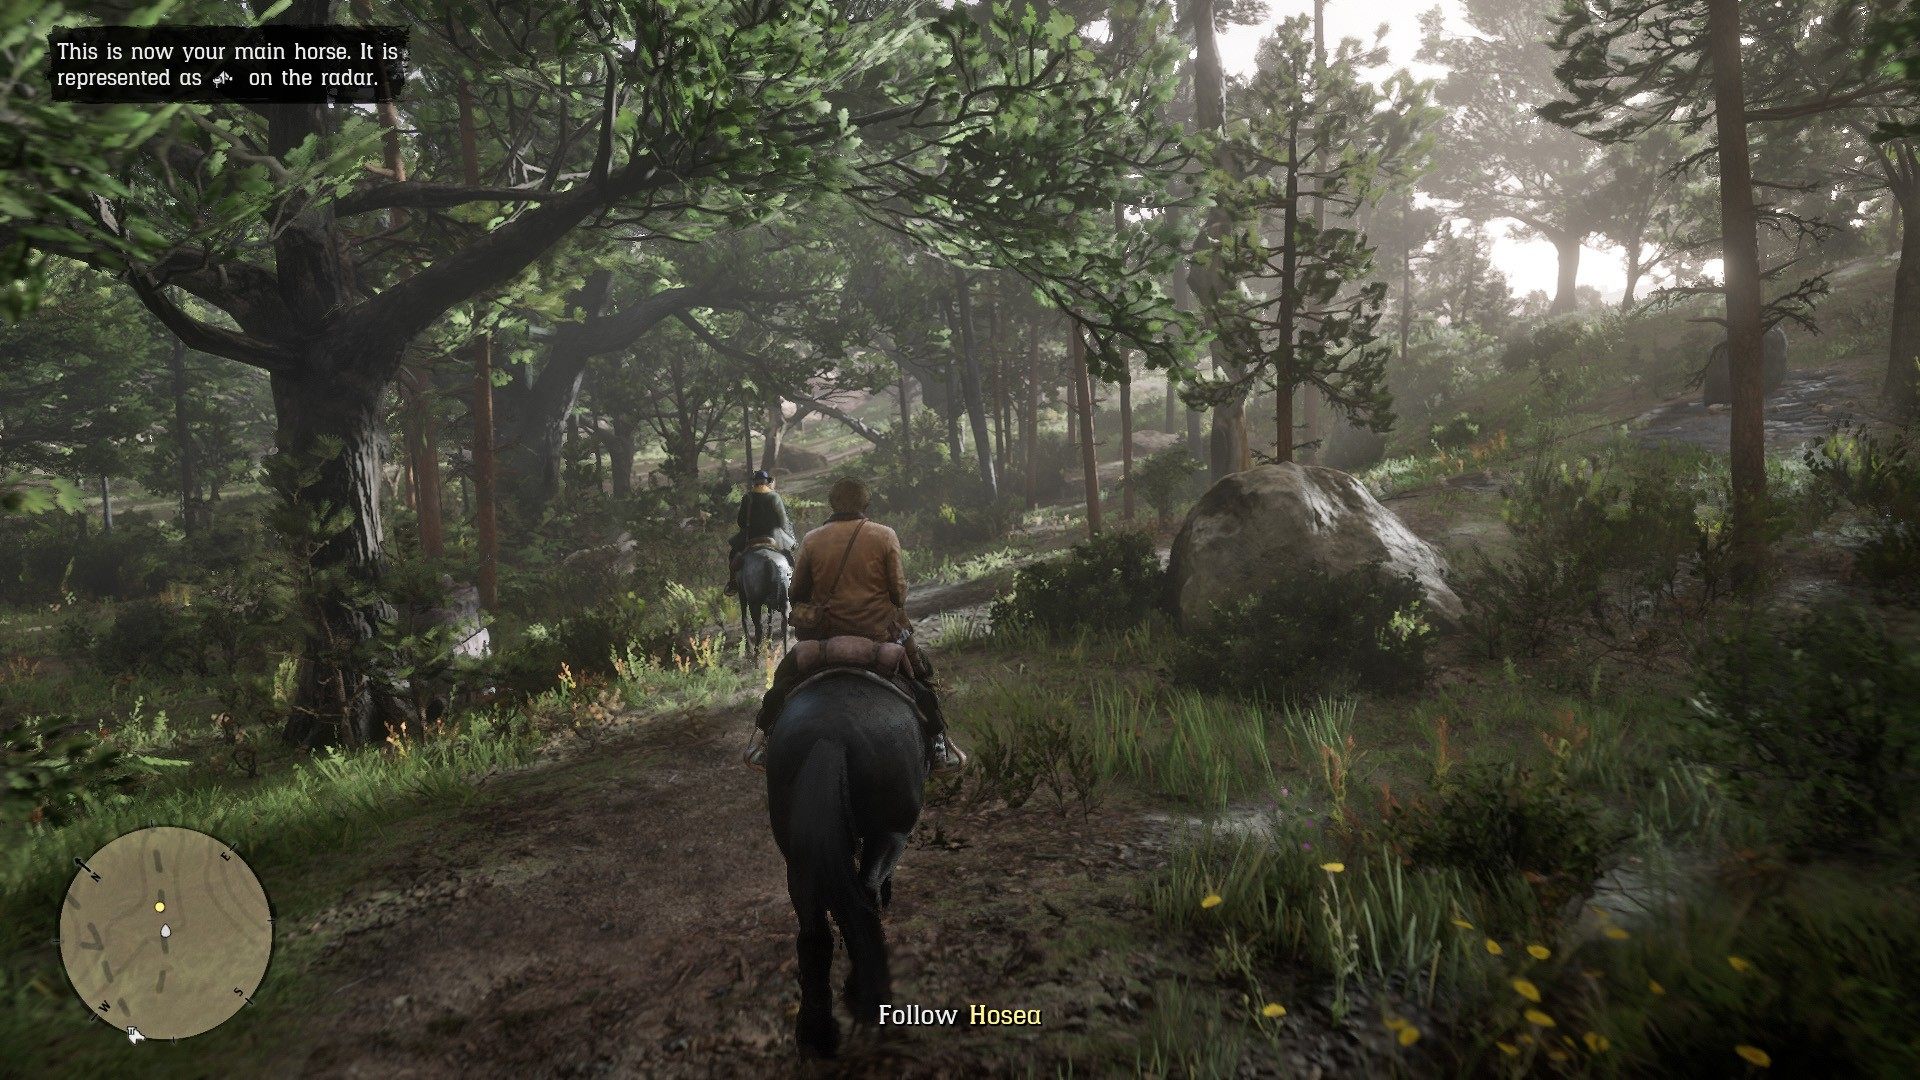
Follow his advice and use a bow or .22 caliber rifle. After you’ve shot the animal, skin it and return it to Hosea. Then you’ll have to make a camp.
Hold L1 to open the weapon wheel, then L2 to access the item wheel.
After setting up the camp, you’ll be enjoying a cozy fire. Cook “Plain Game” by selecting it from the crafting option, using the rabbit parts you just captured. To finish this section of Exit Pursued by a Bruised Ego, you must prepare the entire thing.
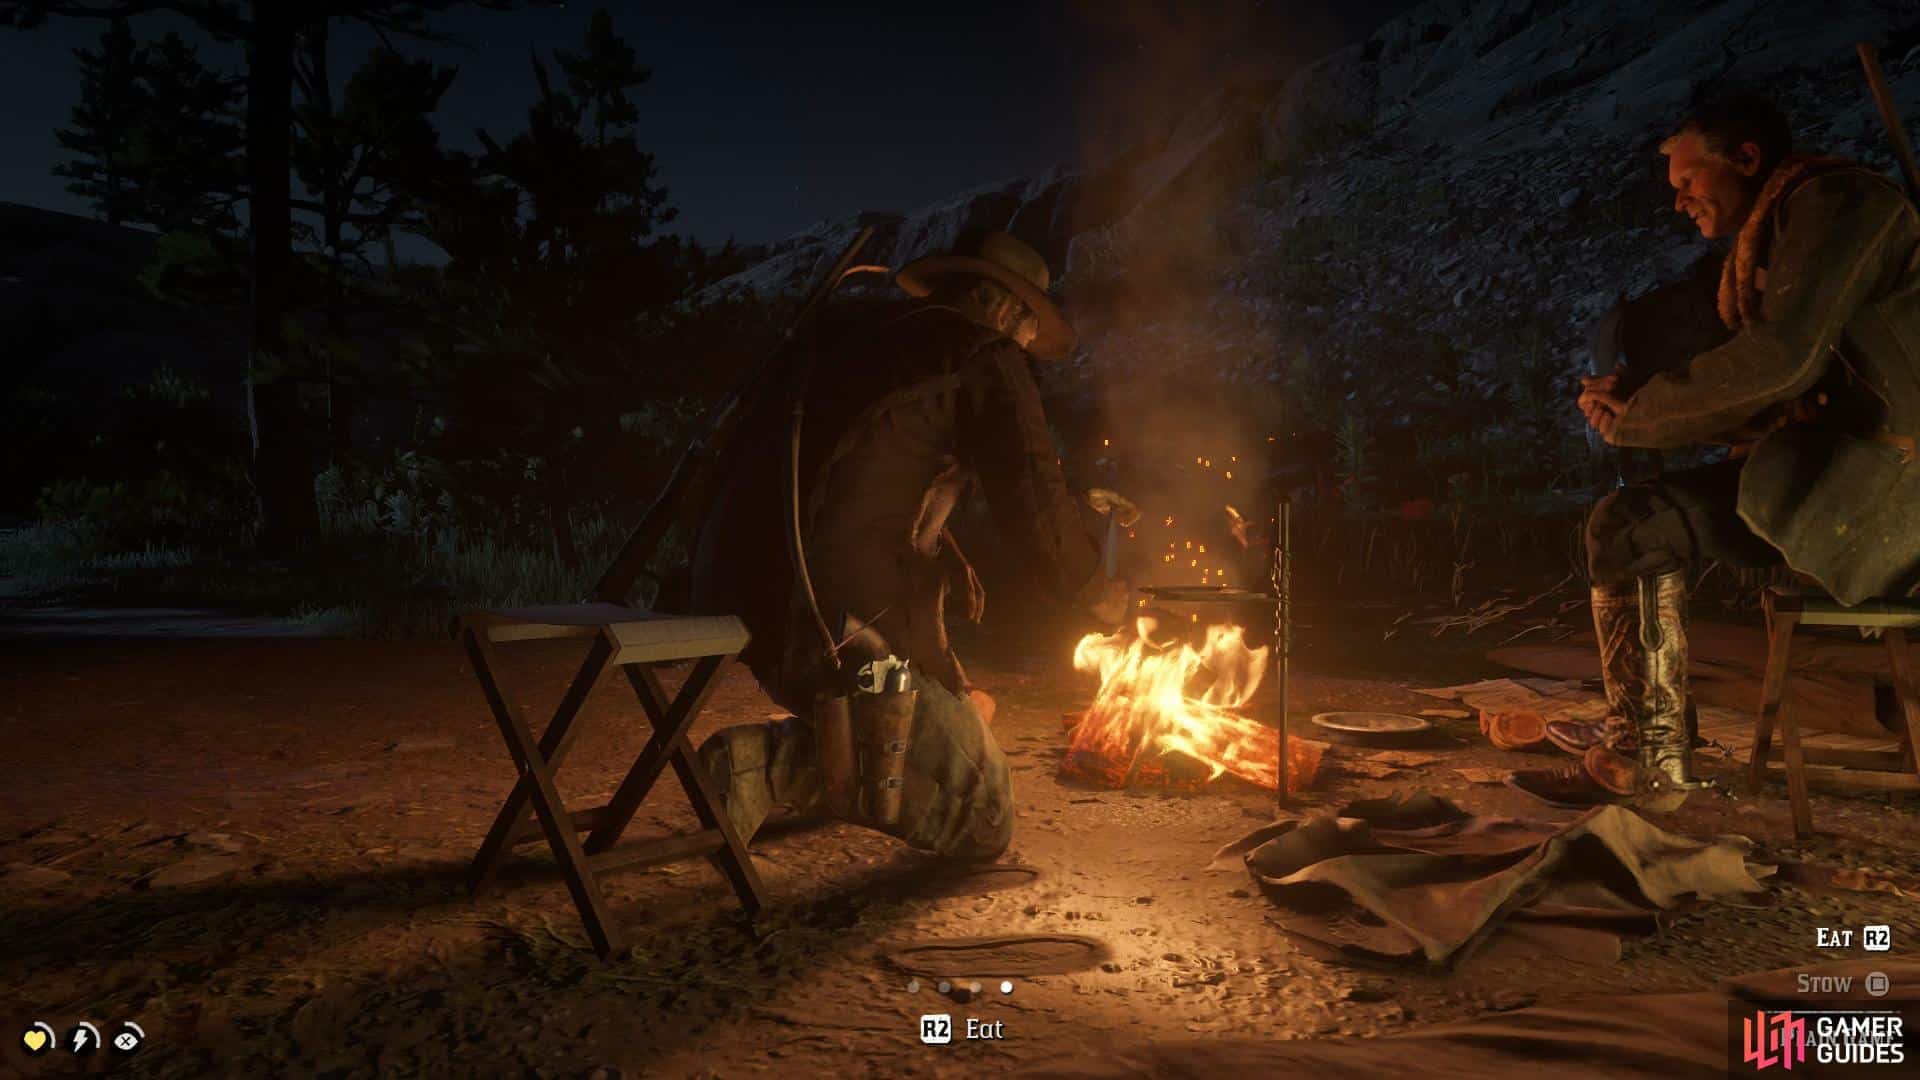
You will both fall asleep after eating the rabbit.
Catching the Bear
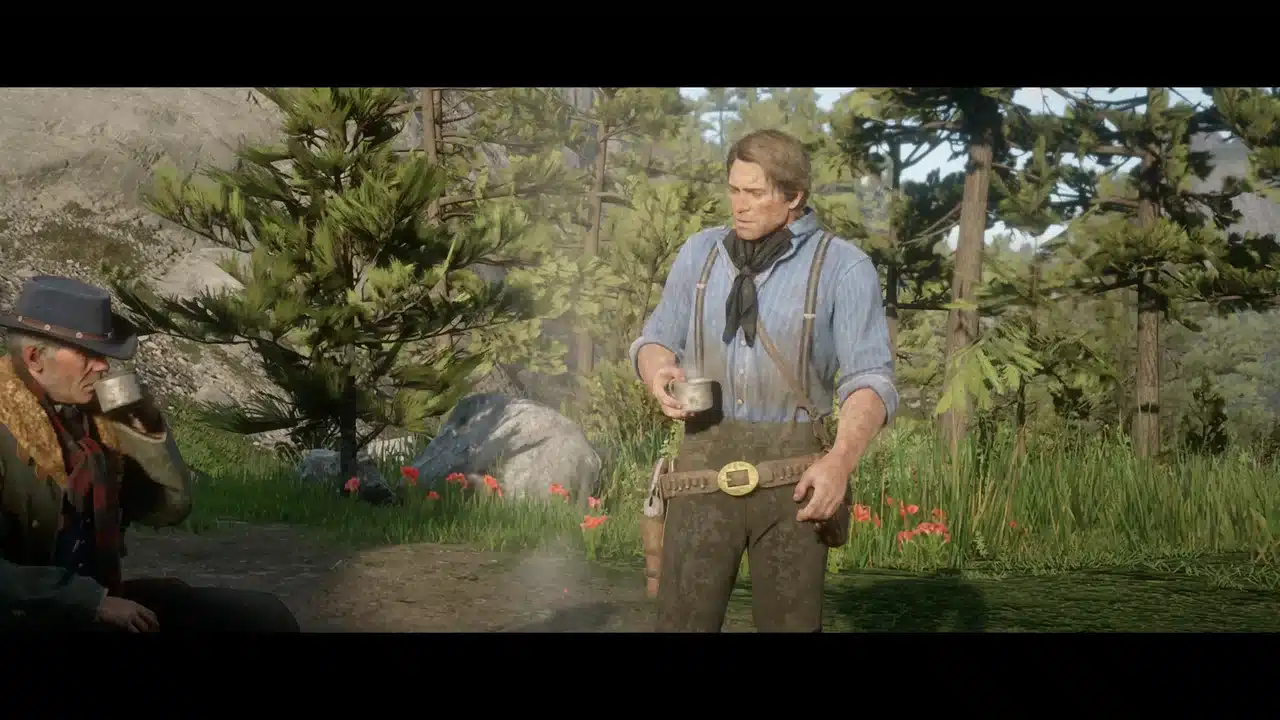
You and Hosea will begin discussing bear-catching techniques the following morning. He will request that you make potent predator bait.
You’ll break camp once you’ve made the lure. Remount the horse, then follow Hosea toward the lake. Hosea will discuss his experiences with Bessie.
(Don’t forget to remove your rifle from the storage area for your horse.)
When you reach the seashore, you’ll dismount and be informed that you’ve entered Legendary Animal land. To see the start of the path, push both sticks together in front of a big boulder in front of the beach. When you use it again, you’ll notice the tracks that head to the right of the boulder, somewhere northwest.
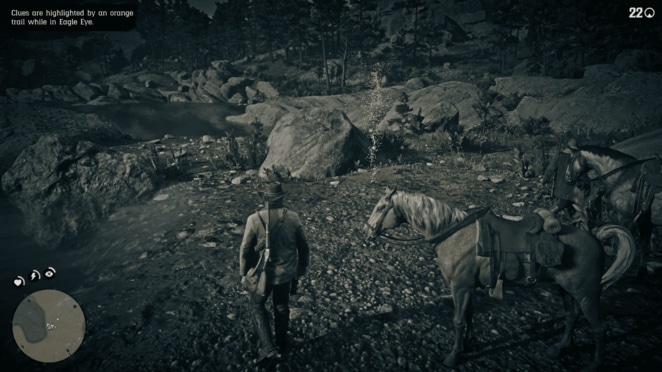
You’ll need to use Eagle Eye to keep the trail moving, mostly north, but you should shortly come across a fish. Continue north and you’ll discover an additional clue (bear shit) Hosea will be drawn to this hint.
Continue north until you reach the trail’s end.
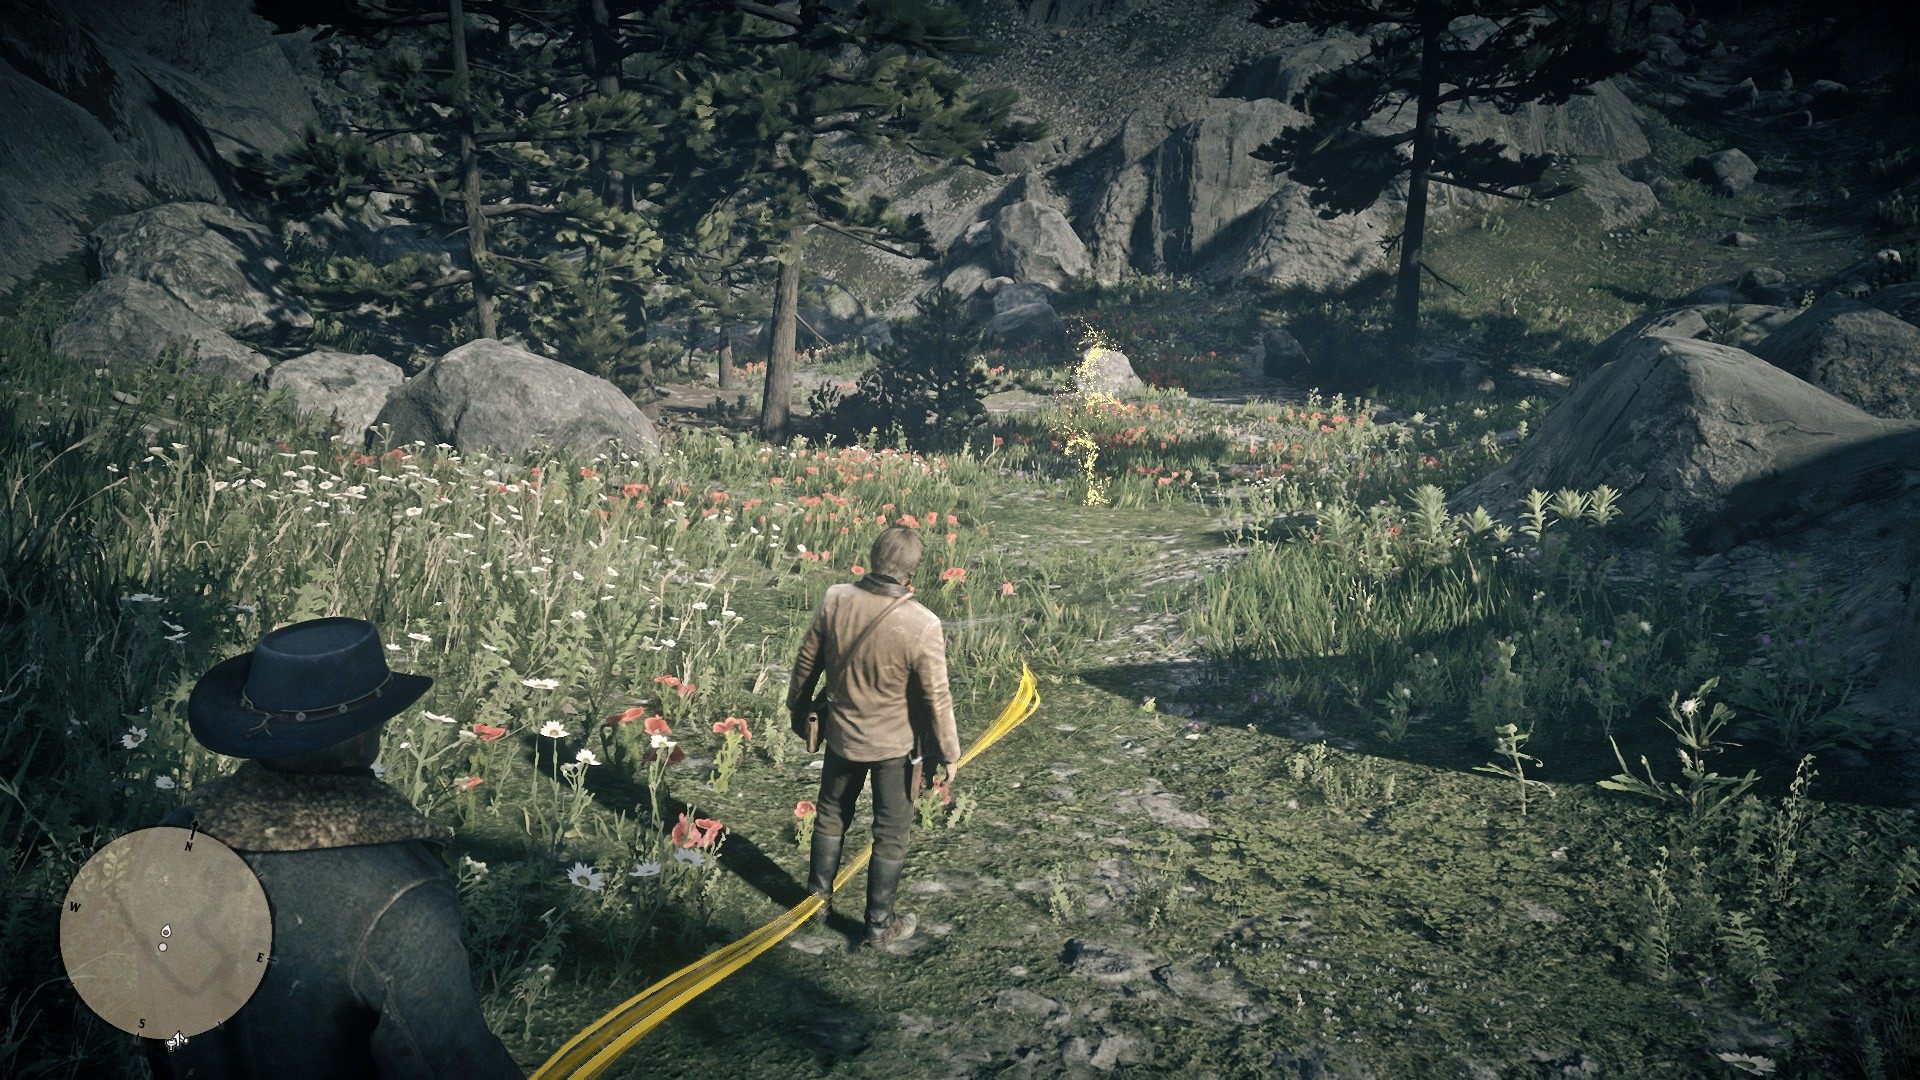
A brief cutscene will play, and you’ll have to decide whether to break up or use bait.
If you decide to use the lure, place it near the rocks ahead. The right location will be highlighted in yellow on the minimap.
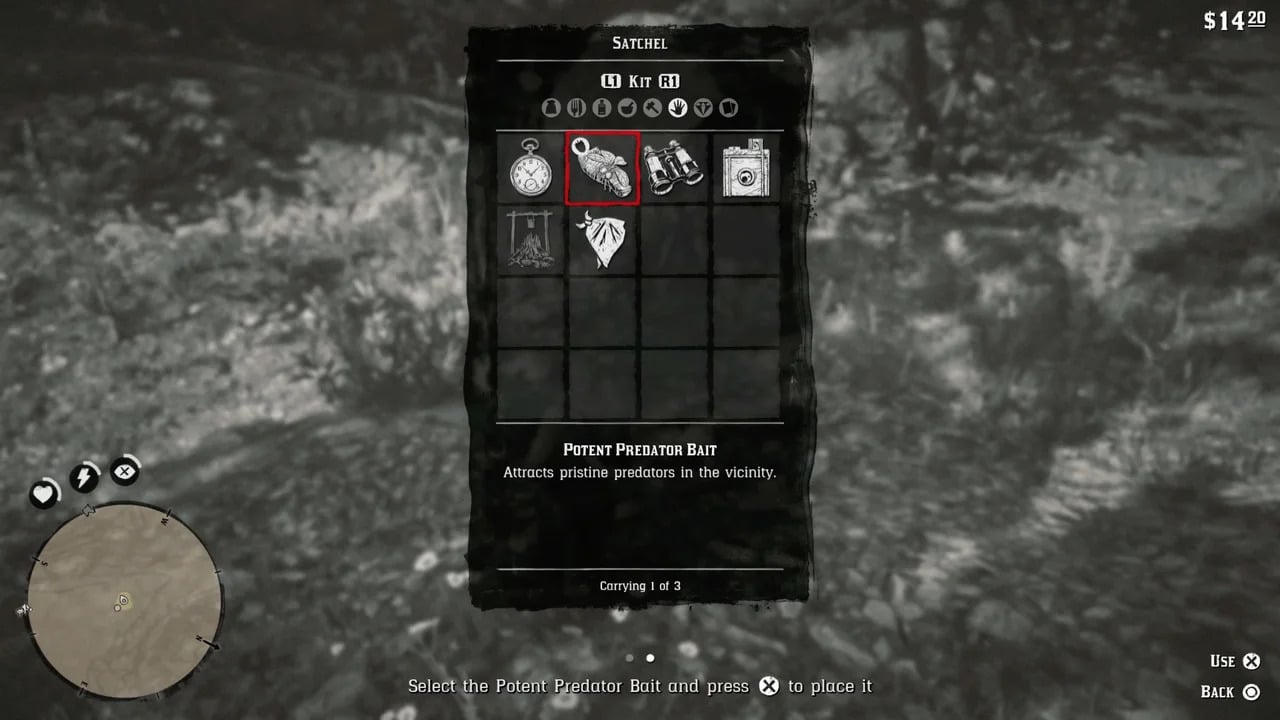
After you’ve placed the bait, crouch behind the boulders to conceal. Equip your gun and follow Hosea to the lure.
However, the bear will come towards you. Still, you should be prepared with a firearm.
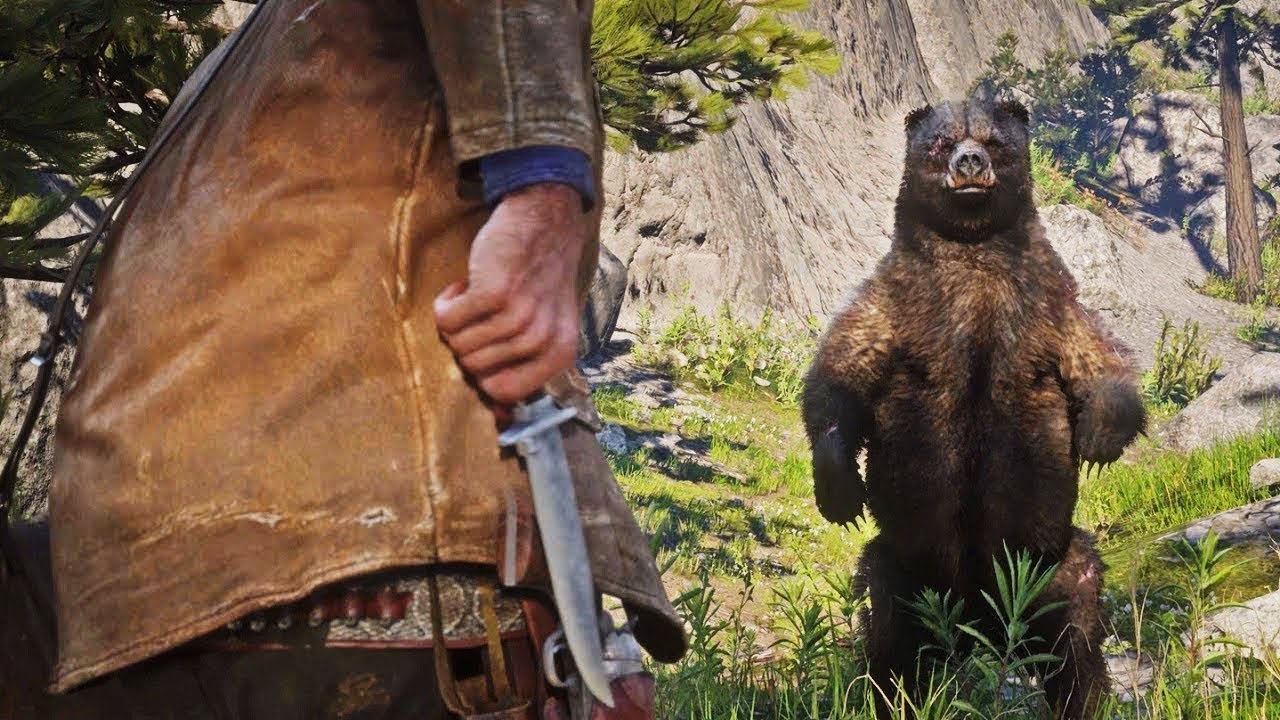
Don’t try chasing the bear after injuring it. Pay attention to Hosea, as a token of appreciation, he’ll offer you a guide to Legendary Animal places.
You can now return to camp with Hosea or continue tracking the bear – which isn’t part of the main objective, yet his first track is directly next to you… But be warned: that bear is extremely powerful and most likely out of your league right now.
https://www.youtube.com/watch?v=ooGAc0NCHoA
Blessed are the Meek
Begin this task by getting to Strawberry and entering the jail. Arthur will pose as a bounty hunter on the trail of Colm O’Driscoll, and the constable will inform you that you can look at the two men they’ve apprehended once they’ve been sent to the gallows to hang.
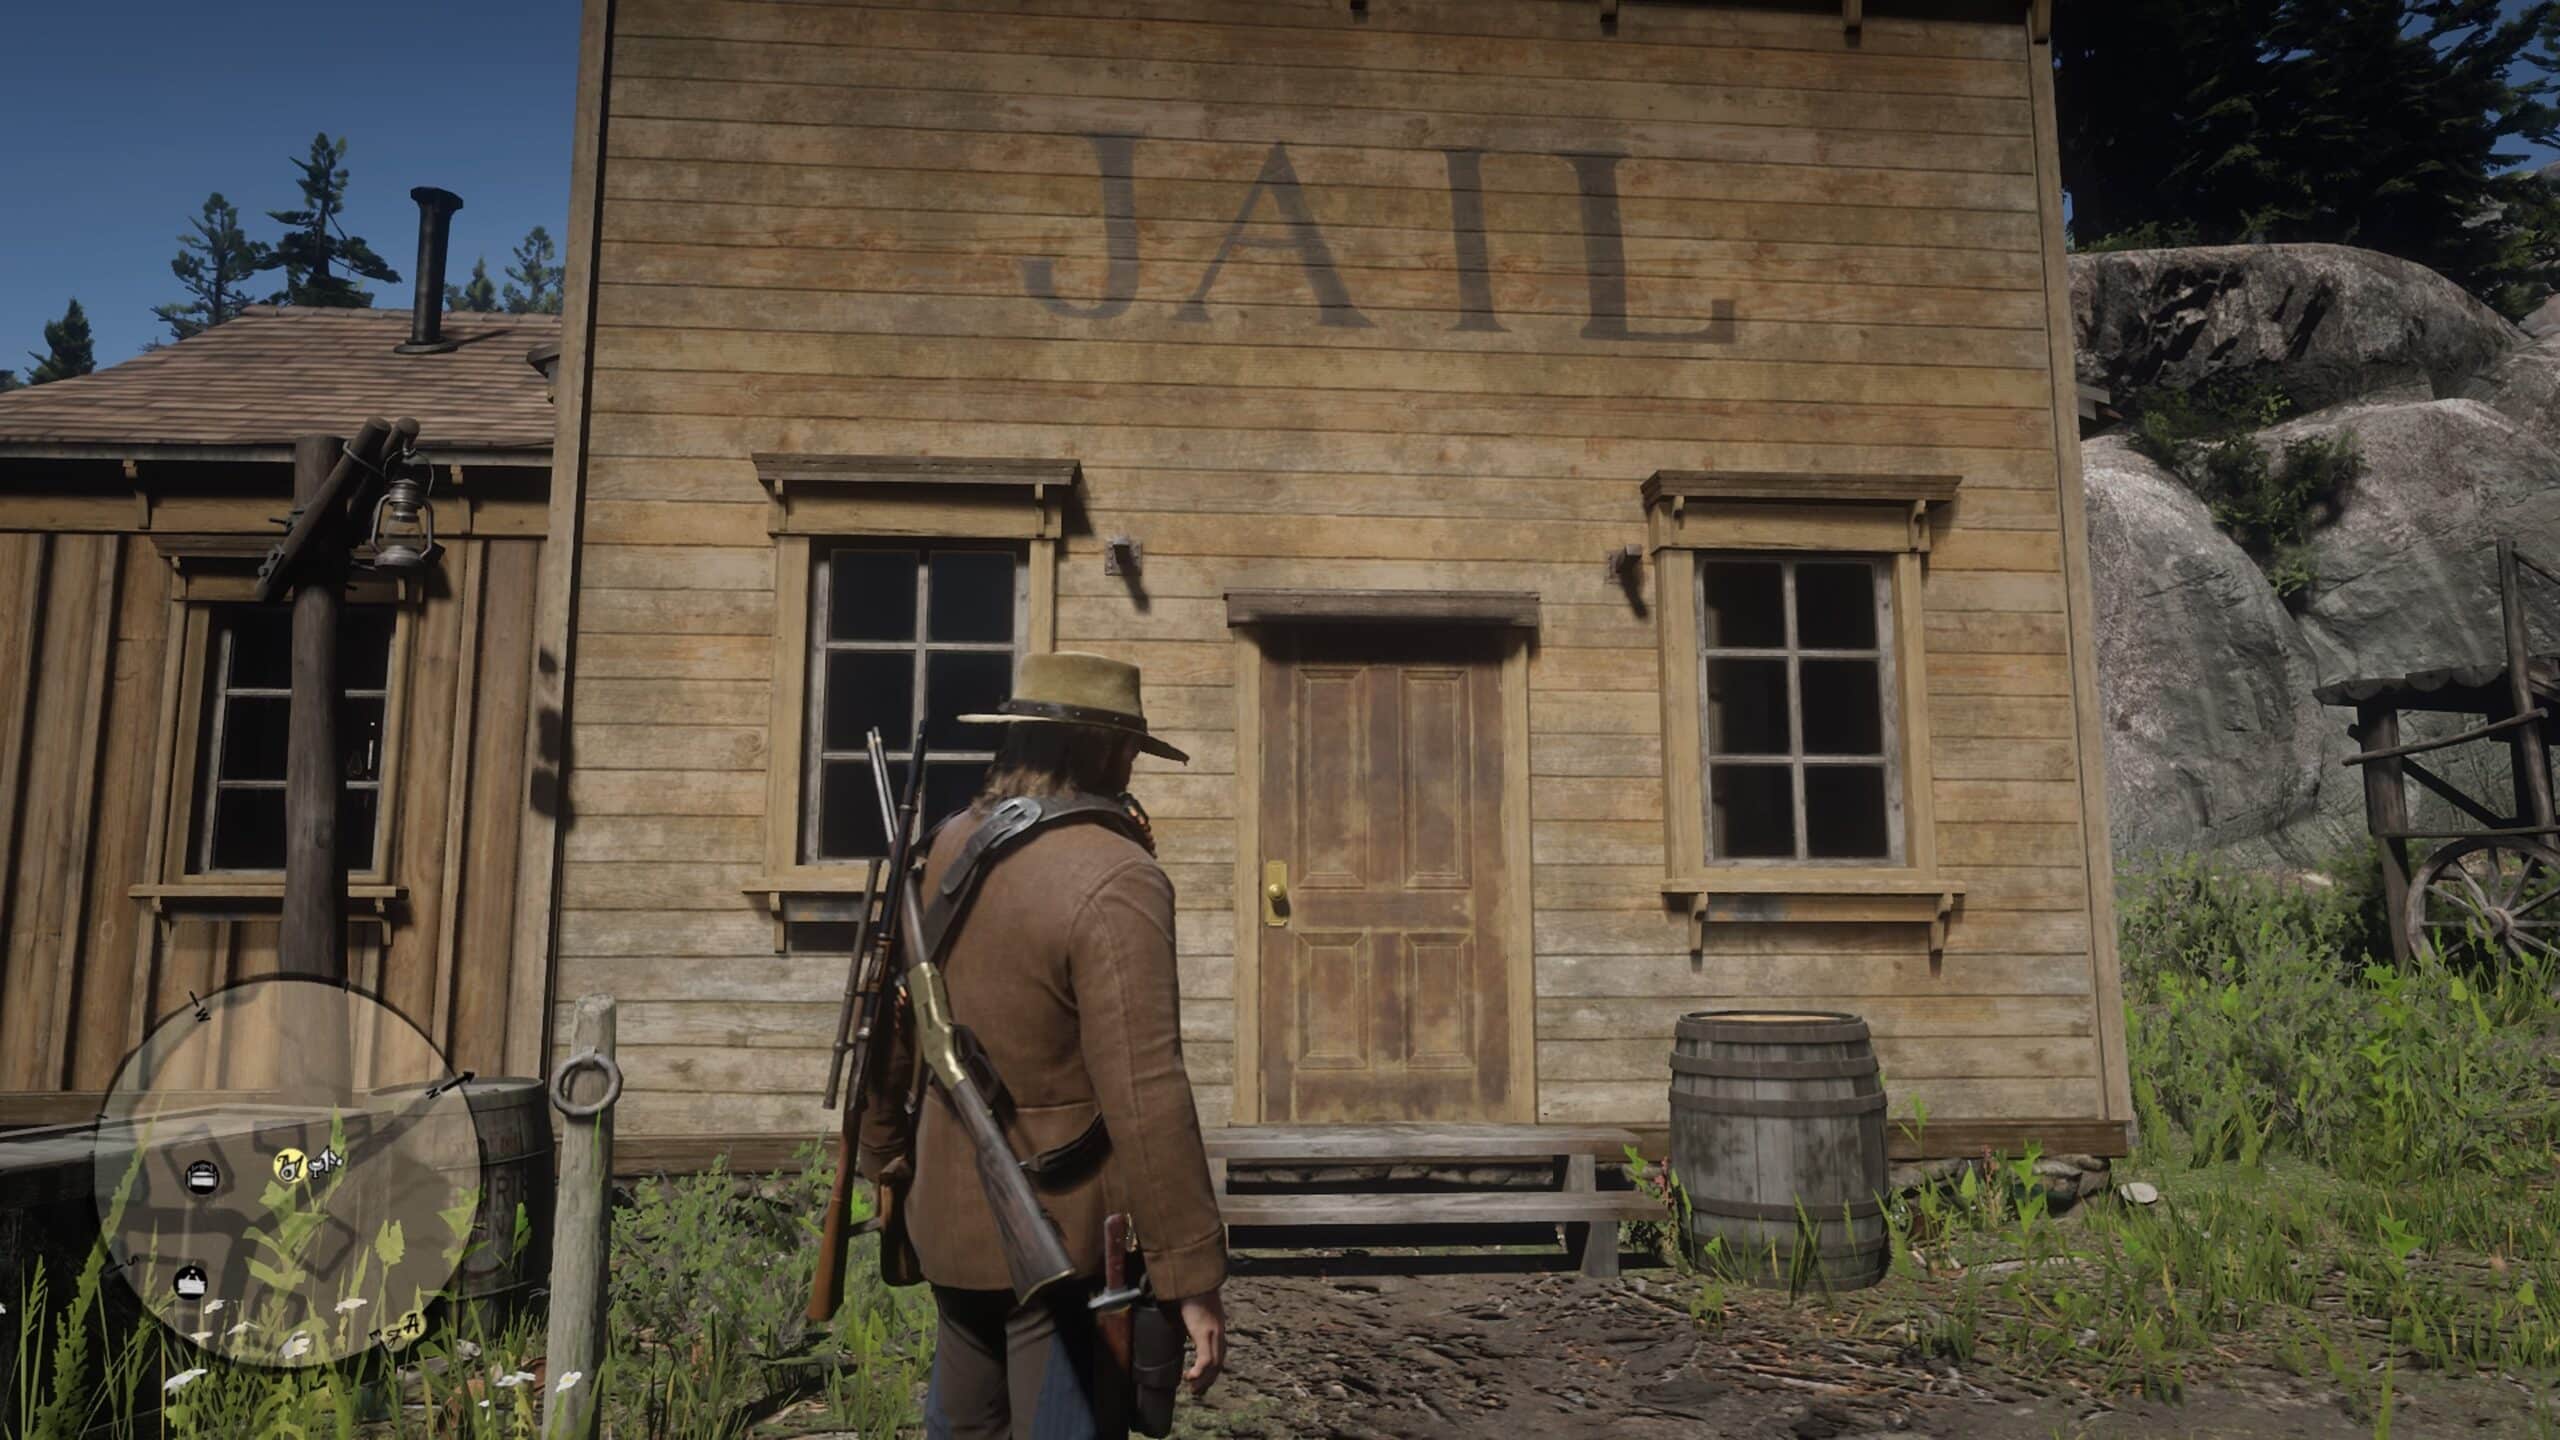
You can’t see the prisoners, including Micah. After you exit the facility, turn around and approach Micah on the left side through the bars. He will react the same whether you greet him or criticize him.
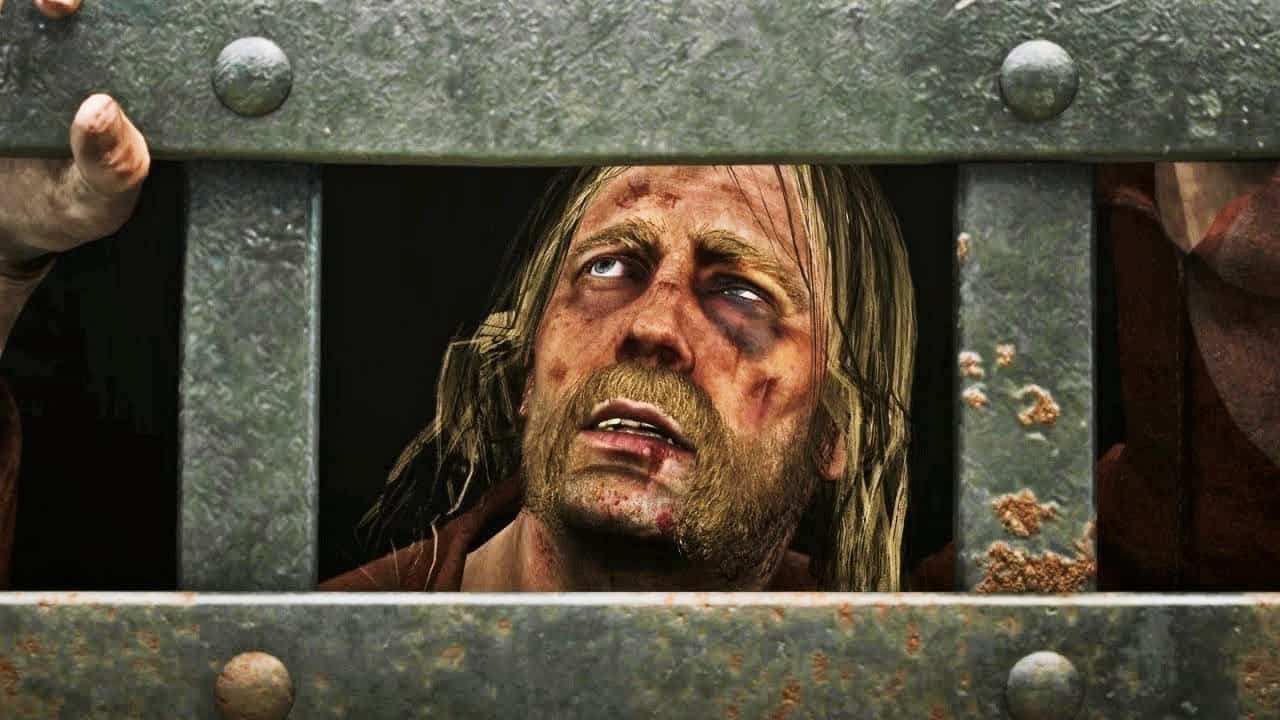
’It’s about to happen, and you don’t want to be identified, so you might want to put on a mask right now.
You can use explosives or the hook and chain device to release him after speaking with him. If you don’t have any explosives, take the hook from a neighboring device and fasten it to the chains. To unlock the wall and release Micah, turn on the generator.
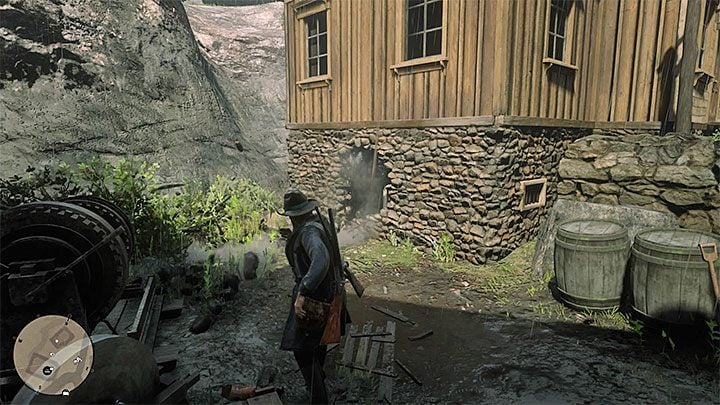
All chaos breaks loose when Micah murders another prisoner and lawmen arrive to arrest you.
After the first wave, Micah will yell for Skinny as he runs off to retrieve something from his home.
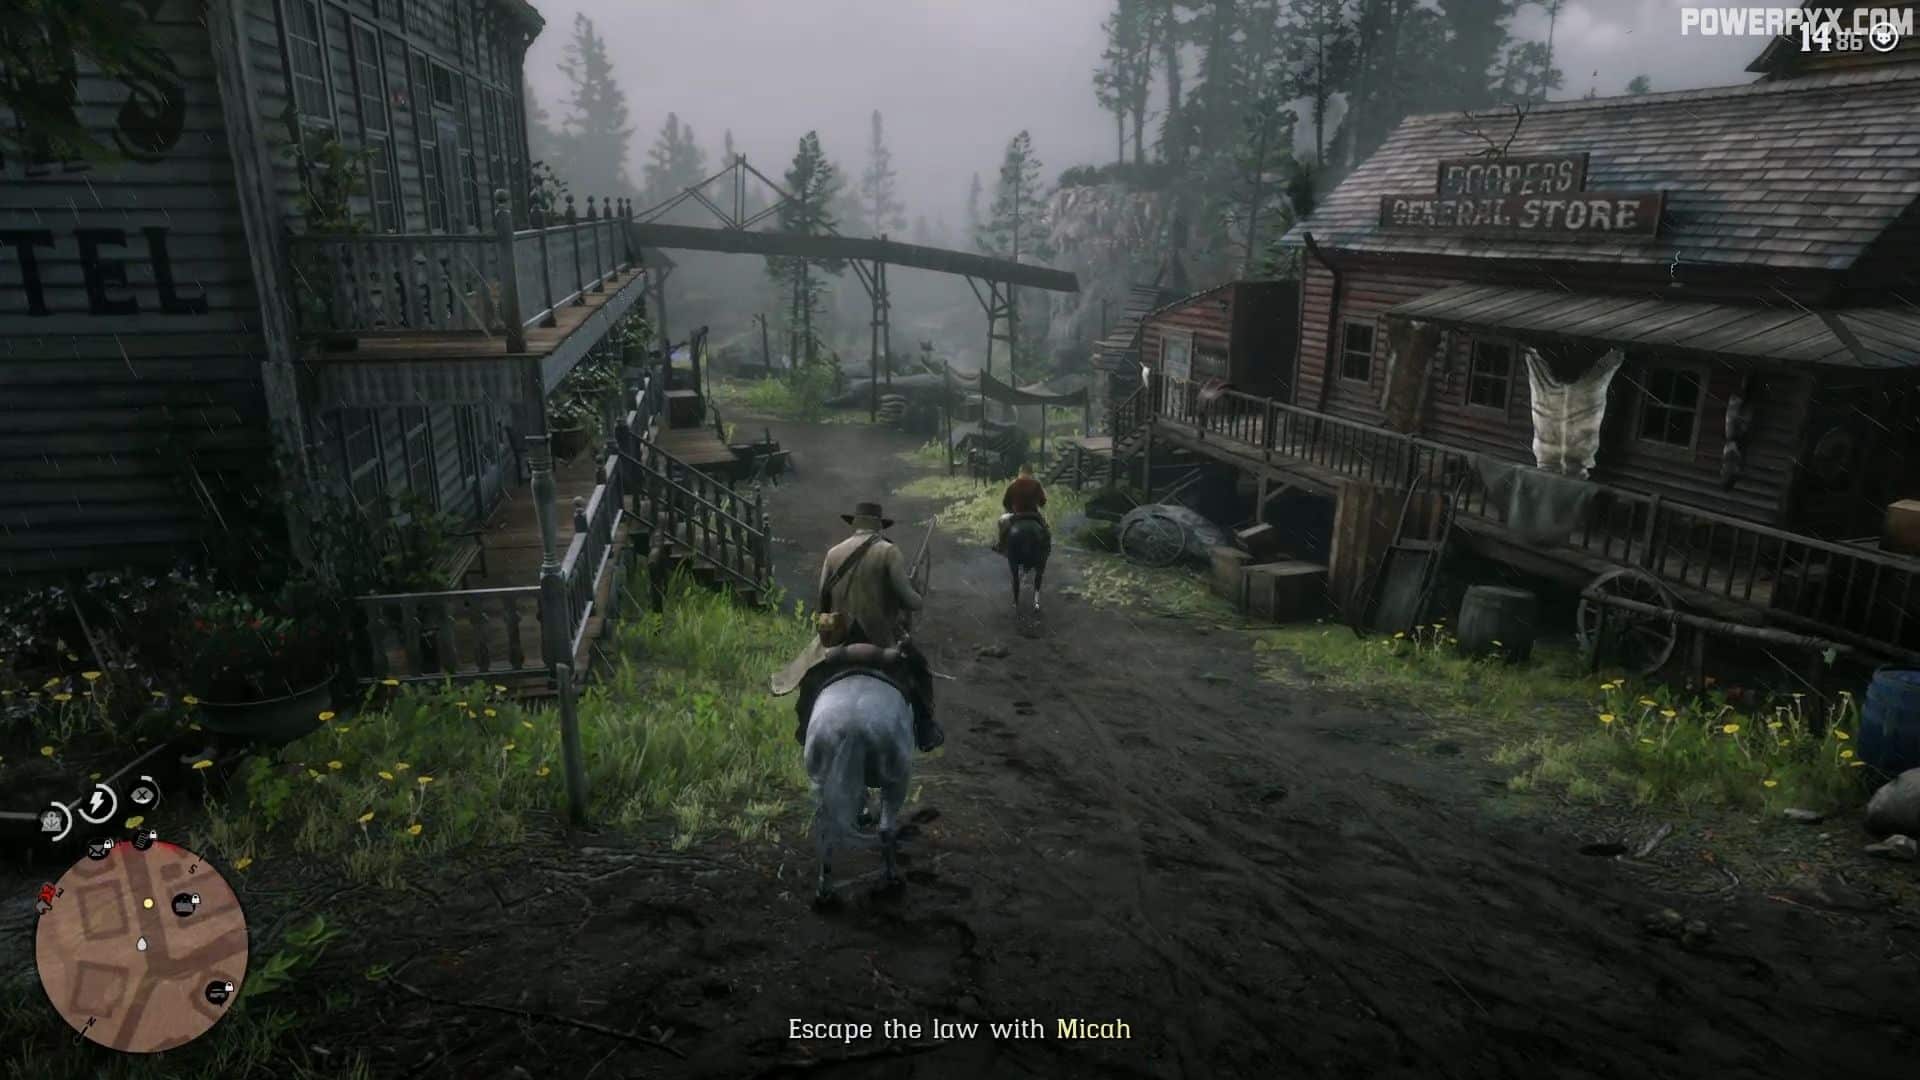
Loot the corpses of the troops you just killed while he is busy doing this. Micah will eventually come out with his two firearms, but before you approach him, take cover behind a wagon on the other side of the small bridge, which is to the left of the home he entered. Your animals will be visible from here on the left.
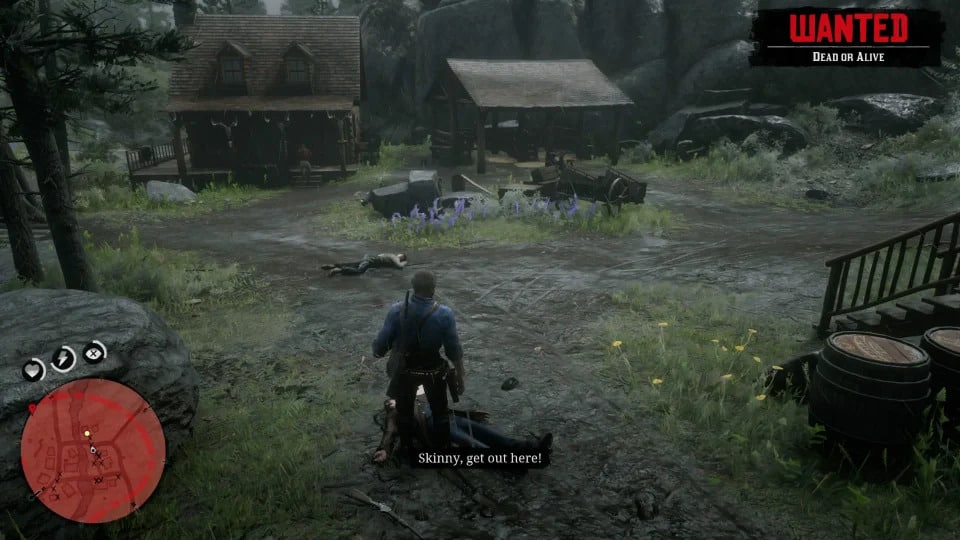
Unless you’ve already dealt with most enemies along this route, Micah has the propensity to run into them and get slain.
Once you’ve cleared the way to your horses, approach Micah (the yellow dot on your map) to persuade him to cross the bridge and proceed with you.
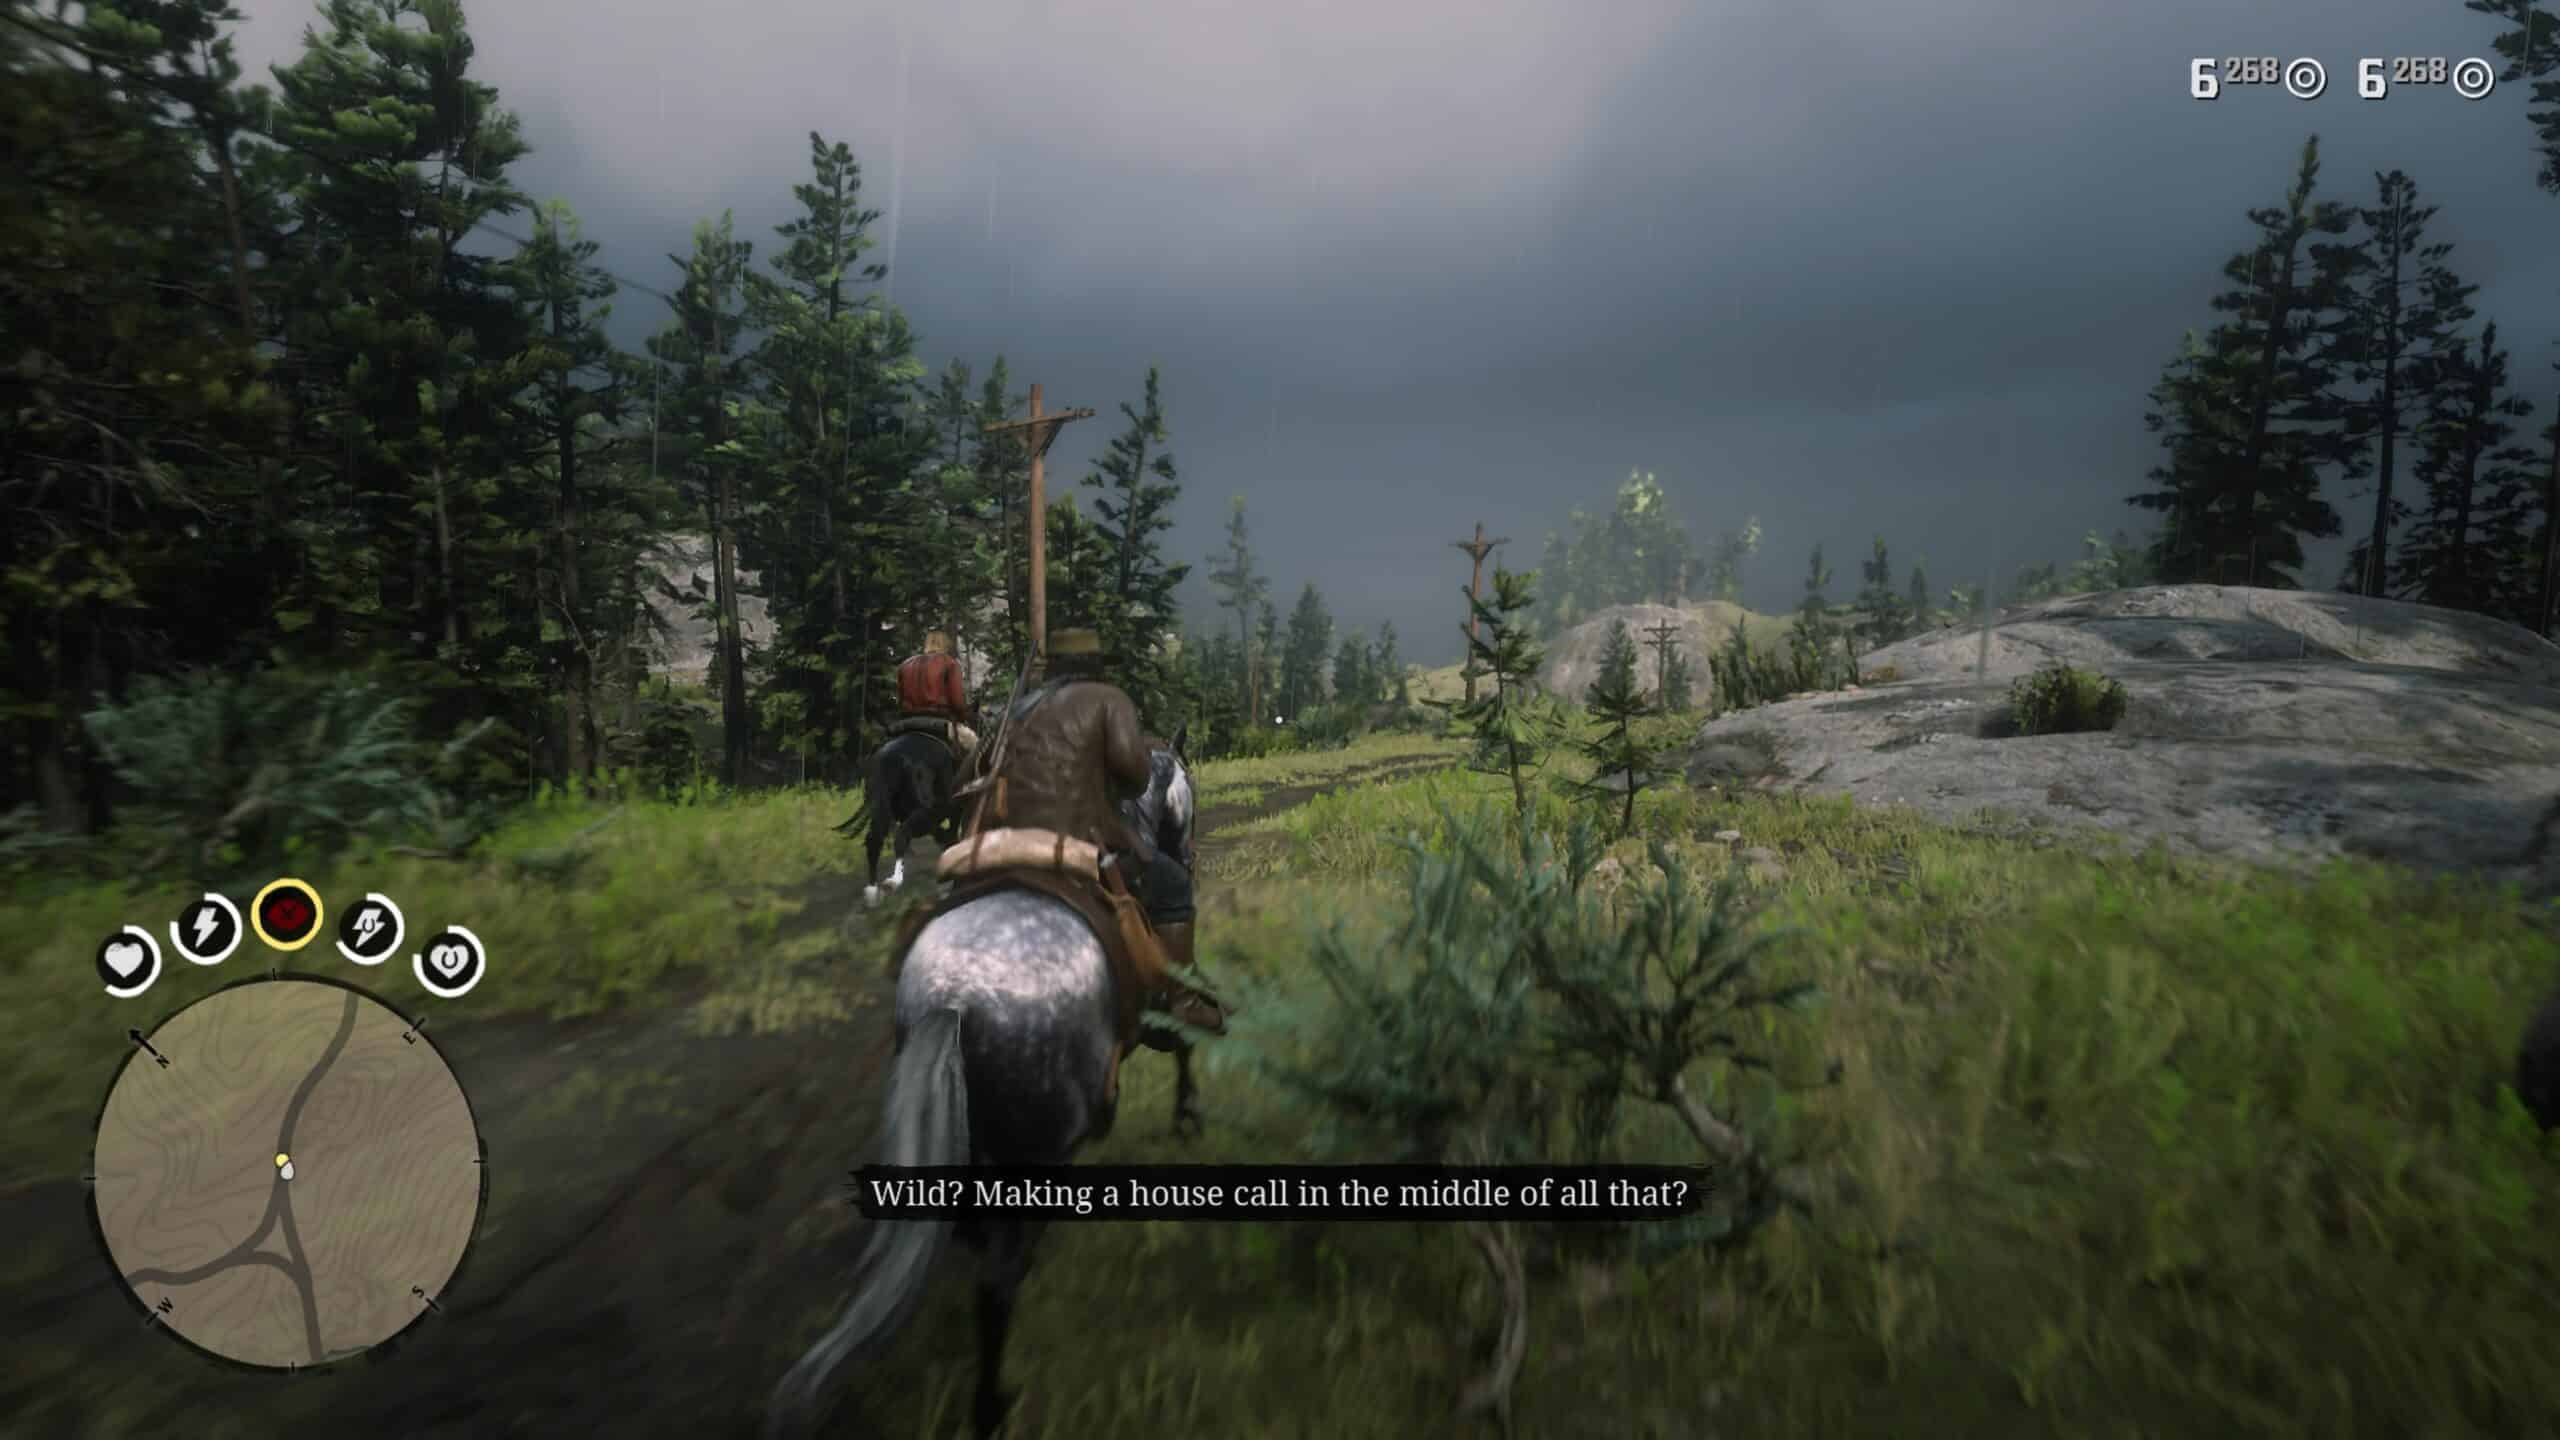
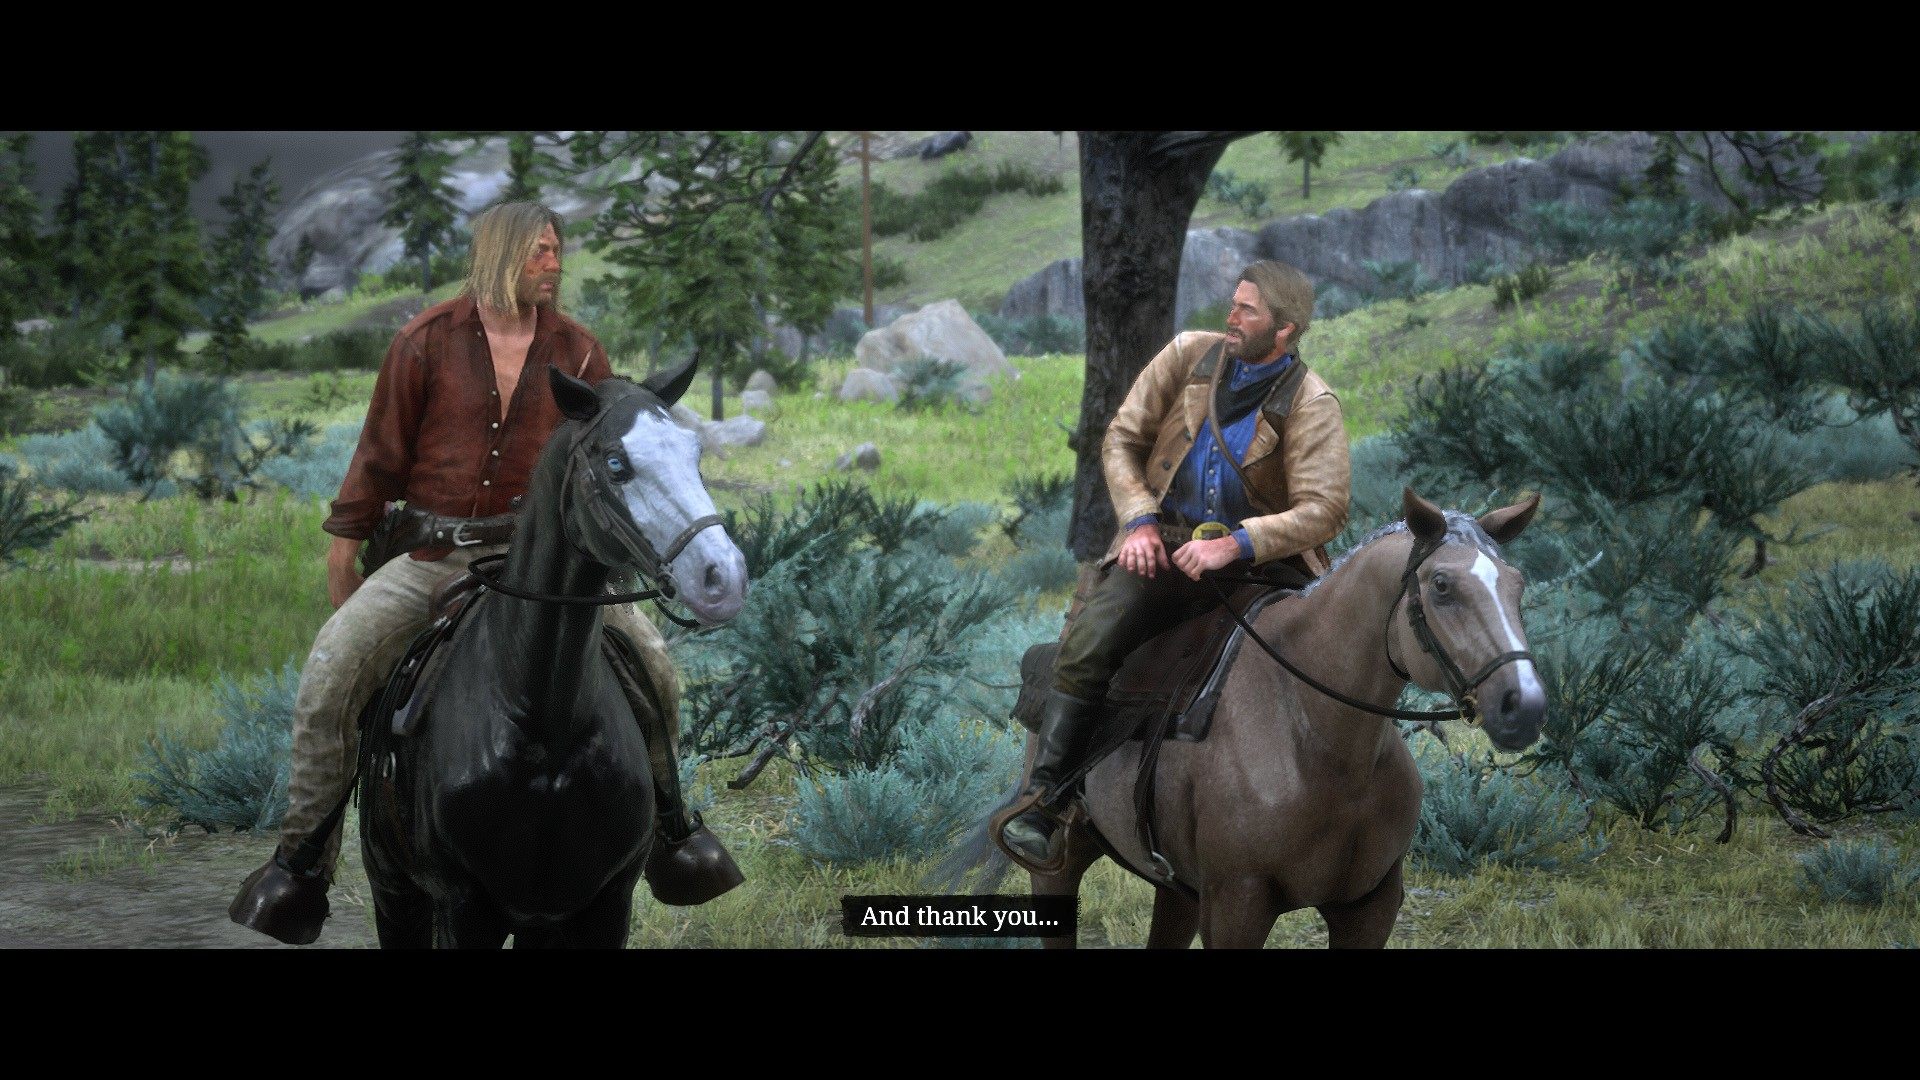
After you leave, Micah and Arthur will argue, and Micah will invite you to see him at his cabin. Additionally, he will grant you an off-hand holster so you can now carry and use two side-arm weapons simultaneously.
Who is Not without Sin
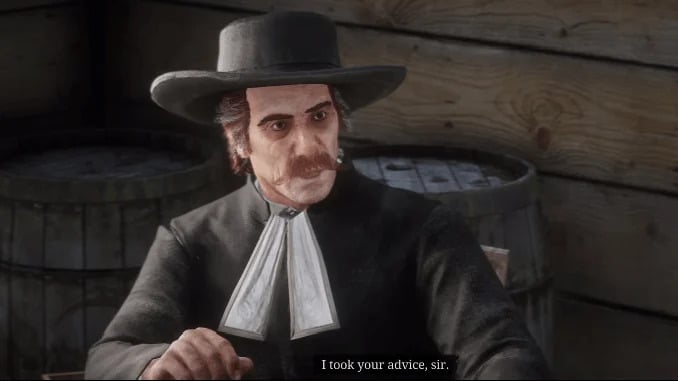
Talk to Reverend Swanson Swanson at Flatneck Station, which is located south of Horseshoe Overlook, to begin this quest. When you enter the building, a cutscene will play in which the Reverend Swanson is drunken.
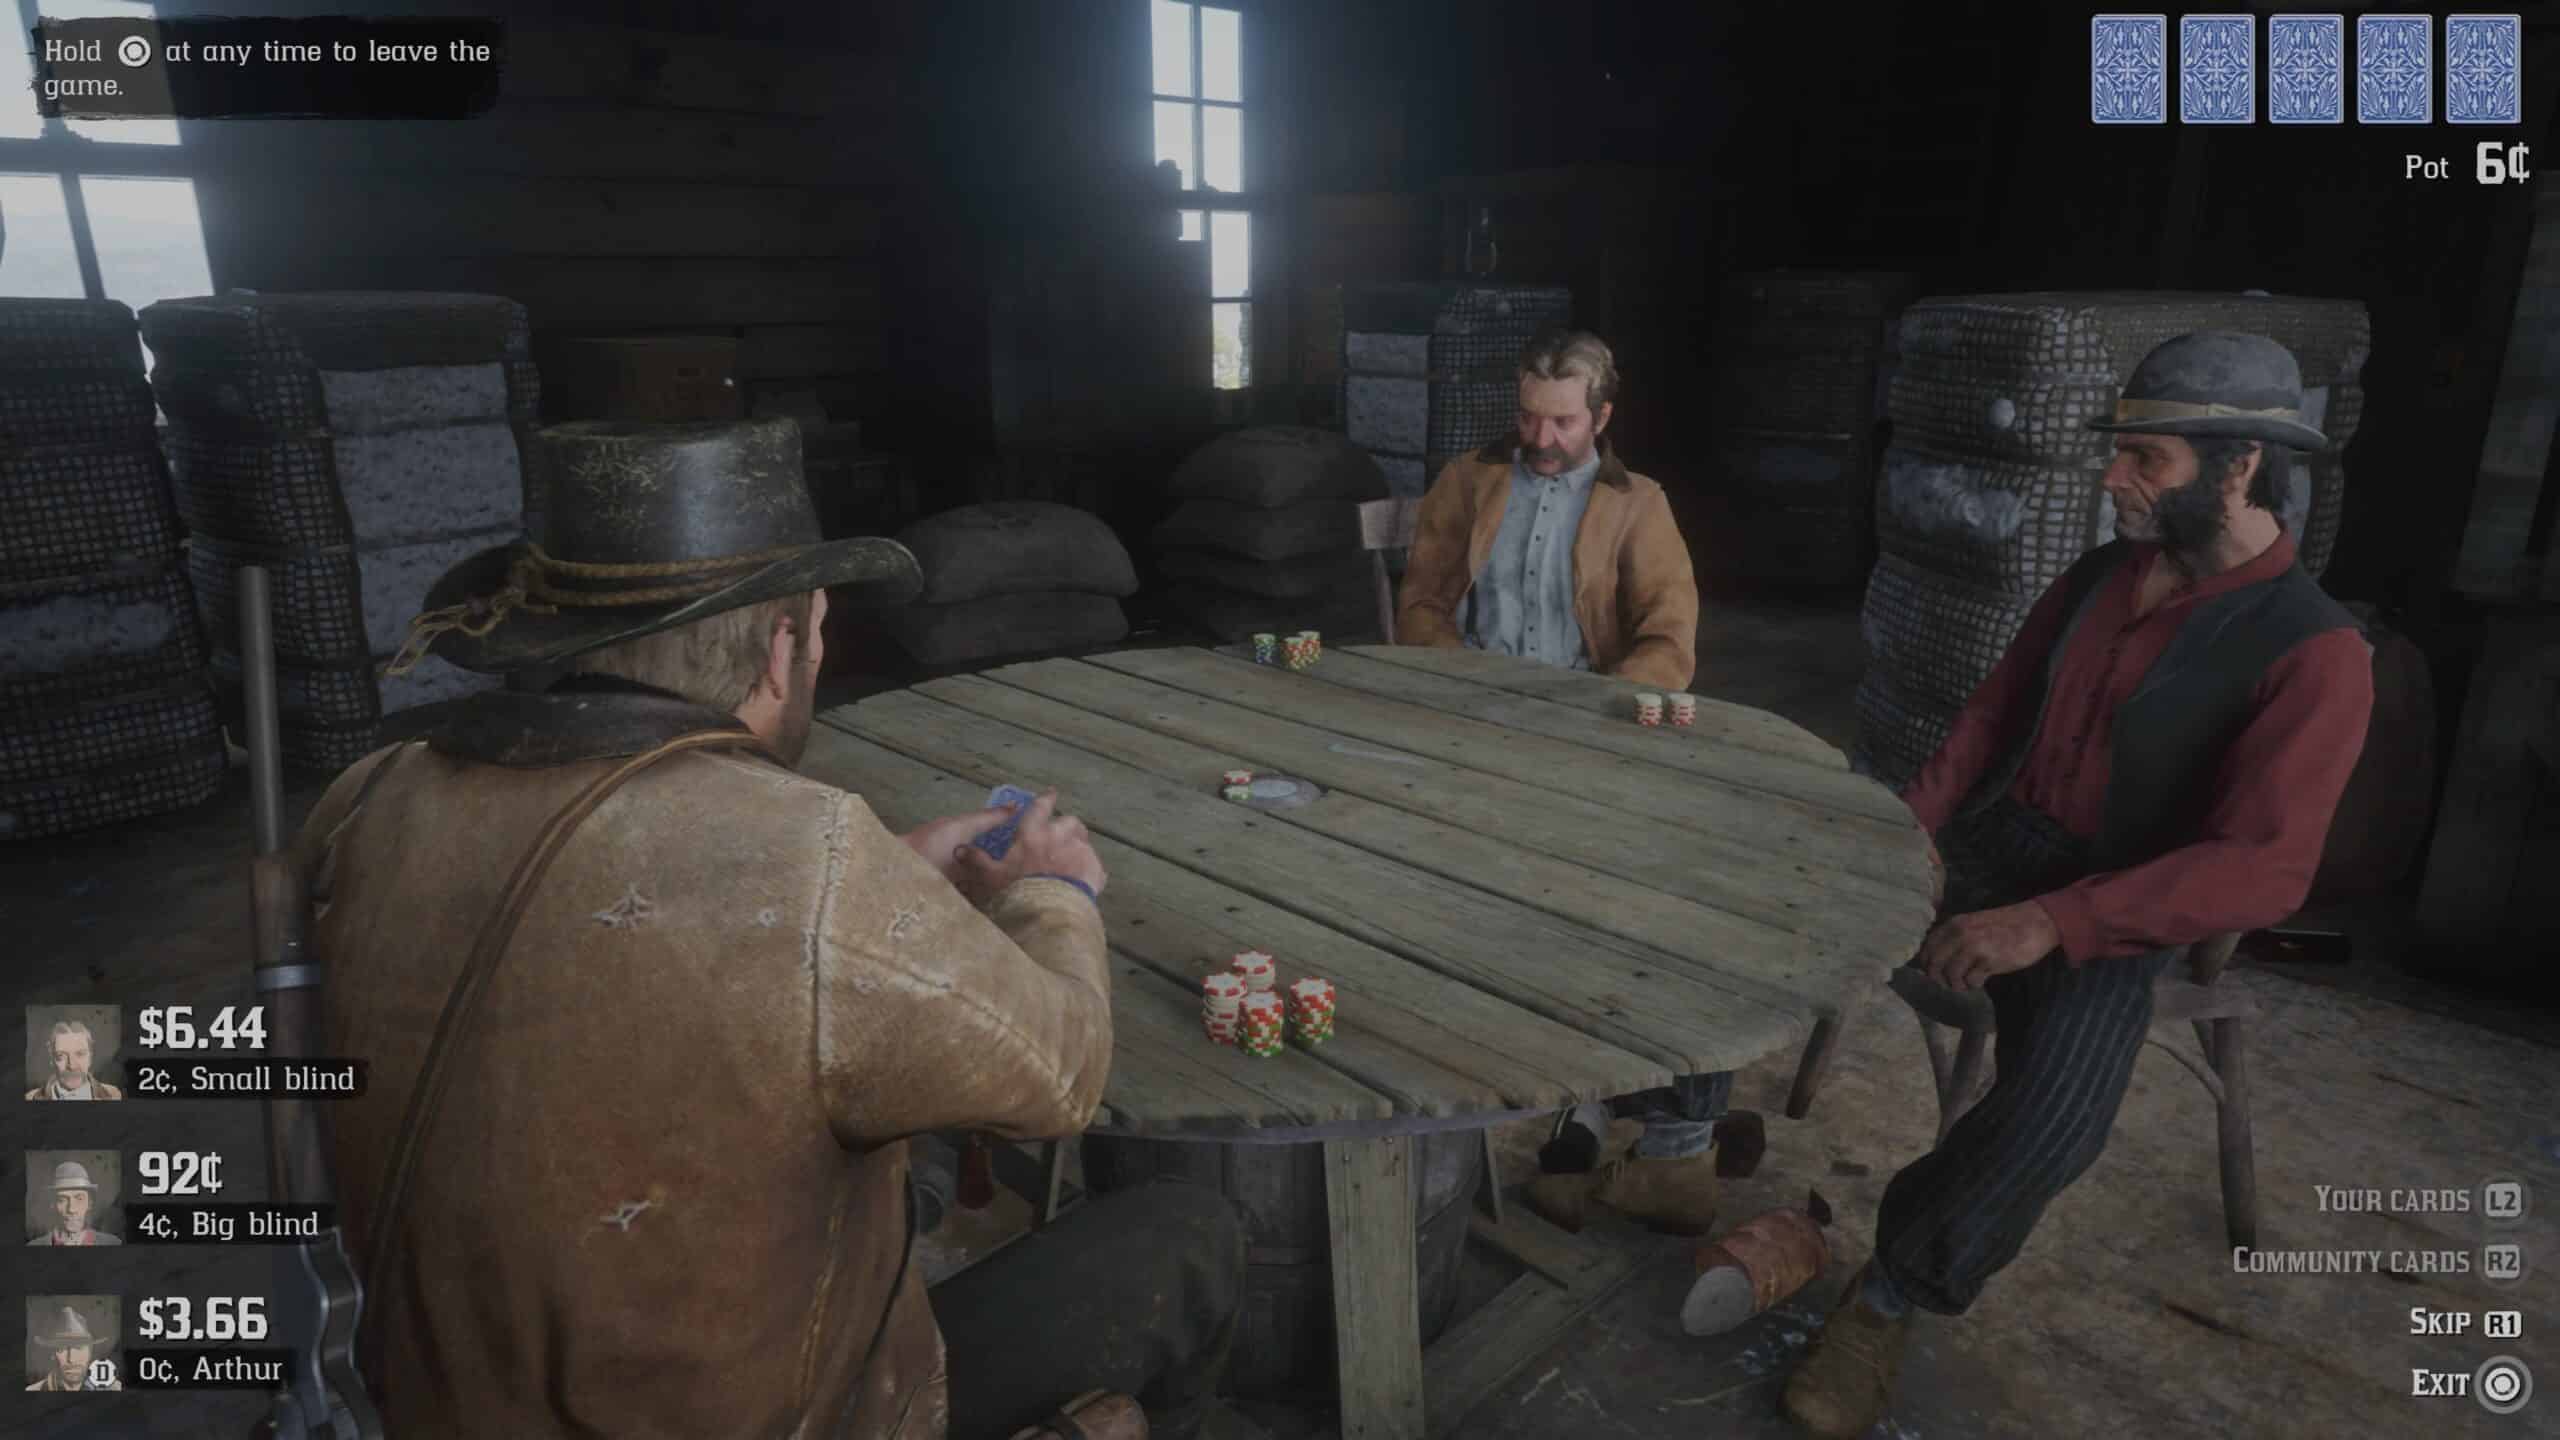
You can decide to join the other two guys there in a game of poker in his place. The rules of the game are the same as those of Texas Hold ’em. You can stop playing at any moment and resume it later to complete the task.
If you participate, Reverend Swanson will eventually leave and you will have to track him down. (You may have to do this either way.)
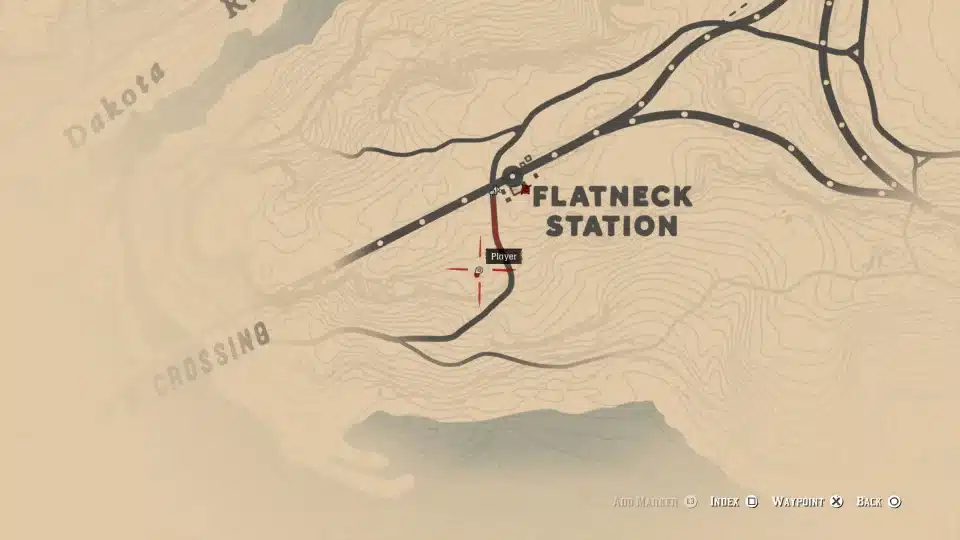
Leave the property and proceed south, calling out for him. Reverend Swanson’s position can be found on the chart below.
He’s in a battle with another guy, and you’ll have to fight him. Someone will most likely notice you and you will have to track him down. You will fail the task if he reaches the bridge’s underpass.
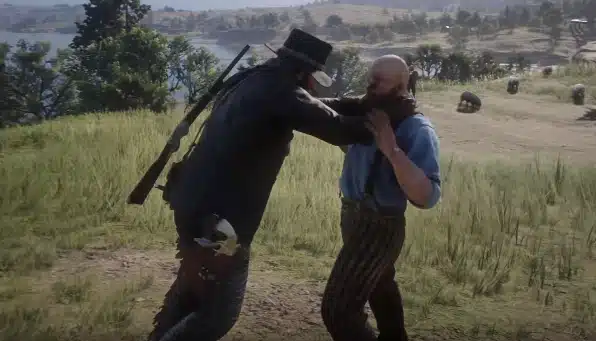
Hold L2 to engage with him, but he may be too far away. In this situation, you can shoot him without killing him, which is simpler and has a greater range than using a lasso.
You then have the option of killing or intimidating the victim. Whatever you do, you’ll eventually see Reverend Swanson up on the railway lines above.
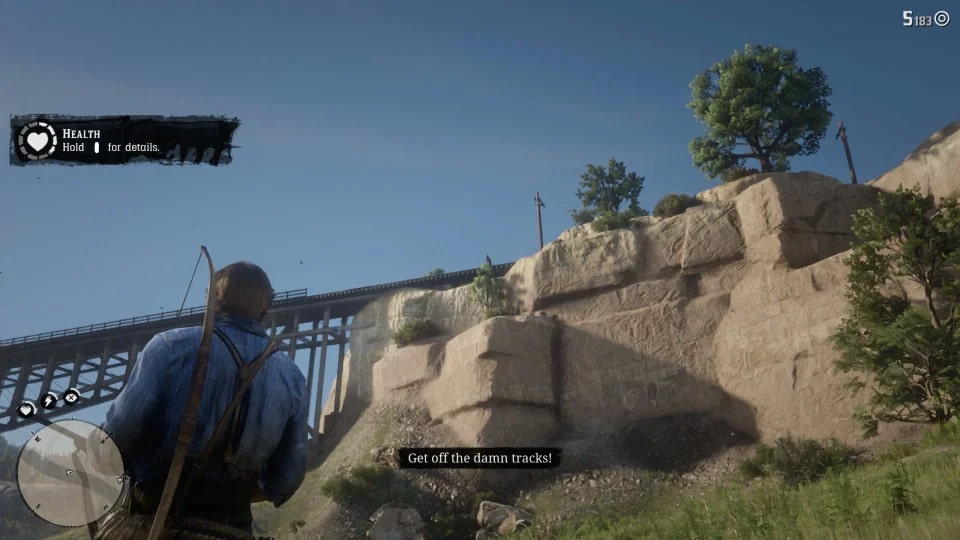
Run up to Reverend Swanson. His foot is caught in the bridge’s railway tracks, and a train is coming. Help him as soon as possible, and you’ll save both of you.
Swanson, Reverend Swanson will exclaim how delighted he would be to go home and have tea with Margaret, but he will pass out drunk before he can describe who she is.
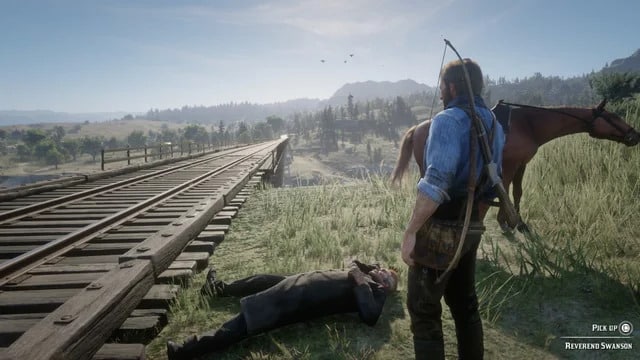
Take Reverend Swanson home close to Horseshoe Creek by placing him on the back of your horse. Simply follow the yellow on the tracks, or enter dramatic mode by holding down the trackpad and tapping X/A to have the road follow you automatically.
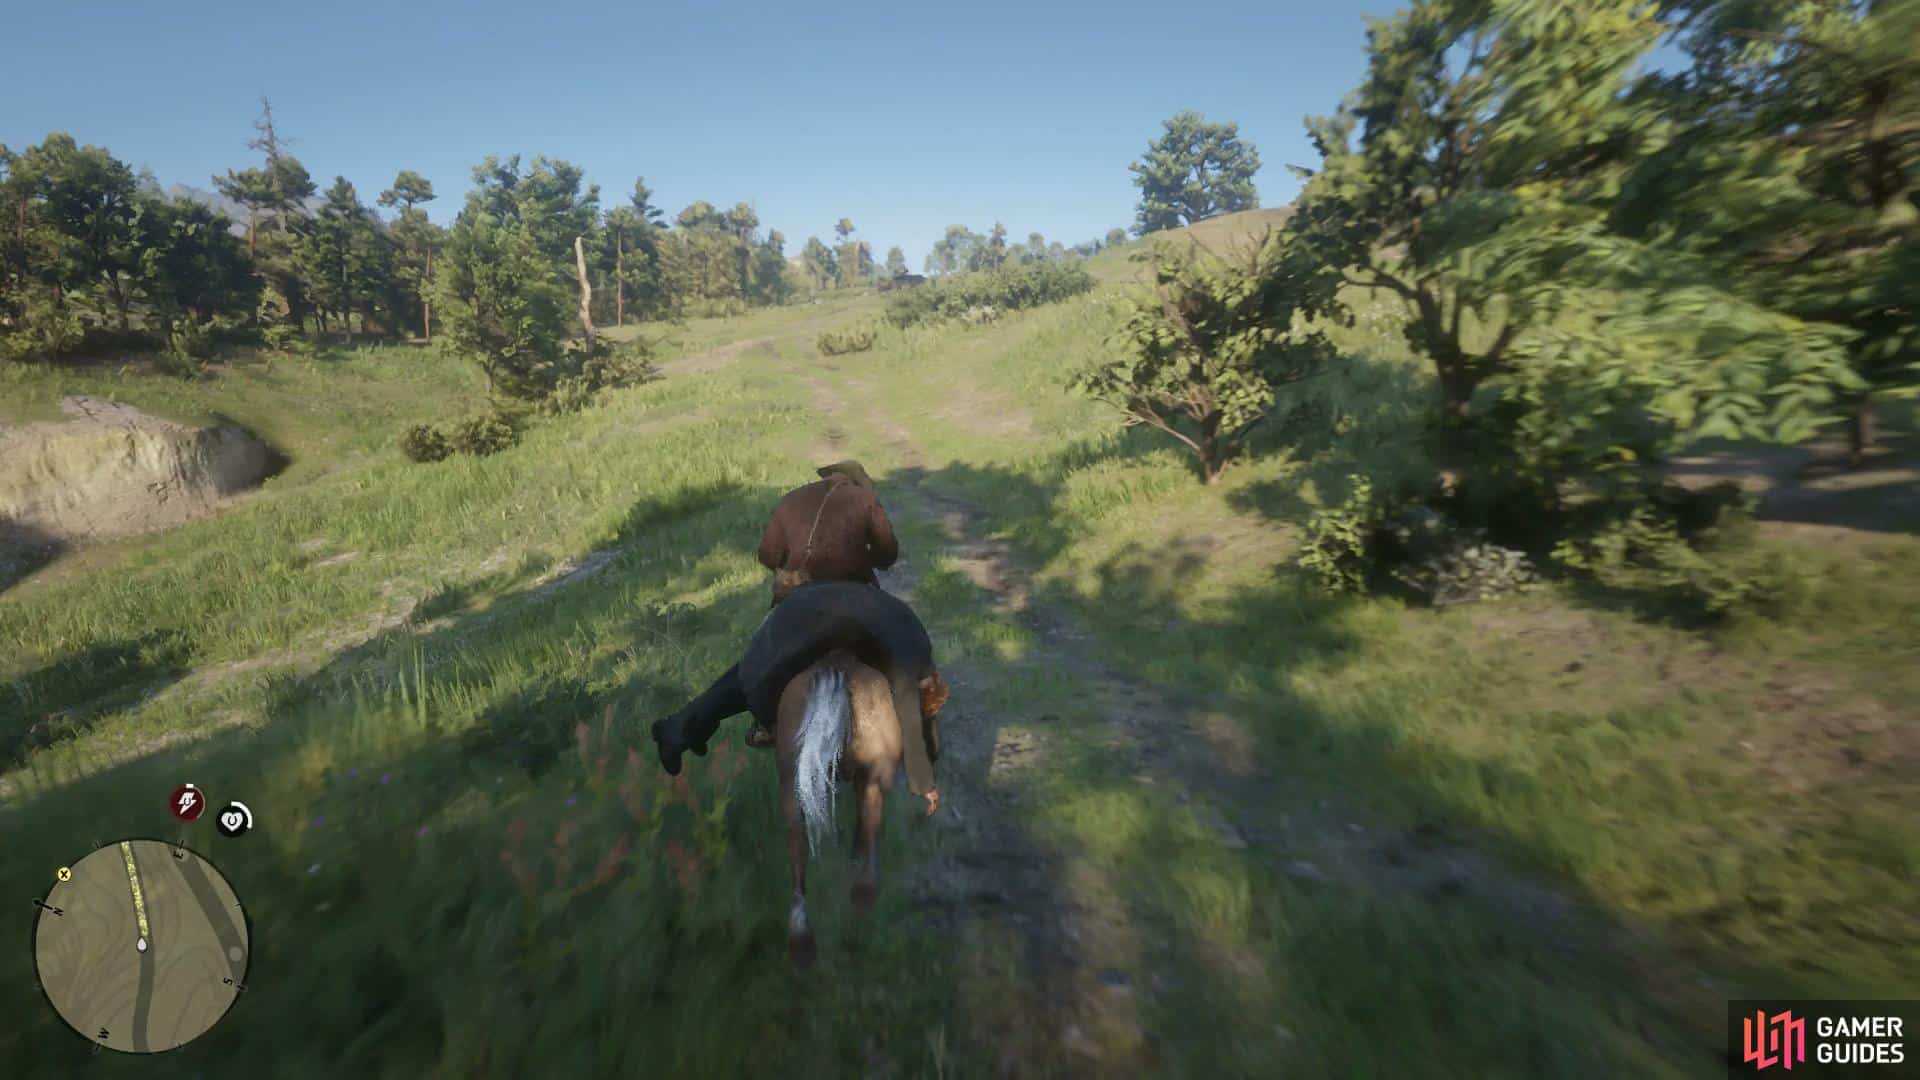
Once you’re back at camp, hitch your horse at the yellow circular marking, get off your horse, and escort the Reverend Swanson to his tent, which is indicated on the map a little west of where you are.
The Spines of America
Begin this task by approaching Hosea near Emerald Ranch – it should be noted on your map when you’re ready to begin. Hosea will meet with a potential new colleague called Seamus. He wants you to steal a nice stagecoach from his cousin – by marriage.
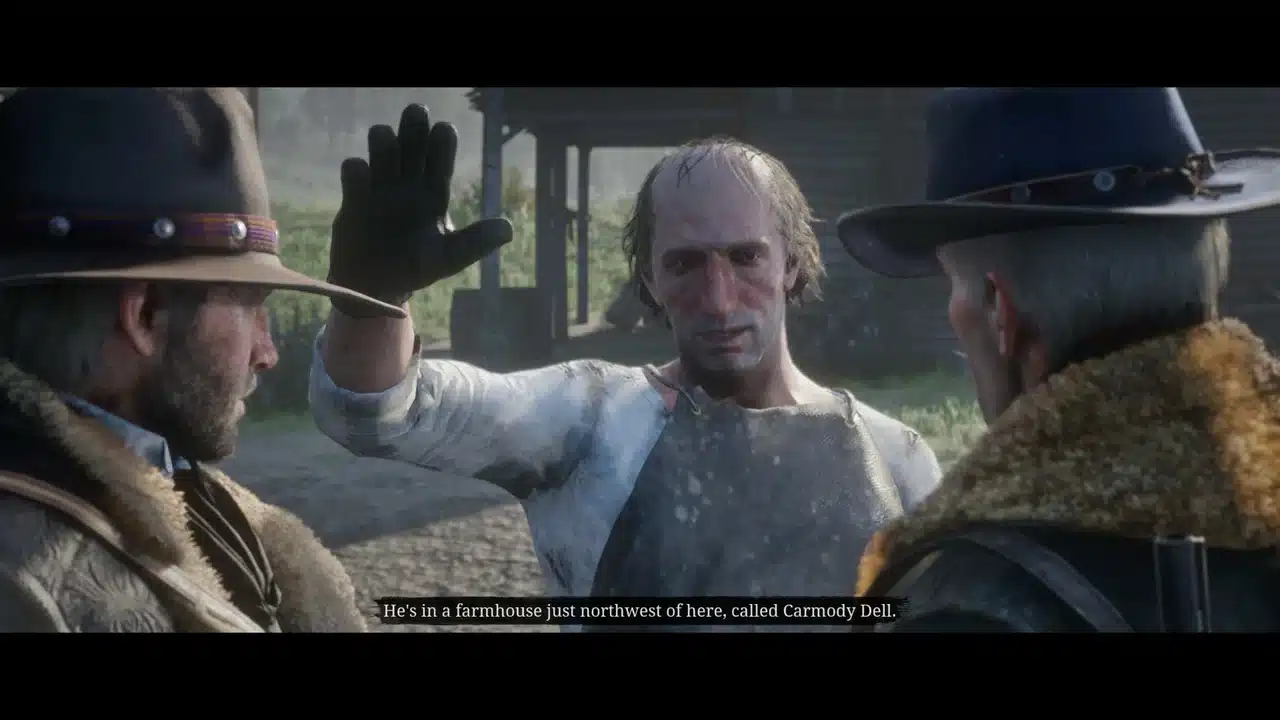
Move your cursor up to the next spot on the map, Carmody Dell. You’ll be directing Hosea, so don’t go too quickly or you’ll have to double back to catch up… You cannot stop hunting or doing anything else, or you’ll fail the mission.
Hosea will tell you to proceed on foot once you’ve gotten near enough. Follow him, then use lenses to inspect the house.
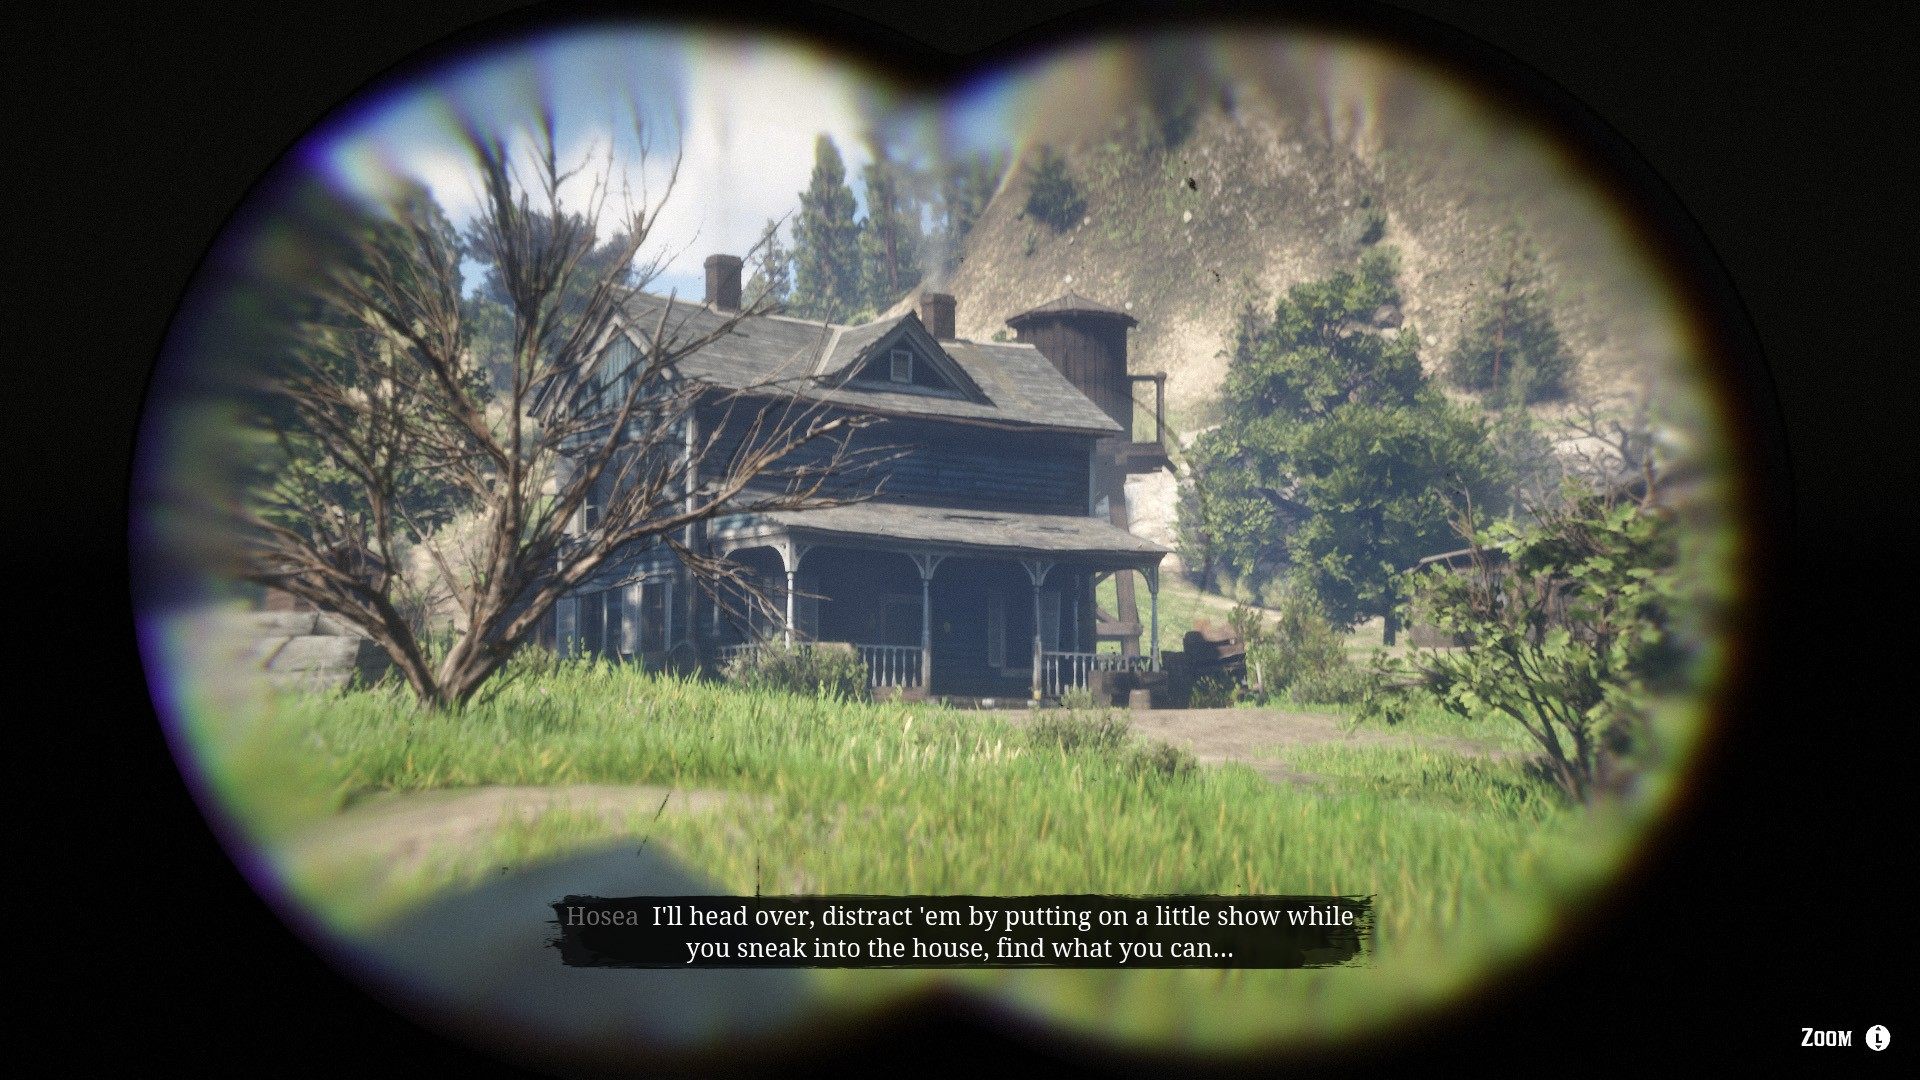
You have the option of visiting during the day or at night. There isn’t much of a change either way. No matter what, adhere to these guidelines.
Circle back to the rear of the house to the left and enter the back entrance there on the south side while Hosea amuses the proprietors during the day or goes to get the stagecoach during the night.
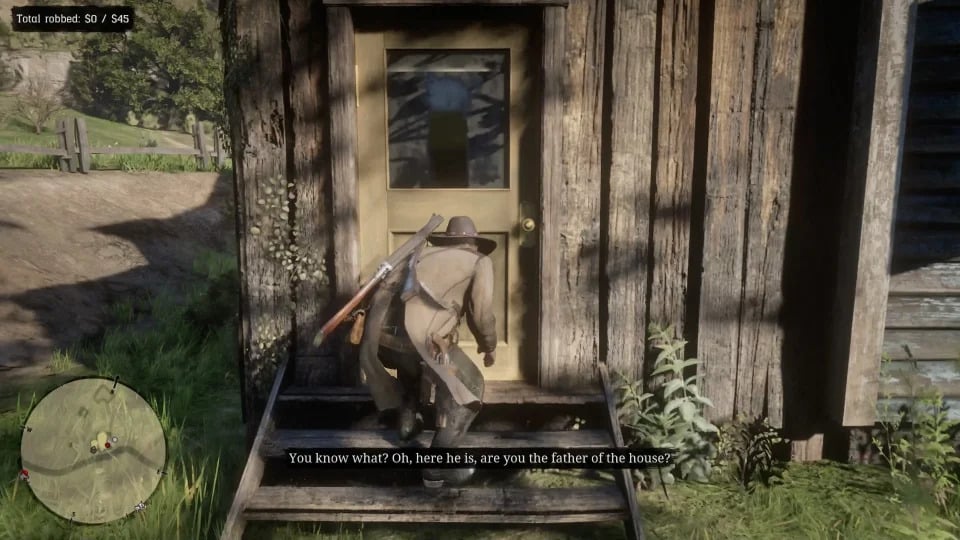
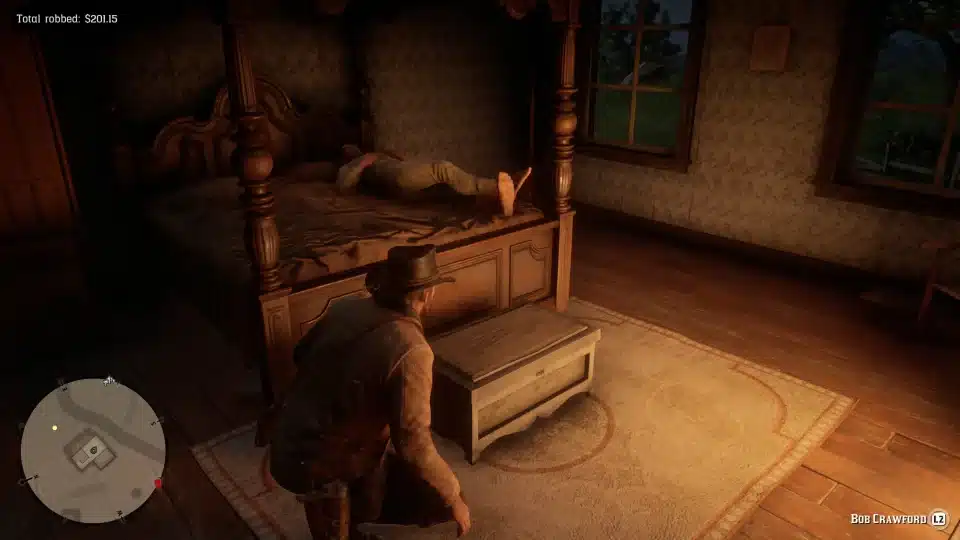
In the first bedroom, a chest is located at the foot of the bed, a medicine case is mounted on the wall next to the fireplace, and the upper drawer of the chest can be used to store a pocket watch.
A Cigarette Card can be found on the windowsill to the left of the hearth in the room after you pass the fireplace directly ahead. The table may also have some fruit or whiskey. Search the area around it and take away everything.
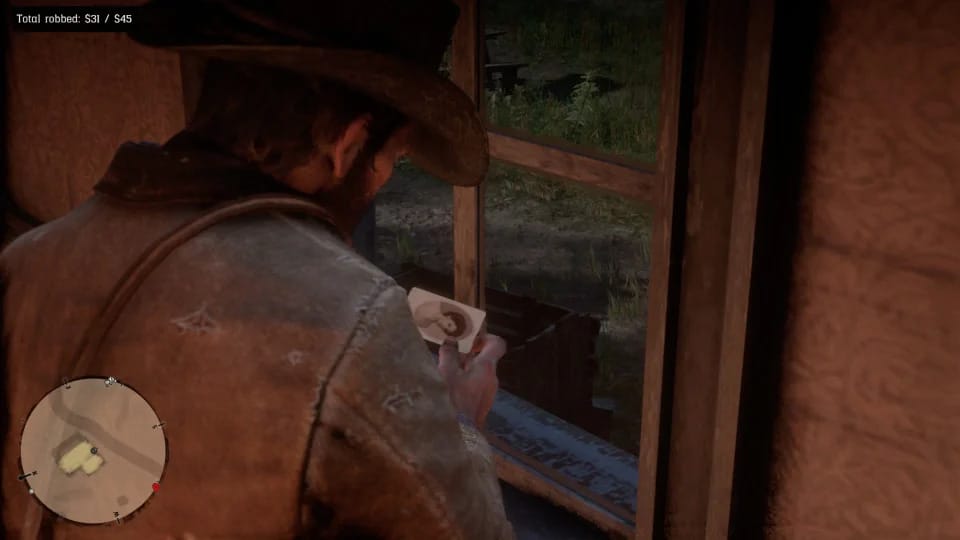
You can meet Hosea outside after gathering items worth $45 and depart, finishing the task, but not discovering the most valuable stash—in the kitchen of all places.
In the kitchen, there is $150 hidden beneath the fireplace. On the bar, there is also an apple and a vegetable. Search the storage space upstairs, being careful to also look in the cabinets and chest.
Now get out of the house. If it’s daylight, exit the entrance you came in through and turn right to the stable.
The barn entrances are located on the east side of the structure. Get inside the carriage and wait for Hosea. After entering the stable, return to Seamus.
If it’s nighttime, go out the front doors and join Hosea in the carriage.
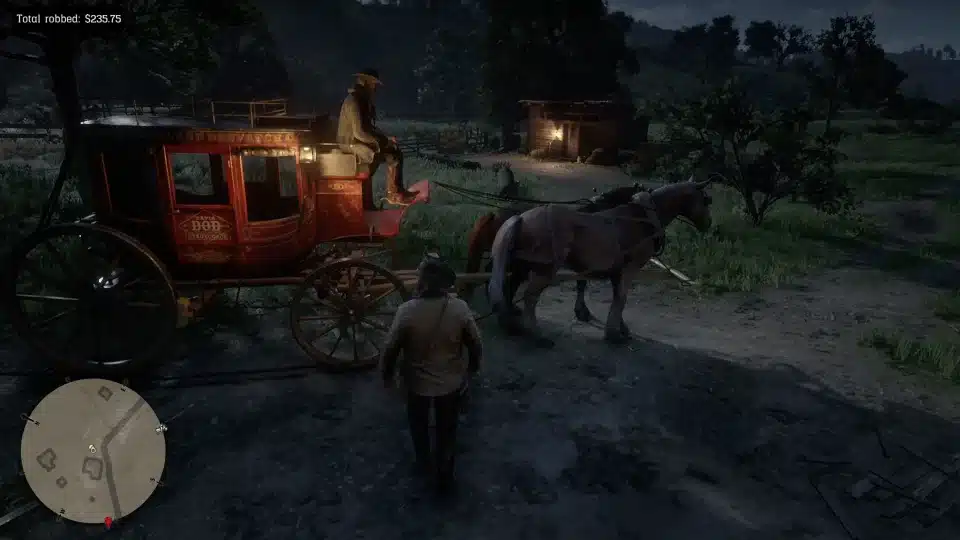
Returning the coach completes the task and enables Seamus to work as a dealer who buys stolen stagecoaches.
The First Shall be Last
Go to Javier, who is just north of Blackwater, to begin this task. When you get near enough to him, a sequence will begin. You discover that Sean will be transported to a federal prison, and you develop a scheme to stop them and save him.
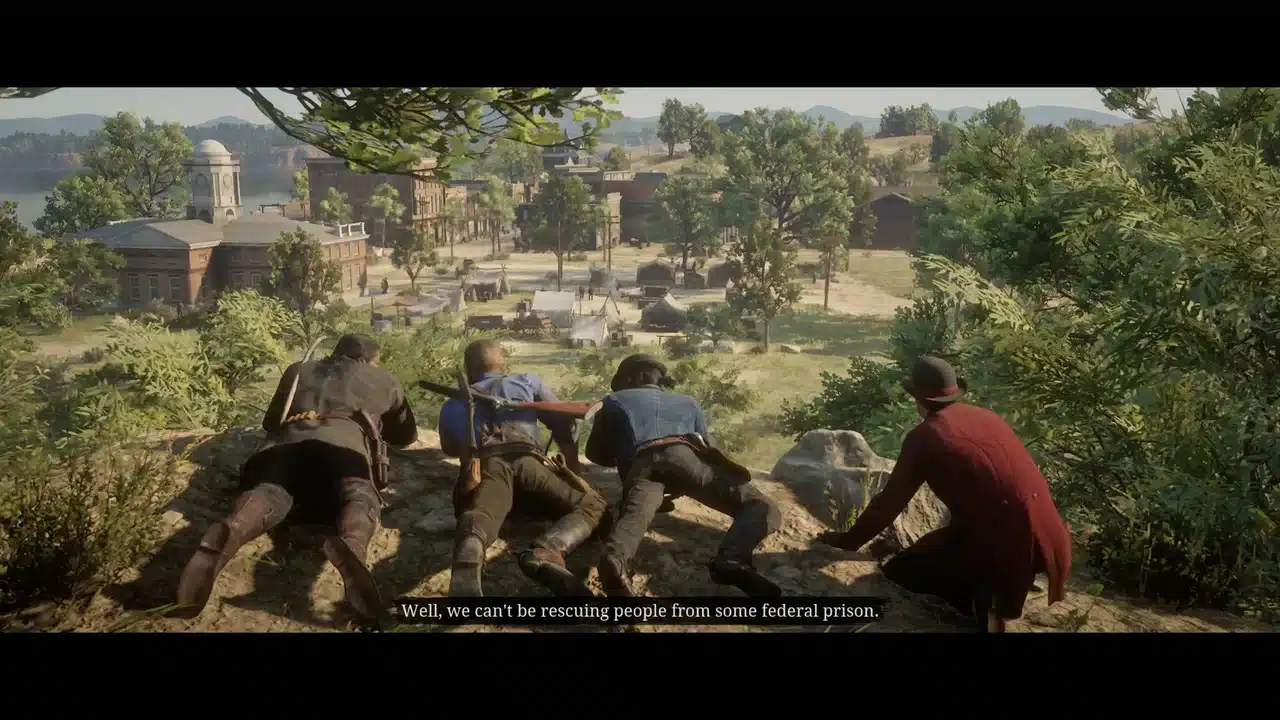
Follow Josiah and Javier while they are riding horses; you will soon see a yacht, which you assume is where Sean is.
You’ll ultimately come down a cliff if you keep on tracking them. Put on spectacles and scan the yacht below. Sean will be there, and you’ll talk about Ike Skelding’s bounty hunters.
Follow them to the beach, hide behind a rock, and arm yourself with a knife.
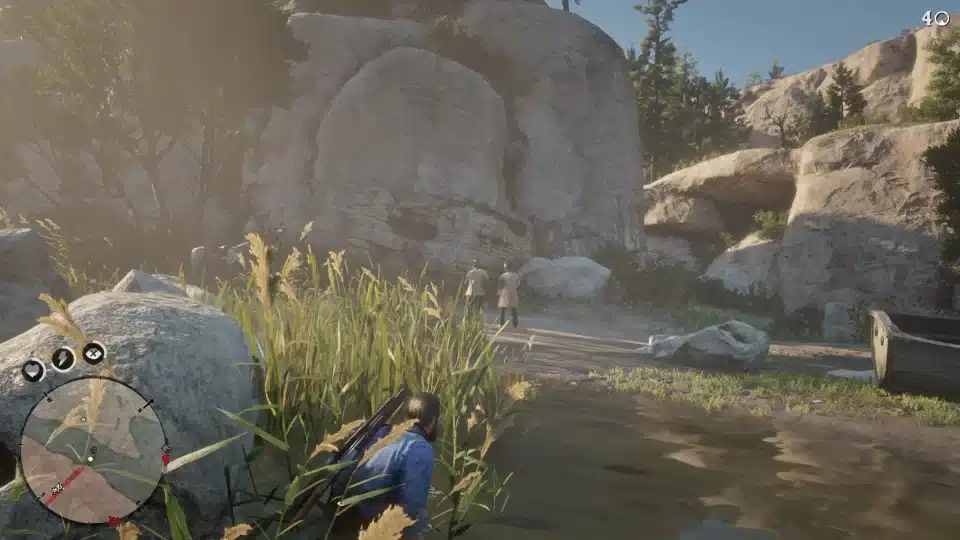
Go up the canyon trail after you’ve gotten rid of those two men. More bounty seekers will be ready for you.
You’ll run into Charles as you advance. You can theoretically loot the soldiers, but reinforcements are on their way, so it’s best to keep moving so you don’t get cornered.
Follow Javier and Charles to the camp and use the logs as protection while you kill the bounty seekers.
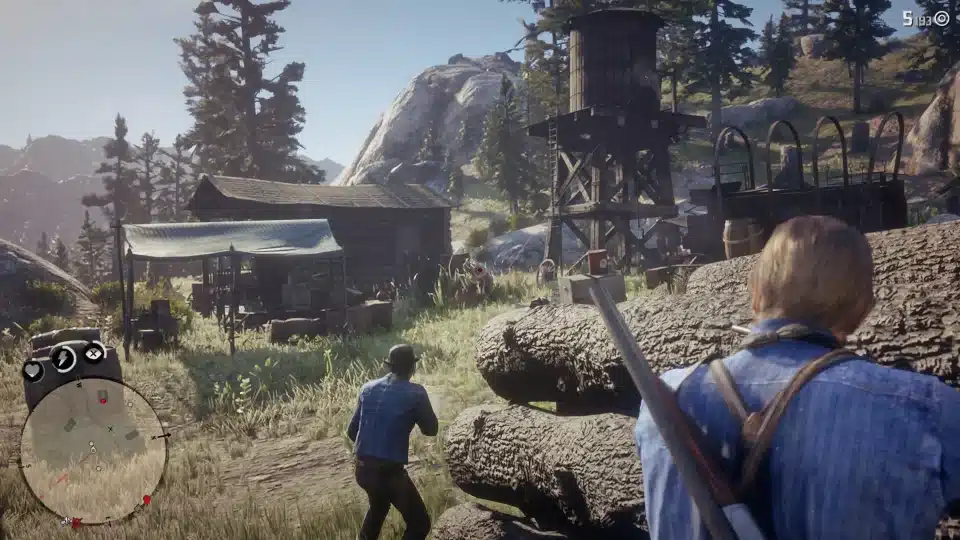
Because speaking with Sean will finish the task, you should loot beforehand. You’ll theoretically be able to plunder after, but the cops will arrive quickly, cutting your looting short.
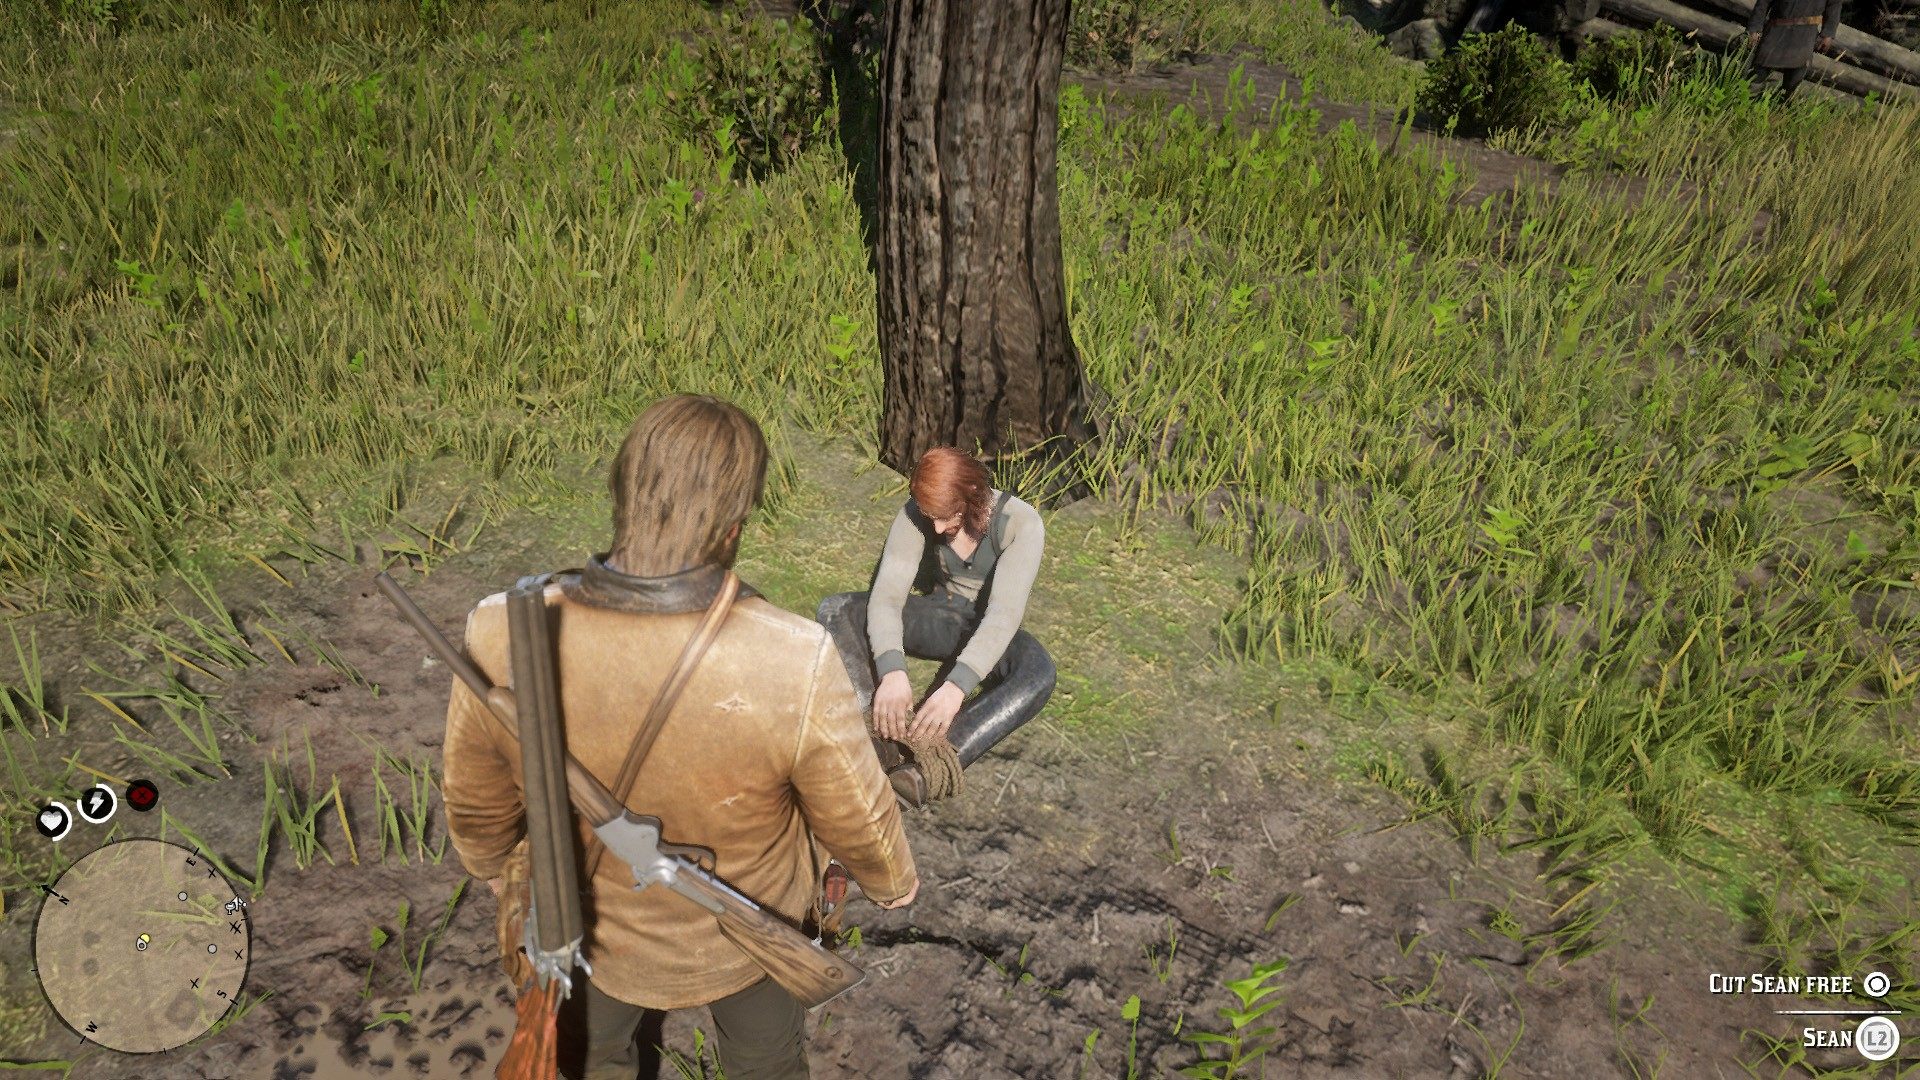
By the tiny green tent, there’s $11, moonshine, and a Collectible Cigarette Card, as well as other random things.
Your group will be holding a party once you arrive at camp that night.
Pouring Forth Oil
Speak with John at camp to finish part one and begin part two of the Pouring Forth Oil quest. Uncle has informed him of the planned railway robbery, which you heard about during Polite Society, Valentine Style.
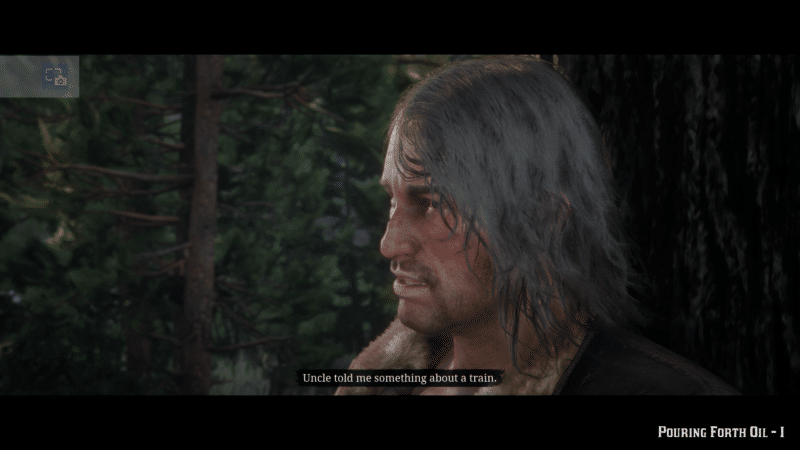
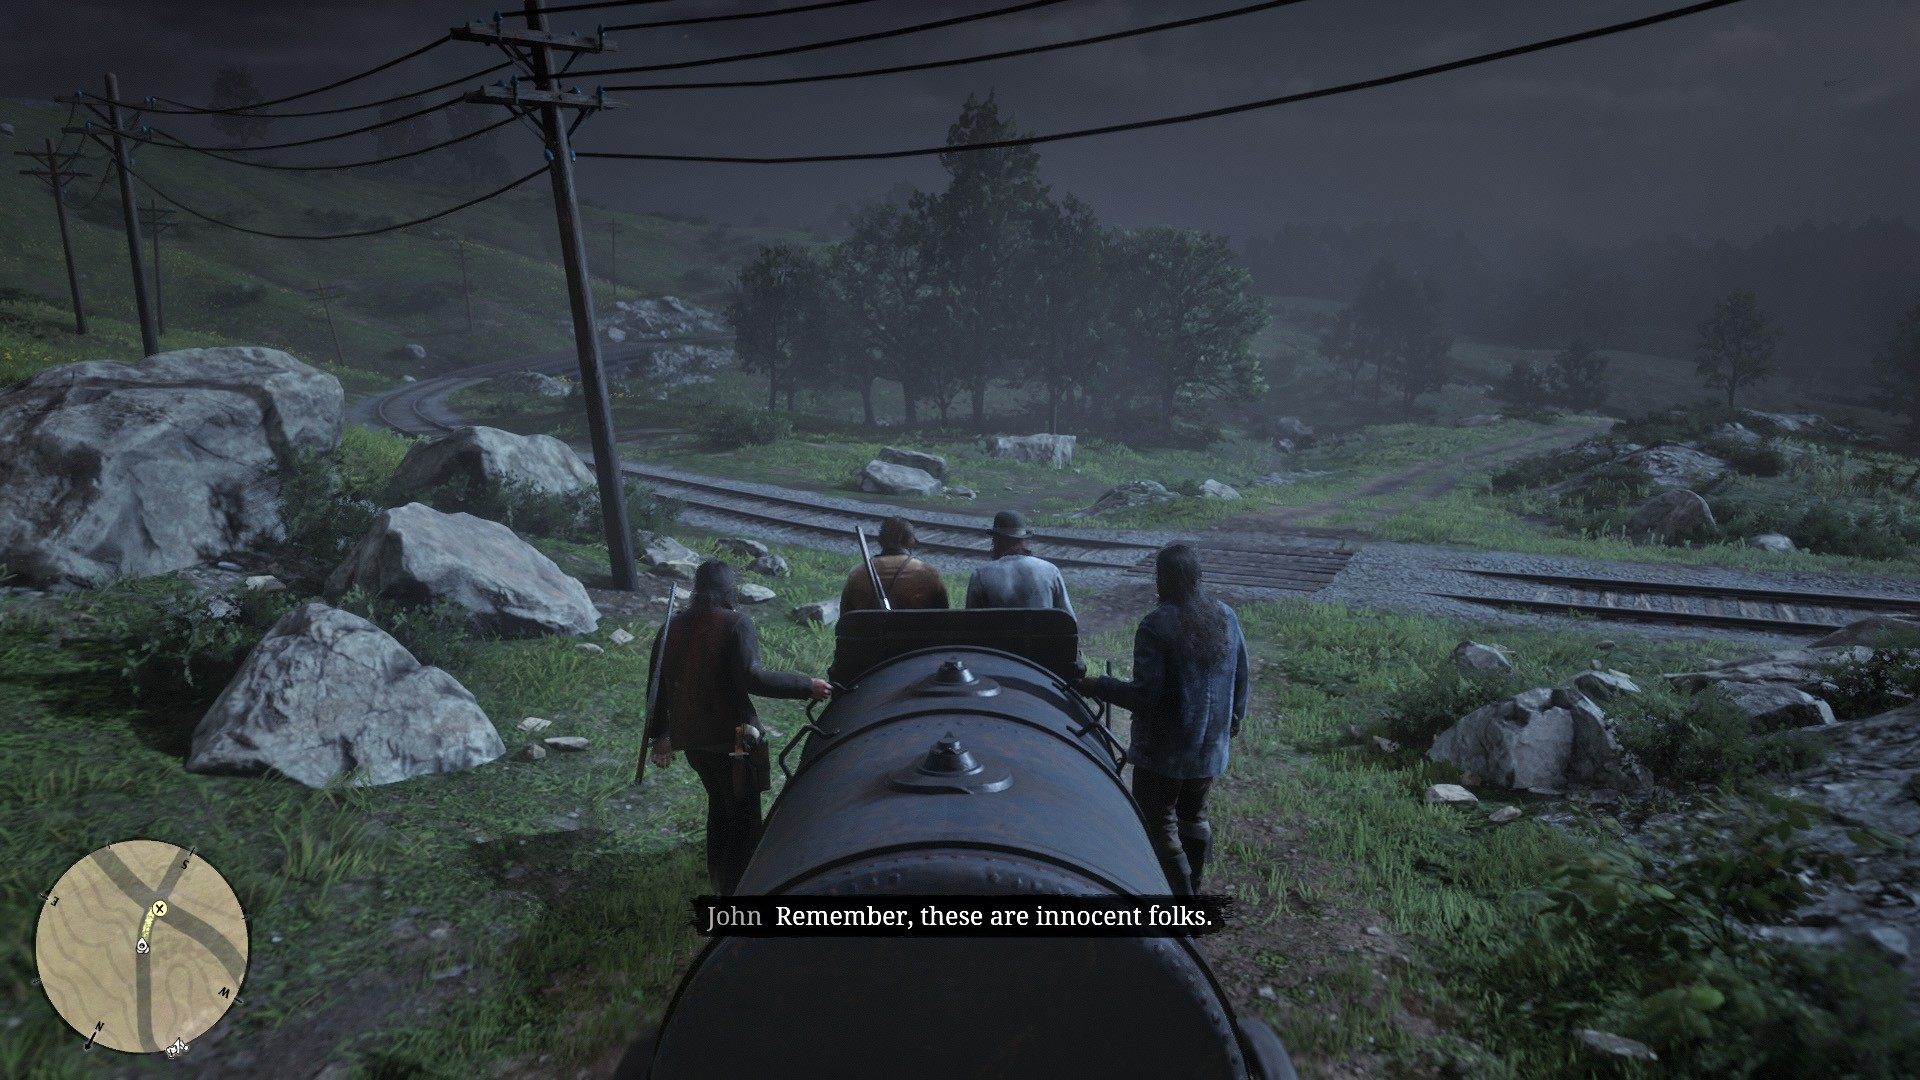
He has the brilliant vision of smothering the train tracks in oil to force the driver to pull over. Following your conversation with him, two gasoline tanker carriers will be highlighted on your map.
Because this will be theft of vehicles, you should steal the one further east because you don’t want our bounty to rise in Valentine.
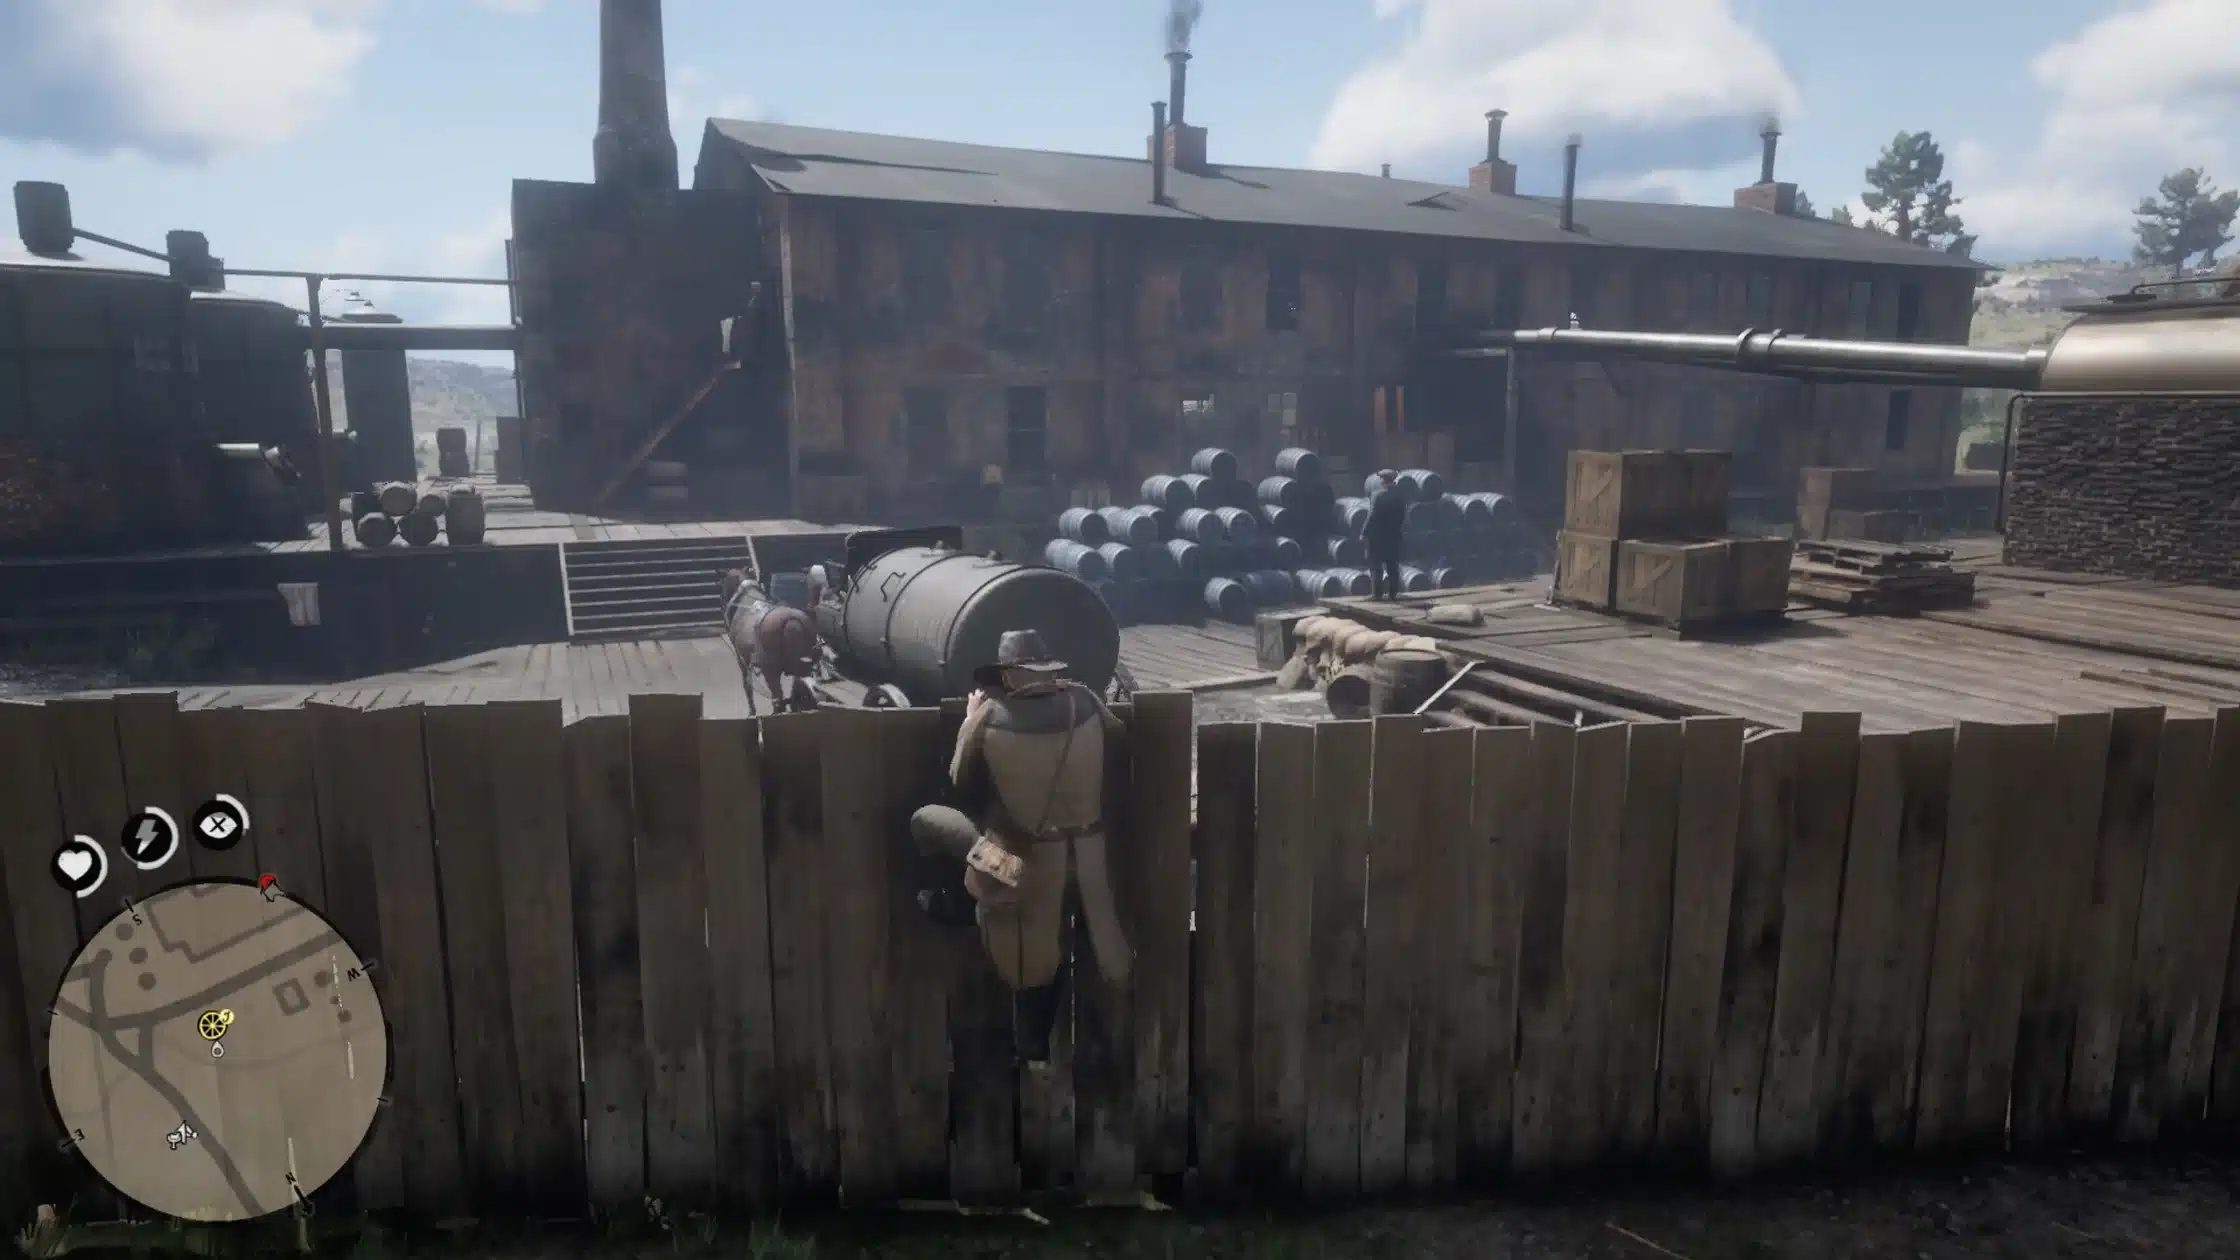
You’ll have a few seconds before someone begins firing if you jump over the fence immediately behind the carriage. Get in the wagon and then make a hard turn to escape.
You could also kill everyone here first, but the above technique is easier and faster. After taking the hard right and exiting the industrial area, make a beeline for the meeting point marked on your plan.
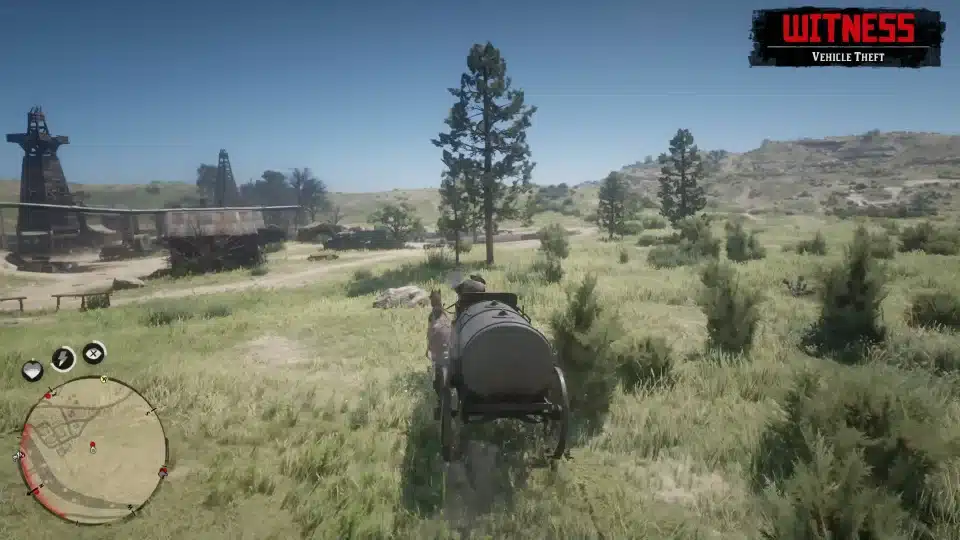
You can accelerate over anyone shooting at you, but if the tank takes too many hits, it will explode and you will fail the task. It is therefore preferable to deal with them before they are in a position to be behind you.
Part 1 of Pouring Forth Oil will come to an end once the oil container has reached the specified drop-off location.
Return to camp and speak with John to begin and finish Pouring Forth Oil Part 3. You’ll need to wait until he arrives at the next meeting location. You can spend the time by completing the task A Fisher of Men or by staying at camp all night to wait for the marker to emerge.
Pouring Forth Oil Part 4
Go speak to Sean at the goalpost. On the back of a truck, you’ll find him firing bottles. He’ll attempt to charm you into letting him join you on the train raid, and you’ll hesitantly acquiesce.
Sean arrives even though John and Charles aren’t particularly excited about it. Switch to cinematic mode while keeping the X/A command to effortlessly follow the route.
Allow someone else to take out the train conductor, then proceed to the wagon’s rear. Try not to murder anyone you don’t have to, and punch the travelers to get them to give over their belongings.
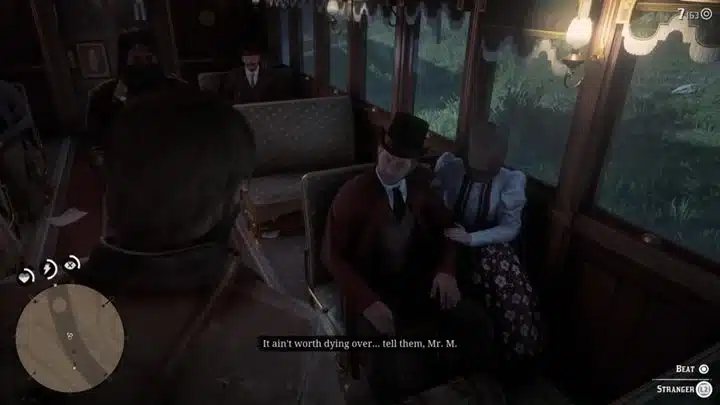
You should be able to get through three vehicles without incident, but you’ll need to check on Sean in the baggage cart in the rear. Unfortunately, there is a problem.
Prepare to fire if you intend to save Sean. To get some additional prizes, open the cupboard to your left as you enter, followed by the two in the middle of the vehicle. You’ll also come across some boxes along the path.
After some time of looting, two individuals on horses will approach. You won’t be able to avoid fighting them. Use Dead Eye to guarantee you achieve the skill’s objective of killing ten individuals.
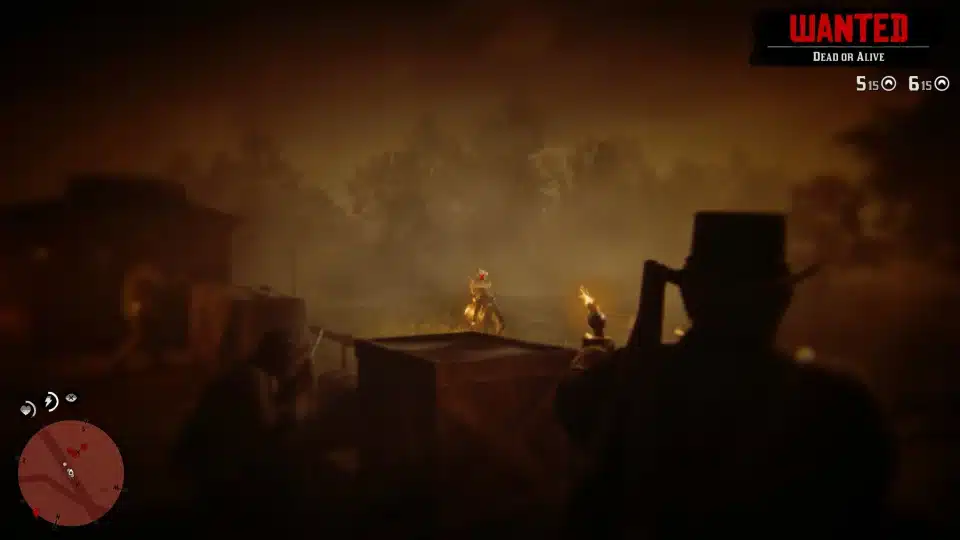
Use the crates as protection, and only peek out to fire swiftly. A long-range weapon will be useful here. To escape the red-hot area, you must now flee. The quickest and simplest route is to head northwest.
Once you’re far enough away, the four ranchers will debate planning another heist in a cutscene, bringing the Pouring Forth Oil mission to its end.
A Fisher of Men
To begin this quest, meet Abigail at camp. She would like you to take Jack fishing. Go to him in the morning and greet him. He’s playing in the grass.
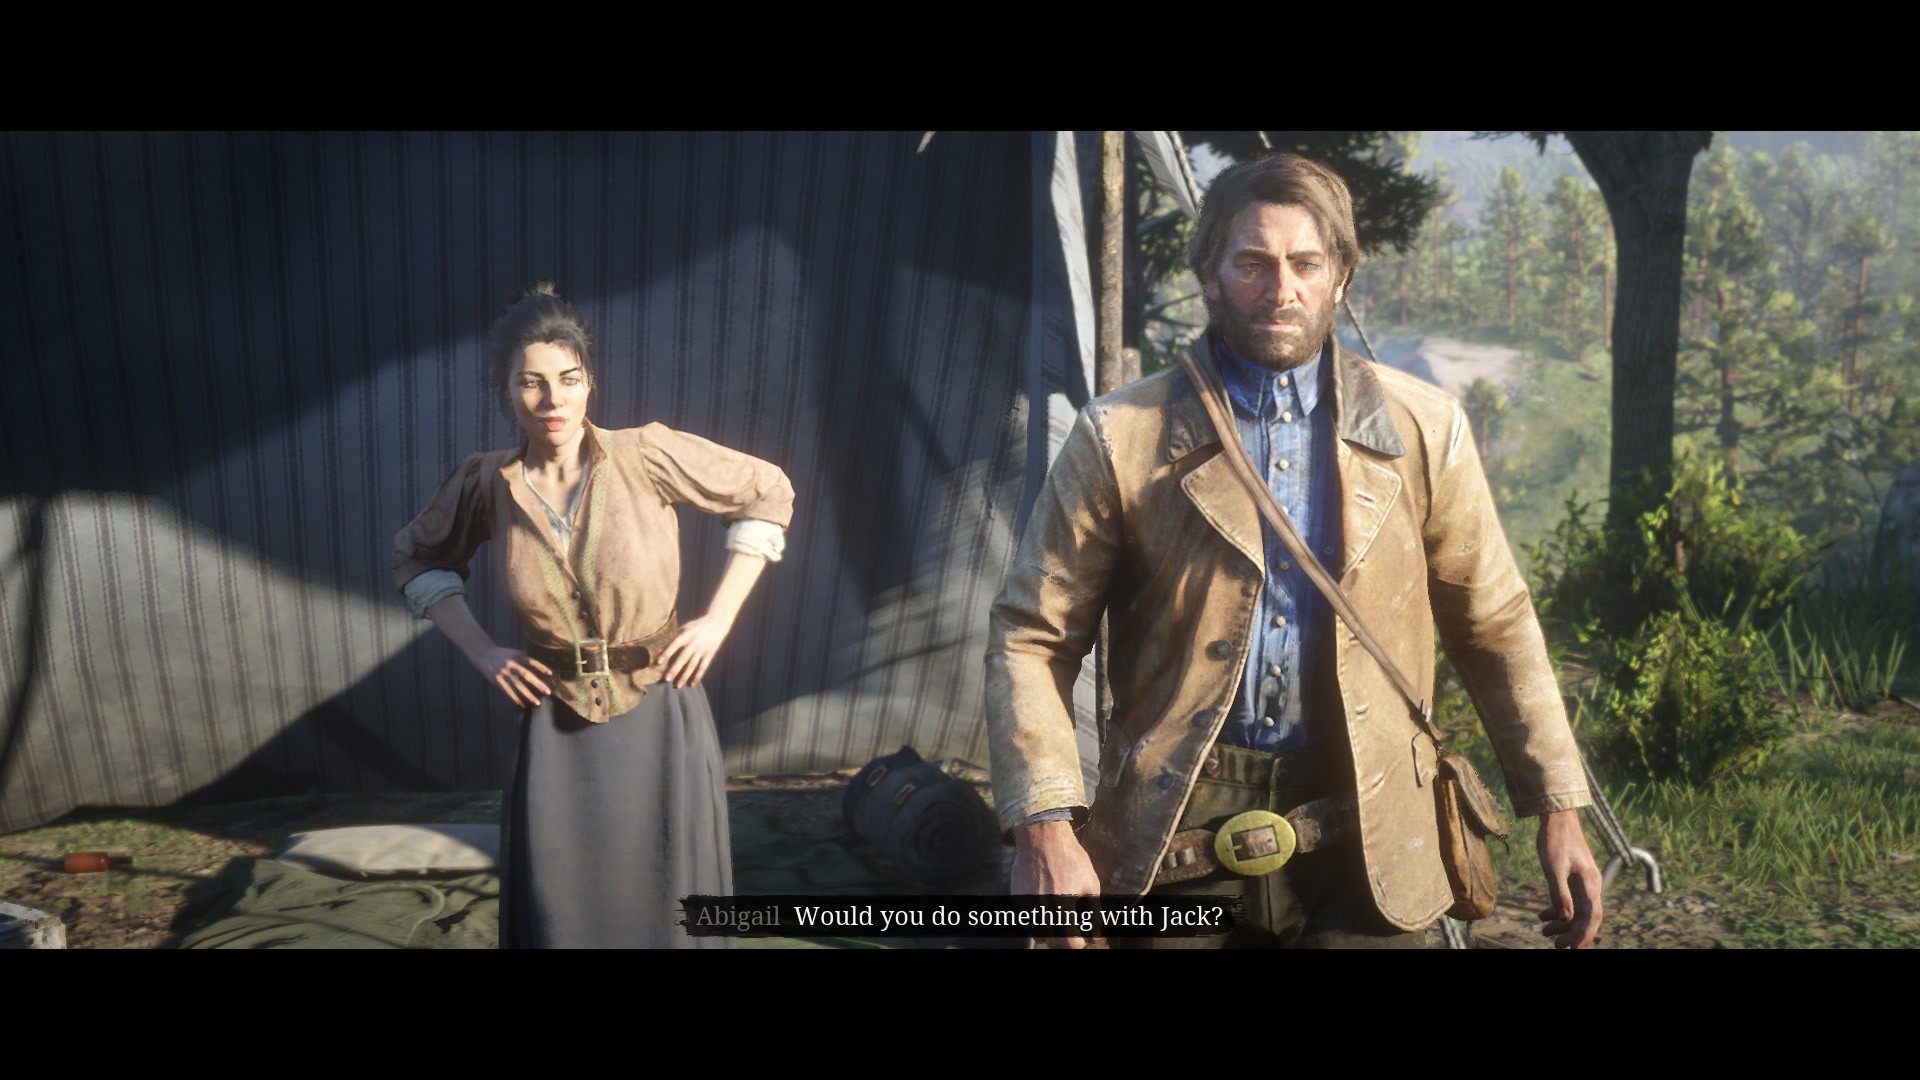
Mount your horse and wait for him as he grabs his fishing rod. Lift him up and continue on your way when he comes.
While on this mission, Jack is going to request you to get his Penny Dreadful storybook, which he abandoned at the campsite near Blackwater. The spot you’re looking for is marked yellow on your map.
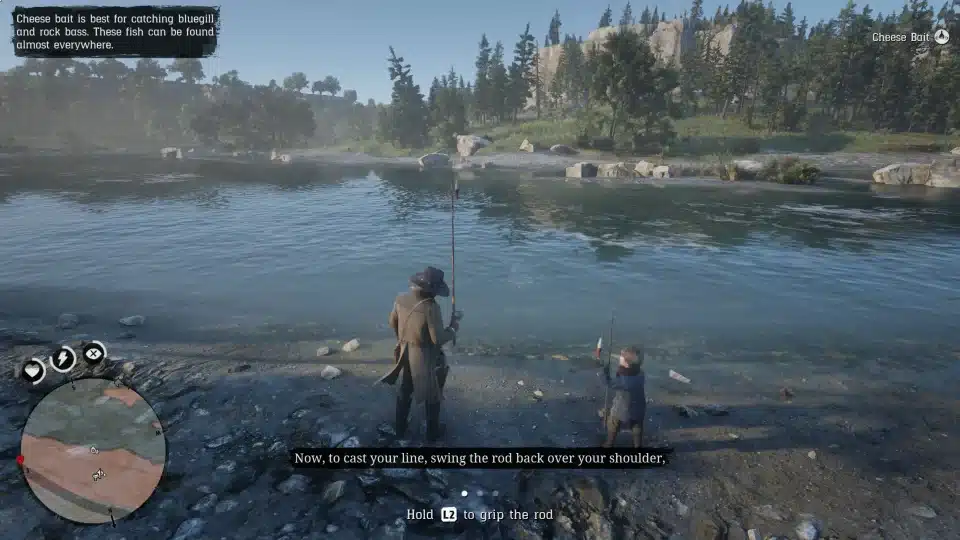
When you arrive, follow the instructions to learn how to attire bait and cast your line.
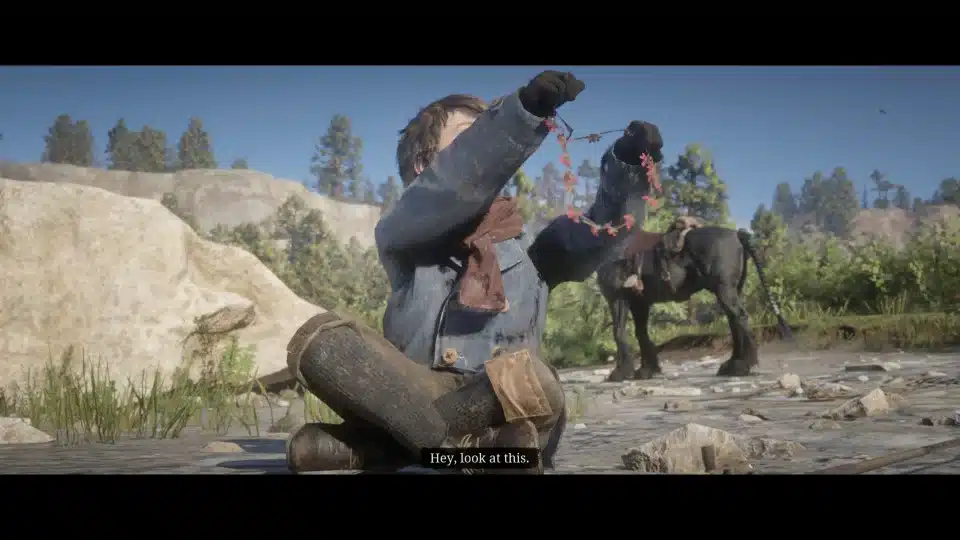
After capturing two fish, Jack will show you a floral necklace he created, but two Pinkertons will disrupt you.
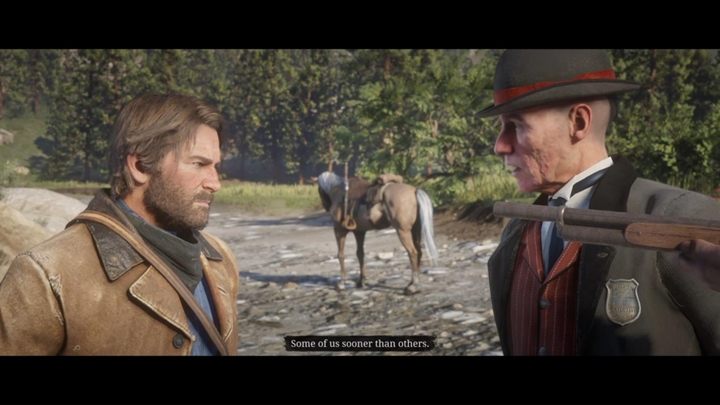
They want Dutch to clarify for you how they murdered Mac. Thankfully, they depart shortly after they arrived. And you do as well.
Mount your horse and return Jack to Horseshoe Overlook, particularly to Abigail.
Once bringing Jack to her, Arthur will meet Dutch and talk about the Pinkertons, Milton, and Ross. Dutch will tell everyone to do nothing and to remain calm.
We Loved Once and True
Read the note on your desk at camp to begin Part 1 of We Loved Once and True. It’s a note from Mary, with whom Arthur once had a relationship. She requests to see you.
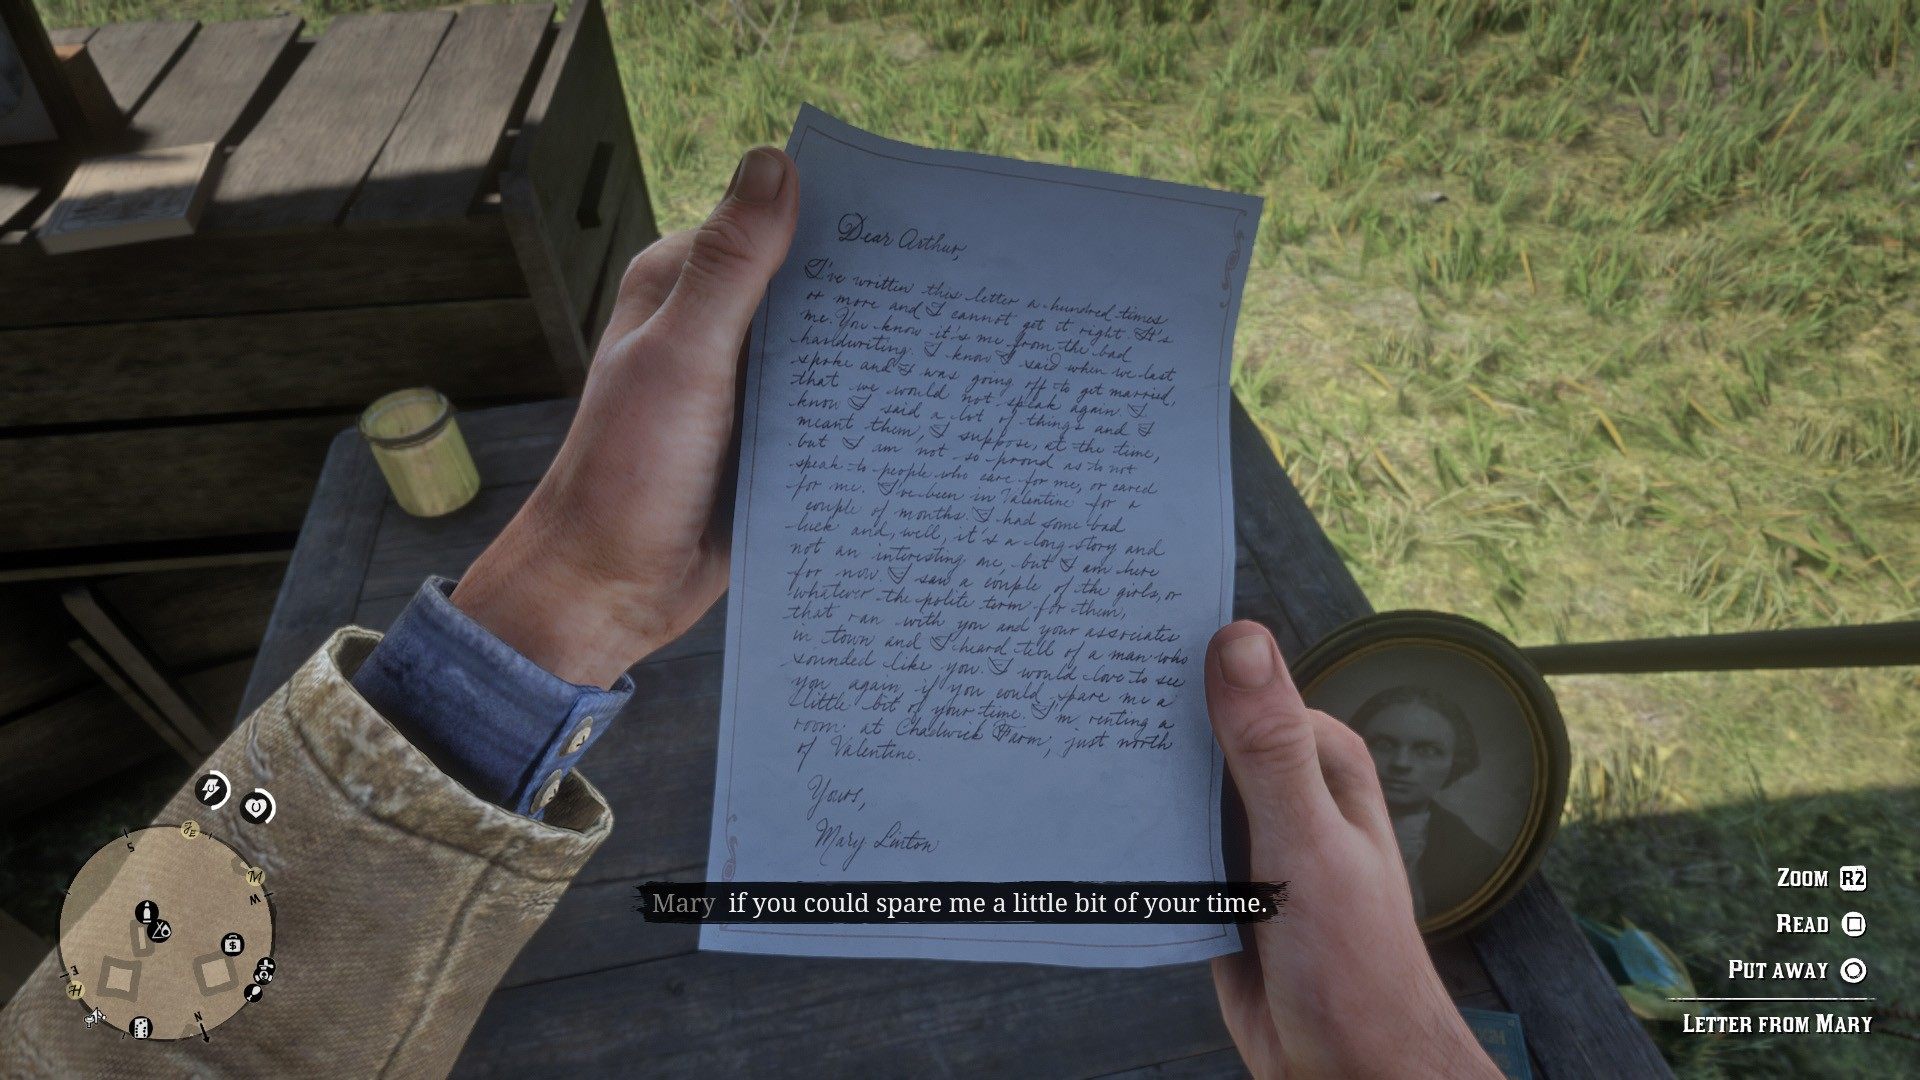
Mary Linton is staying in a home north of Valentine. It’s indicated on your chart. Proceed there to carry out the mission.
We Loved Once and True Part 2
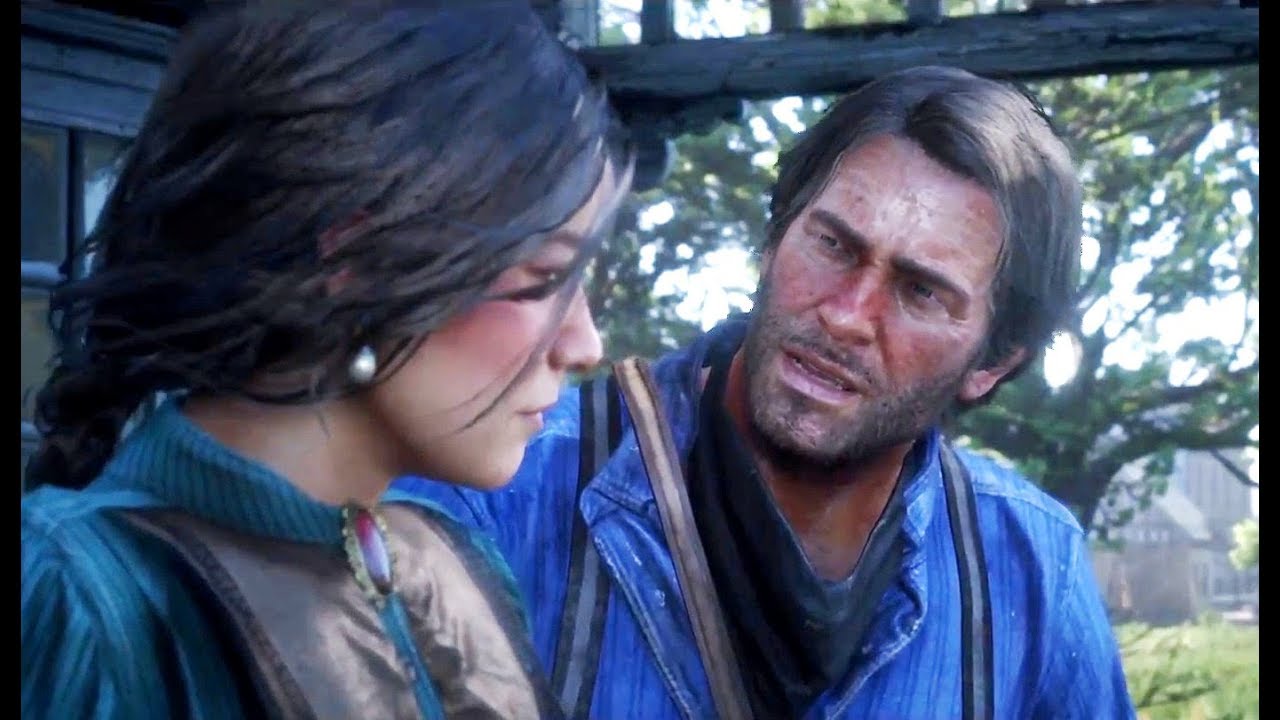
She’ll tell Arthur that her partner died of pneumonia, leaving her a widow and that her younger brother has joined a strange religious cult known as the Chelonians.
Arthur appears to have almost married this lady, but Mary’s family did not agree. This makes him hesitant to consent to assist her in saving her sibling, Jamie, but it is ultimately your decision.
Choose to assist her in completing the mission.
We Loved Once and True Part 3
After deciding to assist Mary, a marker by Cumberland Forest will show on your map. Go there to begin part three. There are a few individuals dressed in white high up.
When you approach them, they will defend themselves by standing up. You can stand back and listen to them talk about Chelonialism before interfering.
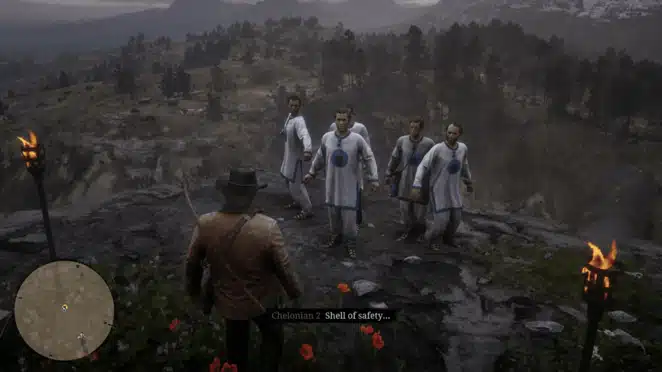
Jamie will mount a horse and flee after the Chelonians give in. Just follow the horse because you won’t be able to fire at him. If you can, lasso him, but he’ll undoubtedly finish up on the opposite side of some railroad tracks.
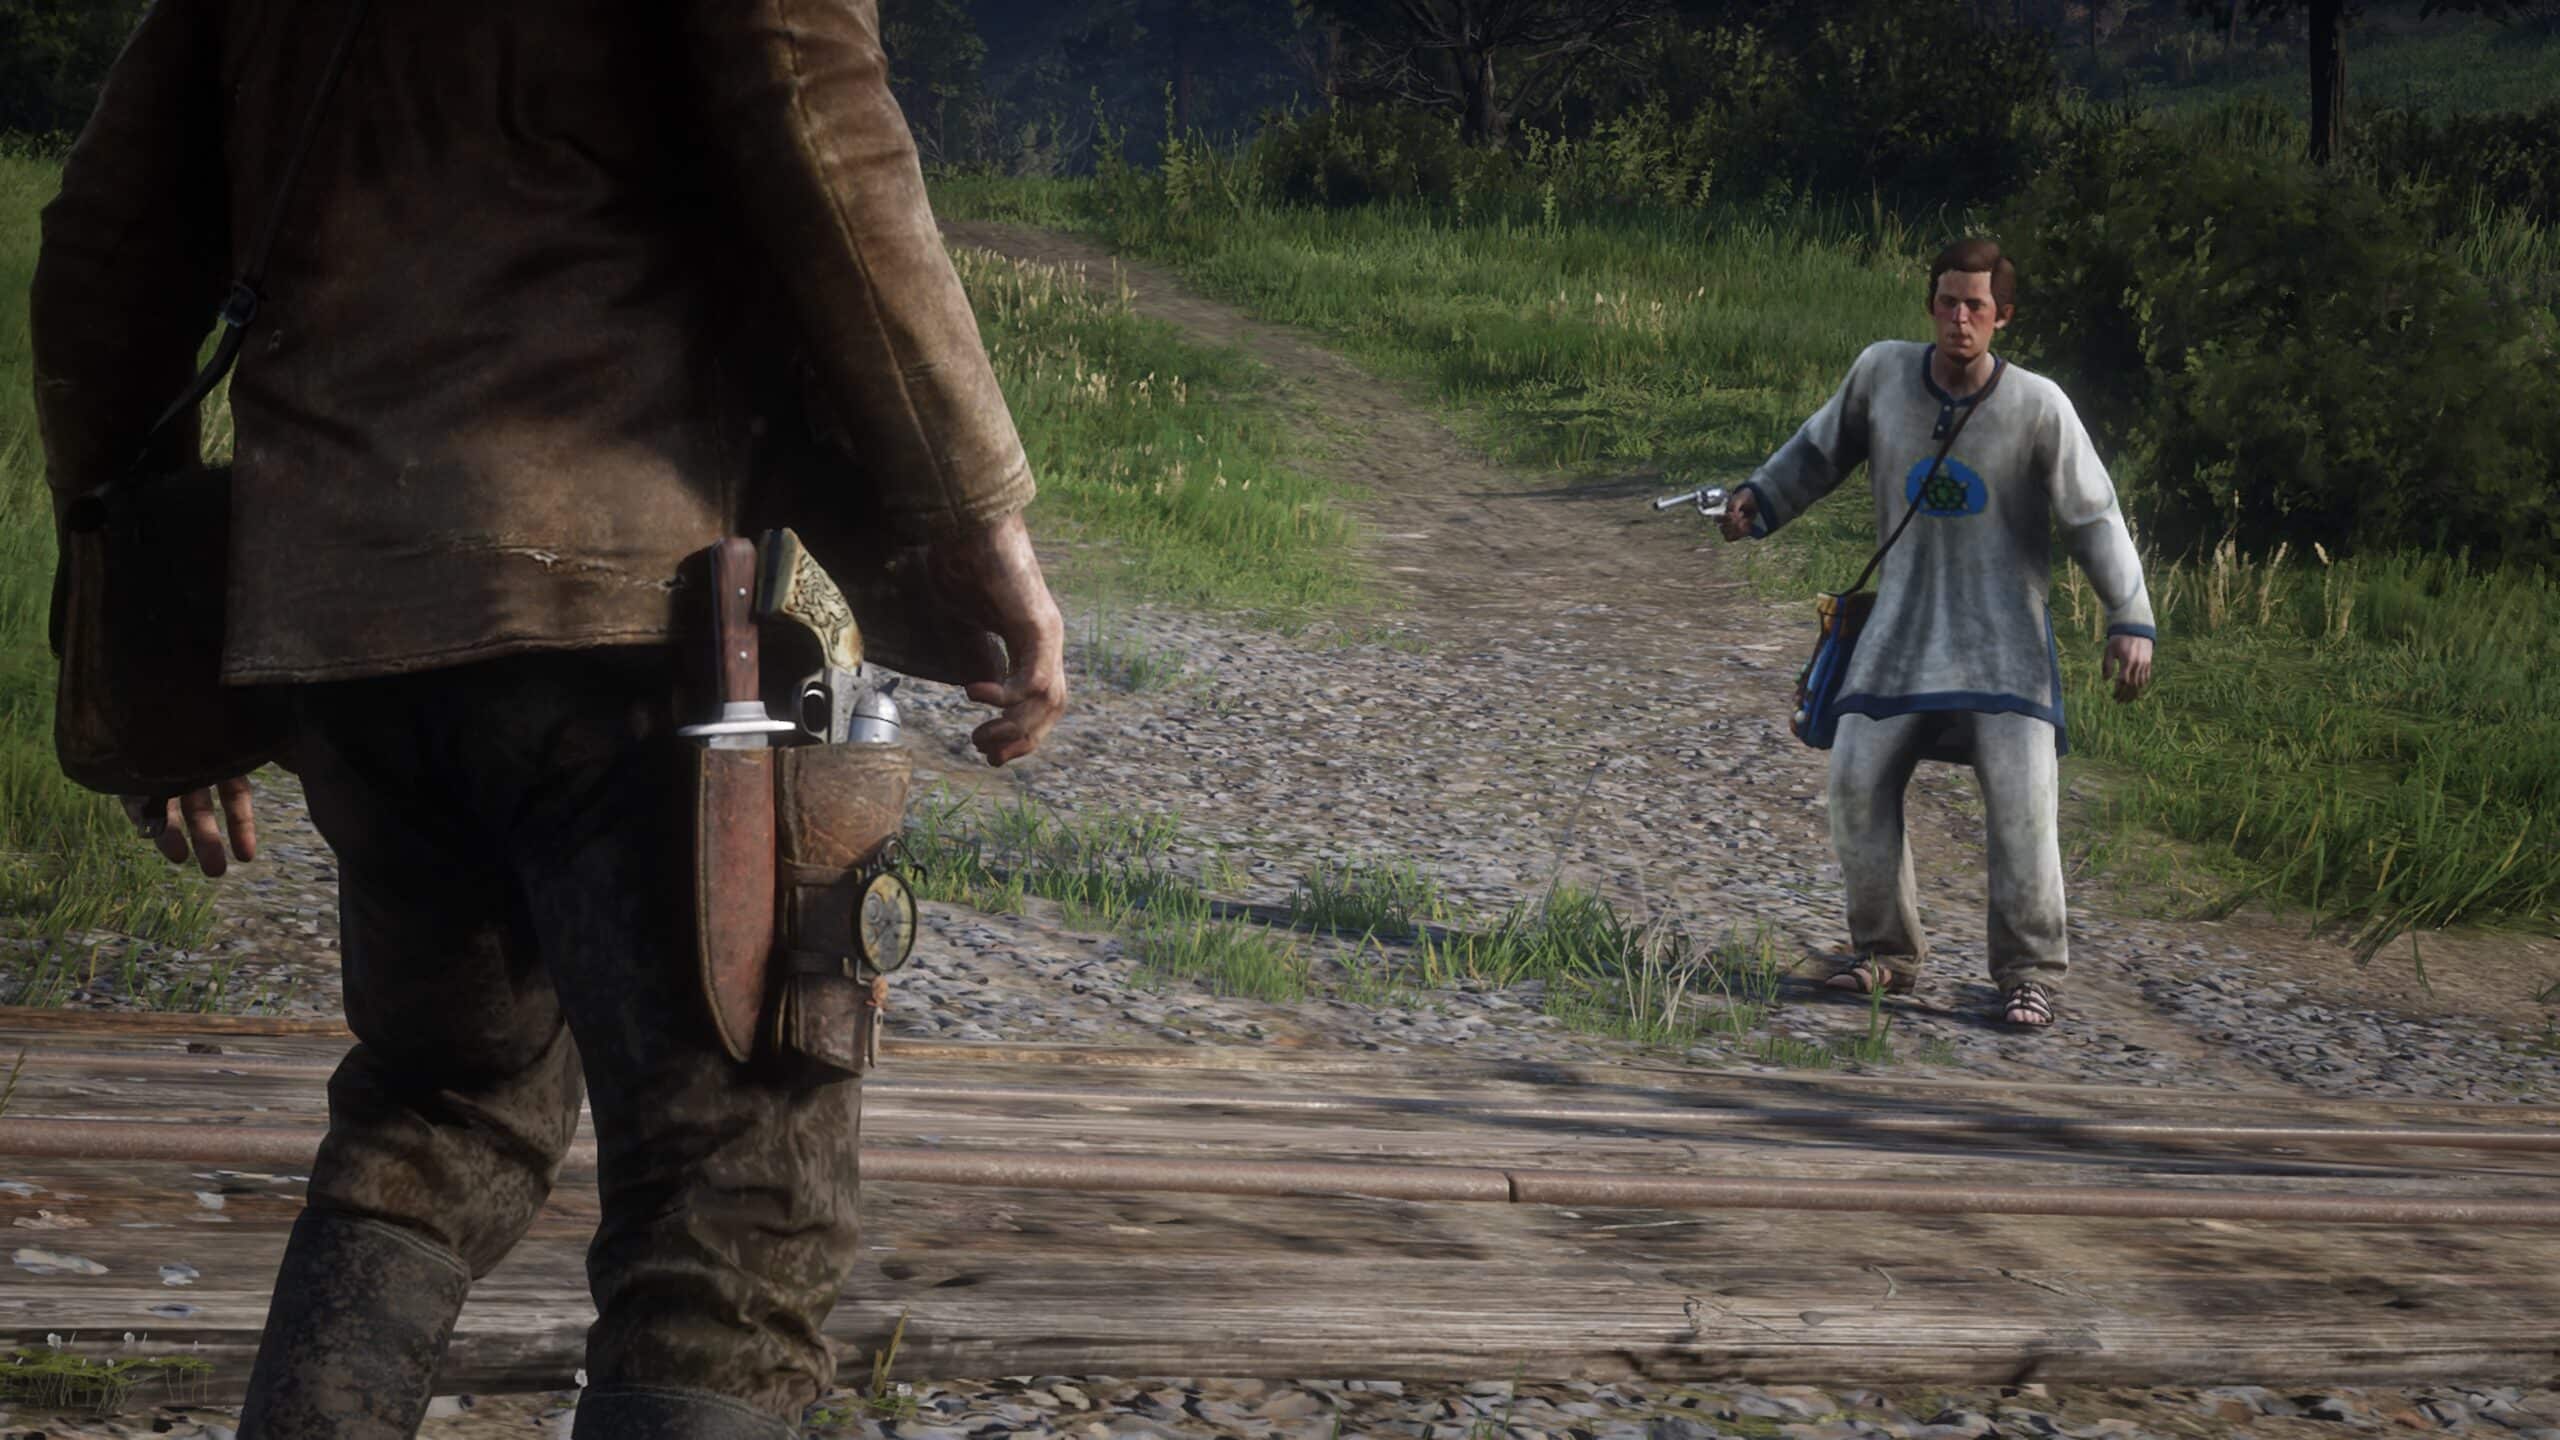
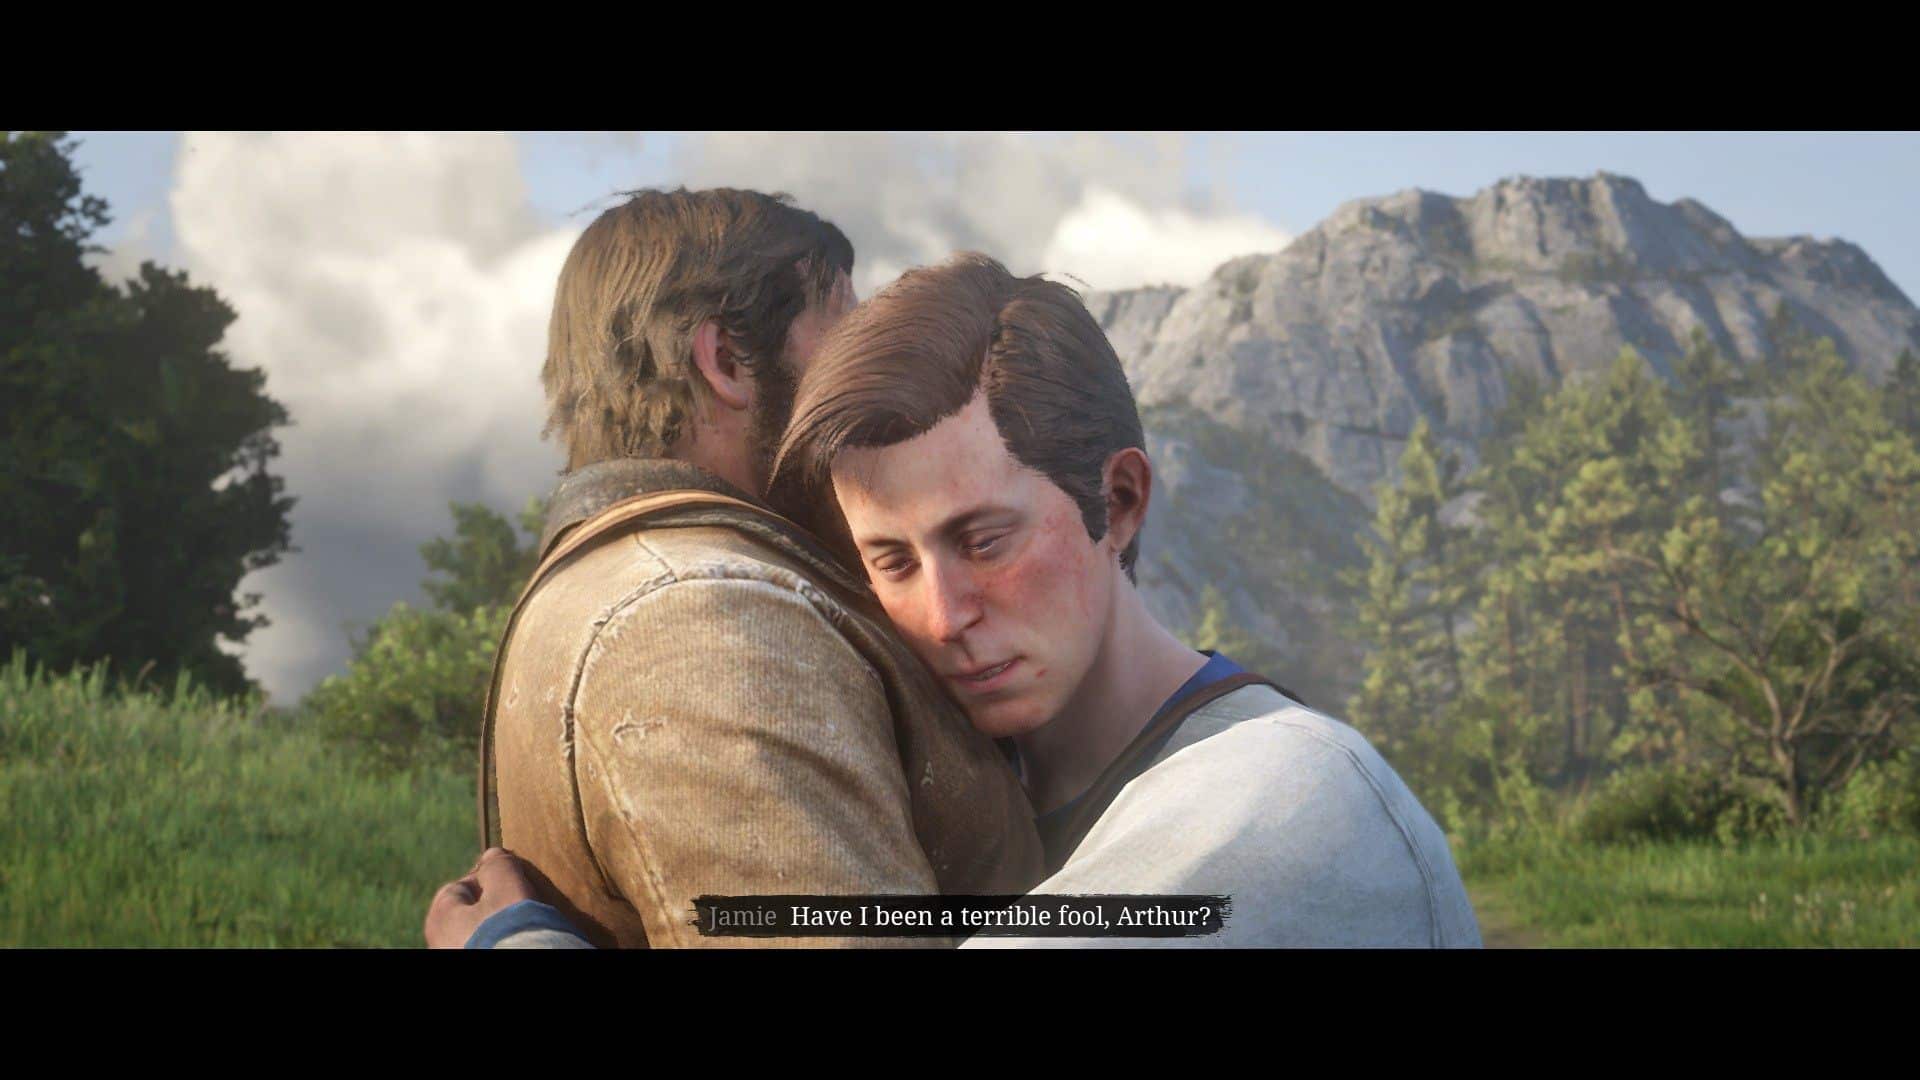
Simply aim at the arm and shoot, and he’ll return to his senses and accompany you to the station to meet Mary.
The siblings will board the train after you have brought them back together and Mary bids Arthur farewell.
The Sheep and the Goats
Talk to John in Valentine’s south area to begin this quest. He would like you could accompany him to a sheep rustling.
Continue with him and get a sniper weapon from the gunsmith. You should buy the Rolling Block Rifle and don’t worry it’s free. If you have the money, you can also personalize it while you’re here.
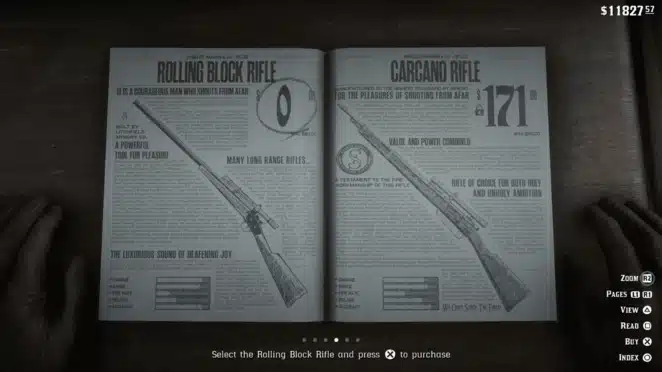
Follow John on horseback with the gun. Switch to cinematic mode and press x/a to keep up with John on your journey to the location.
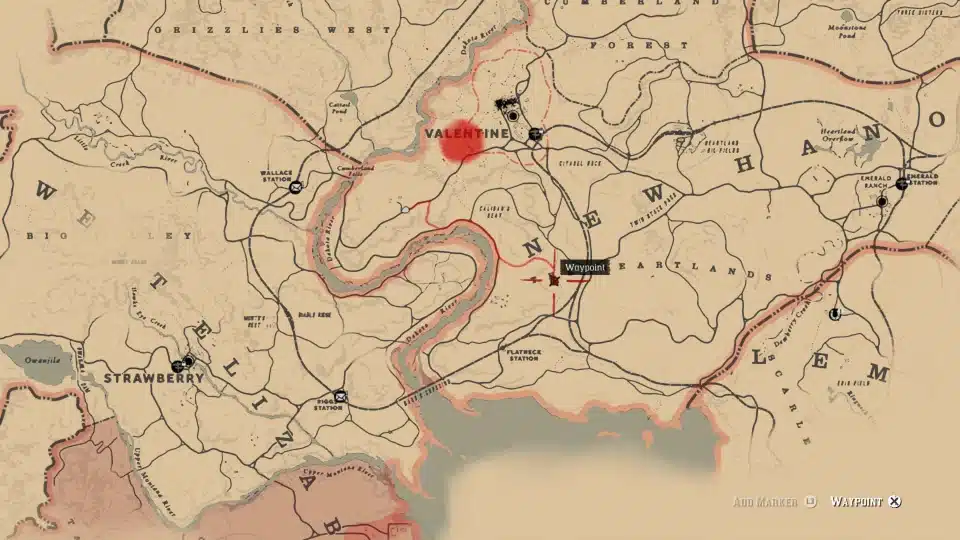
Focus on your rifle scope once you’ve reached the summit of the precipice. Follow John’s directions and attack the ground while avoiding the ranch workers and livestock. They’ll be easily scared off.
Ride to the pack and assist in guiding the outliers back to the rest of the herd. When John believes you have all of them, he will notify you.
Move behind the herd to urge them to move in the intended direction. Hold L2 and hit circle/B shout at the herd. Press up on the d-pad while aiming a gun to fire into the air, making them travel quicker.
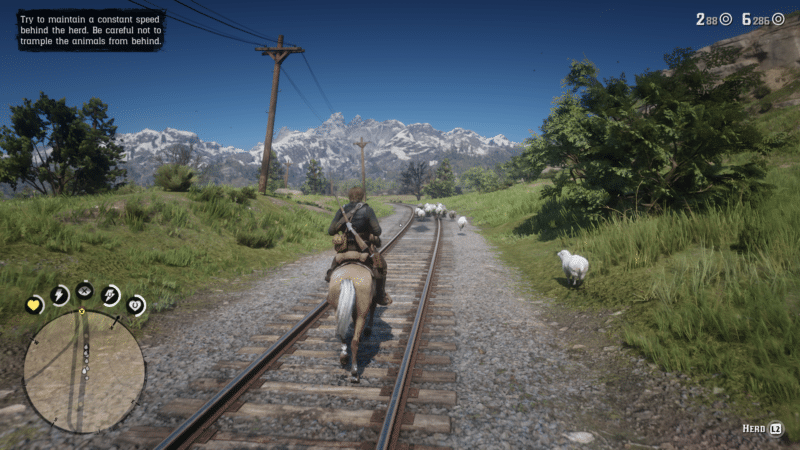
If an animal travels too far away from the group, it becomes a straggler and no longer moves with the herd. Ride near them and shout at them to get them to return to the group.
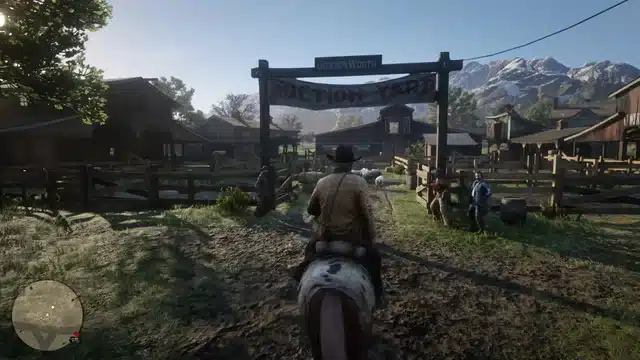
The auctioneer will be dubious of the origins of the livestock and will dispute with you. To avoid snitching, John will haggle his proposed 25% share down to 18%.
Return to your horse and follow John to a local saloon to meet Dutch.
Leviticus Cornwall appears outside the bar, shouting about being robbed multiple times. He has John and Strauss as captives outside. When you step outside, Dutch will start negotiating. Or, at least, he appears to be.
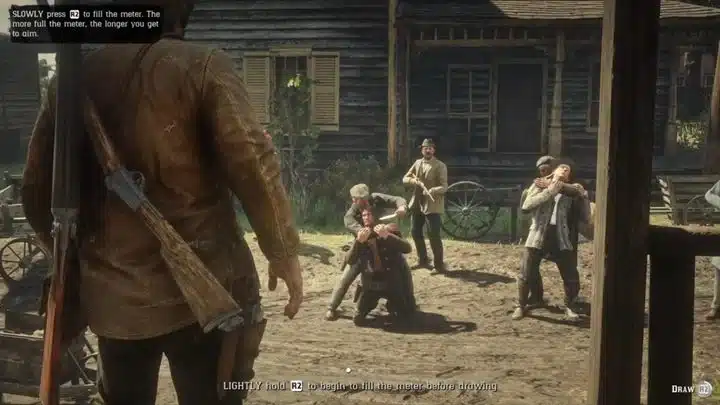
The game will suggest you carefully hold L2 to steadily fill up a meter. The faster you load it up, the more time you’ll have to fire when you stop the guys in a surprise assault. So only push it down as much as necessary.
Once you’ve filled it up, you’ll be immediately thrown into Dead Eye, where you should have enough time to target the majority of the men. To guarantee the protection of the hostages, first target the individuals holding them. Then you’ll be in the middle of a battle.
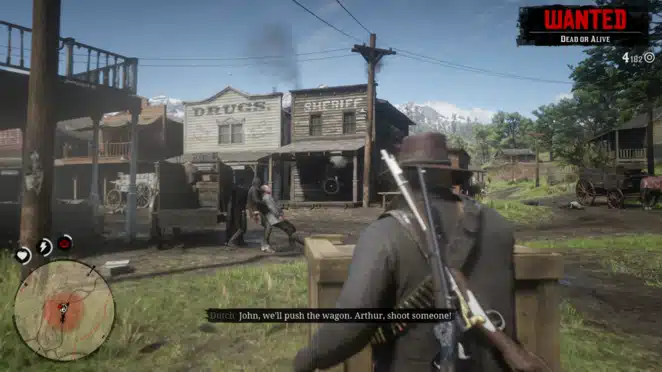
Your allies will protect you to the north, so prioritize the south. More will emerge from the structures after they have been taken care of.
Continue following them into town. Strauss will be shot, and you and your friends will grab a wagon. Strauss was placed in the wagon to shield him.
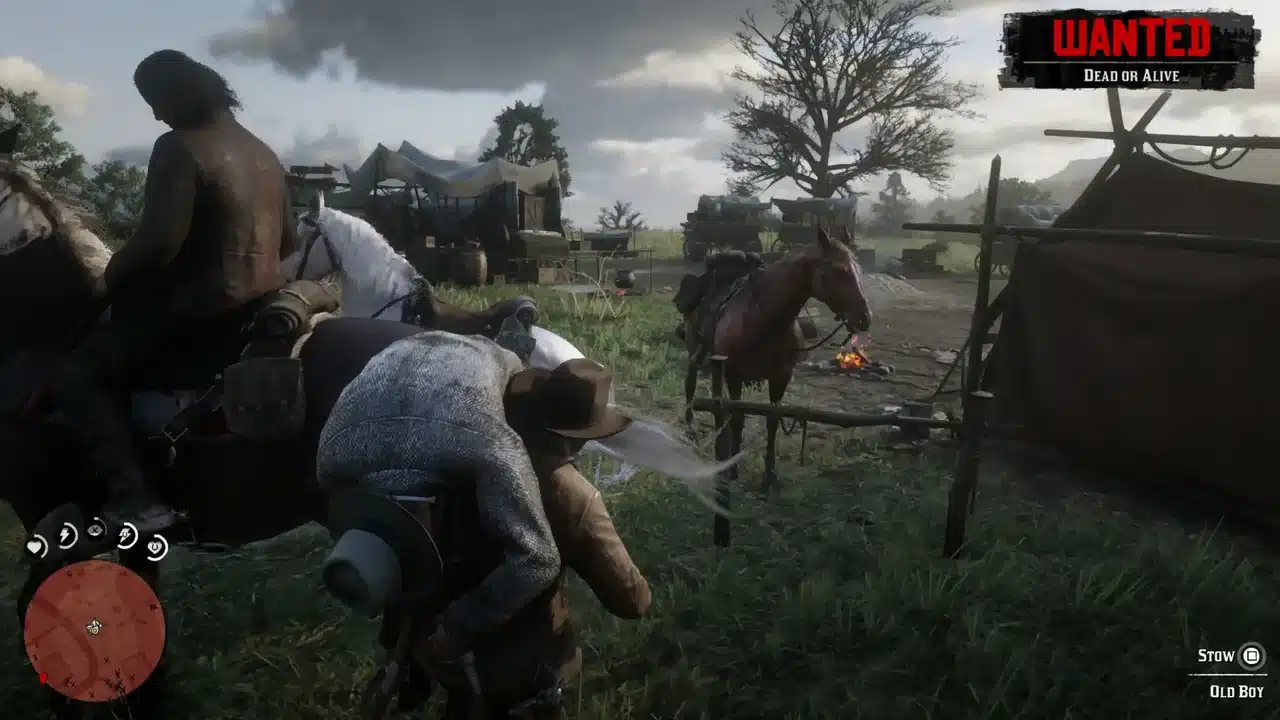
Protect the cart that they are pushing. When you’ve gotten far enough, pick up Strauss and transfer him to the rear of John’s steed. Before picking him up, make sure you’ve taken out the nearest guys shooting, as this will leave you wide exposed.
Now mount your horse and flee Valentine and, eventually, the police. Return to Horseshoe Overlook.
An American Pastoral Scene
Meet with Micah near his camp just outside of Strawberry – the village you saved him from in Blessed are the Meek – to begin this quest.
He needs assistance in robbing a financial coach that passes through Strawberry around this time.
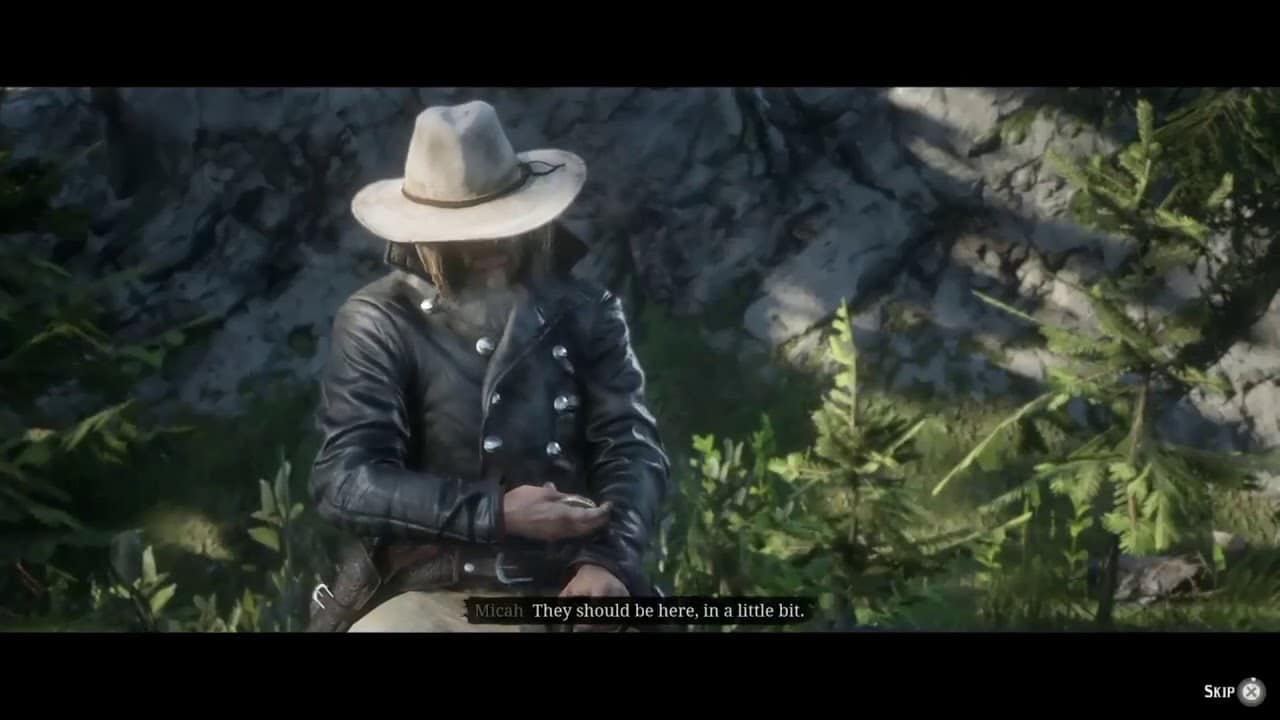
Mount your steed and ride after Micah. Put on your disguise and provide yourself with your chosen weapons. You’ll eventually arrive at your objective, a ridge overseeing where the coach should pass through.
When the cutscene is over, run down with Micah. Your instincts might be telling you to take a shortcut through the trees but just stick to the route.
When you’re near enough, use a firearm to target the drivers first. The convoy will come to a halt as a result of this.
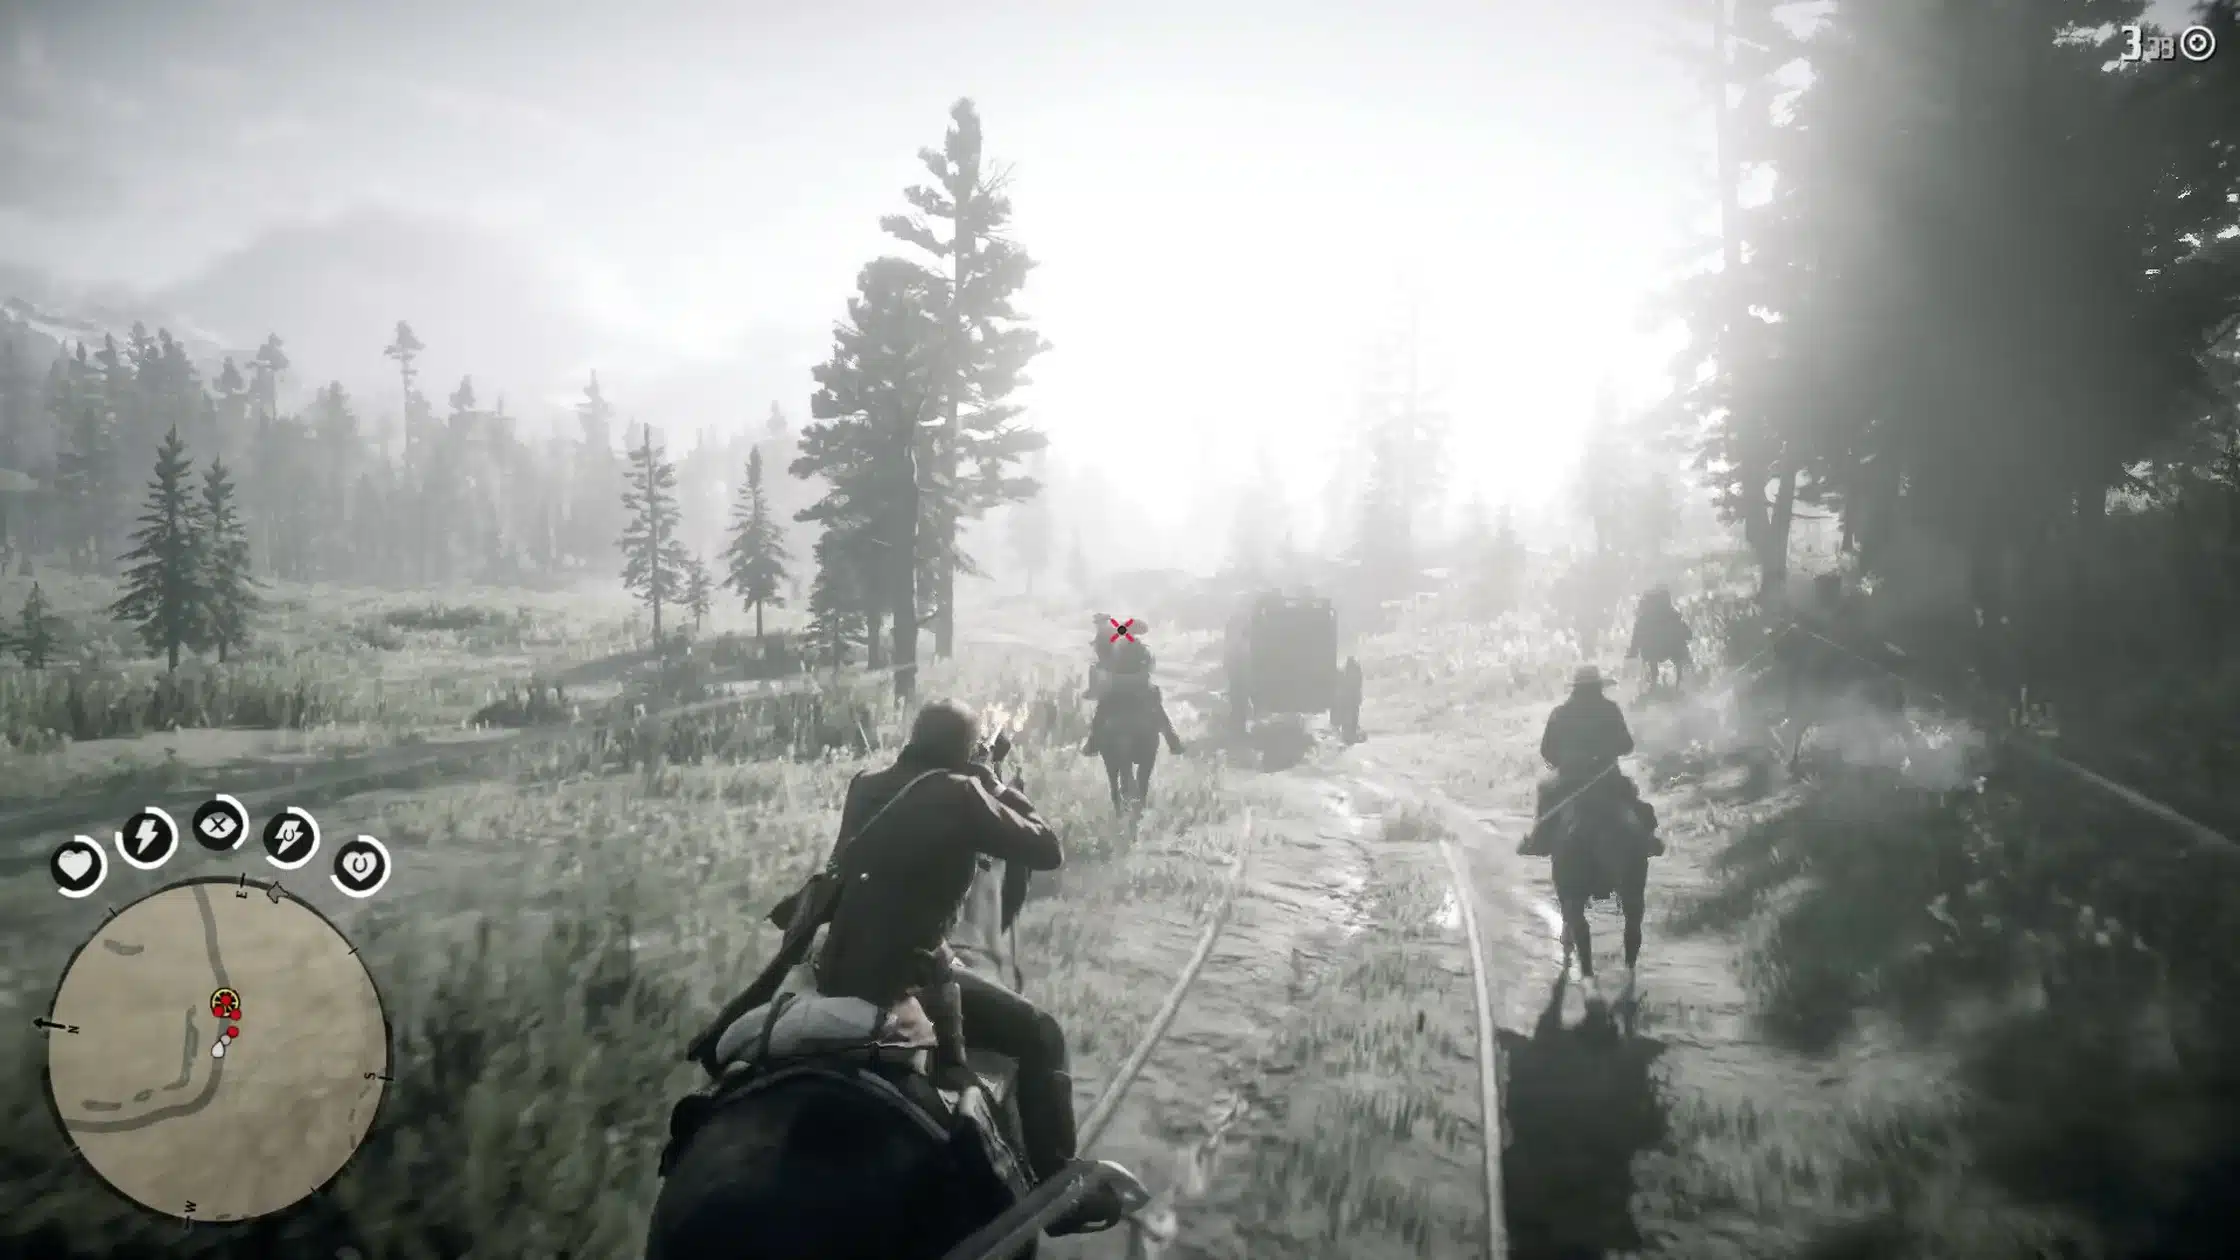
Once you’ve eliminated all of the troops and the driver, board the coach with Micah and travel away. The Lancaster Repeater will be your new tool.
Things appear to be going well, but as you approach a waterway, attackers are going to show up to rob ”you”. The carriage will overturn, throwing you both into the water.
You can remain in the same place the entire time without getting hurt – behind a rock. If you have explosives, you can throw them into the wagon and possibly kill some guys nearby.
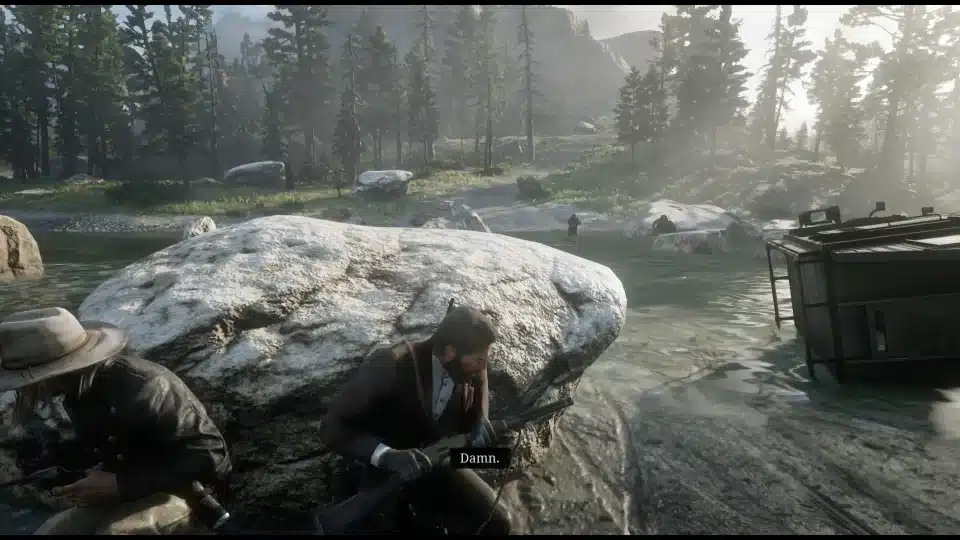
Loot the dead bodies after you’ve taken them out. There are some cartridges, a platinum pocket watch, a ring, some currency, and even more jewelry. When you’re finished, go to the upturned bank coach to meet Micah.
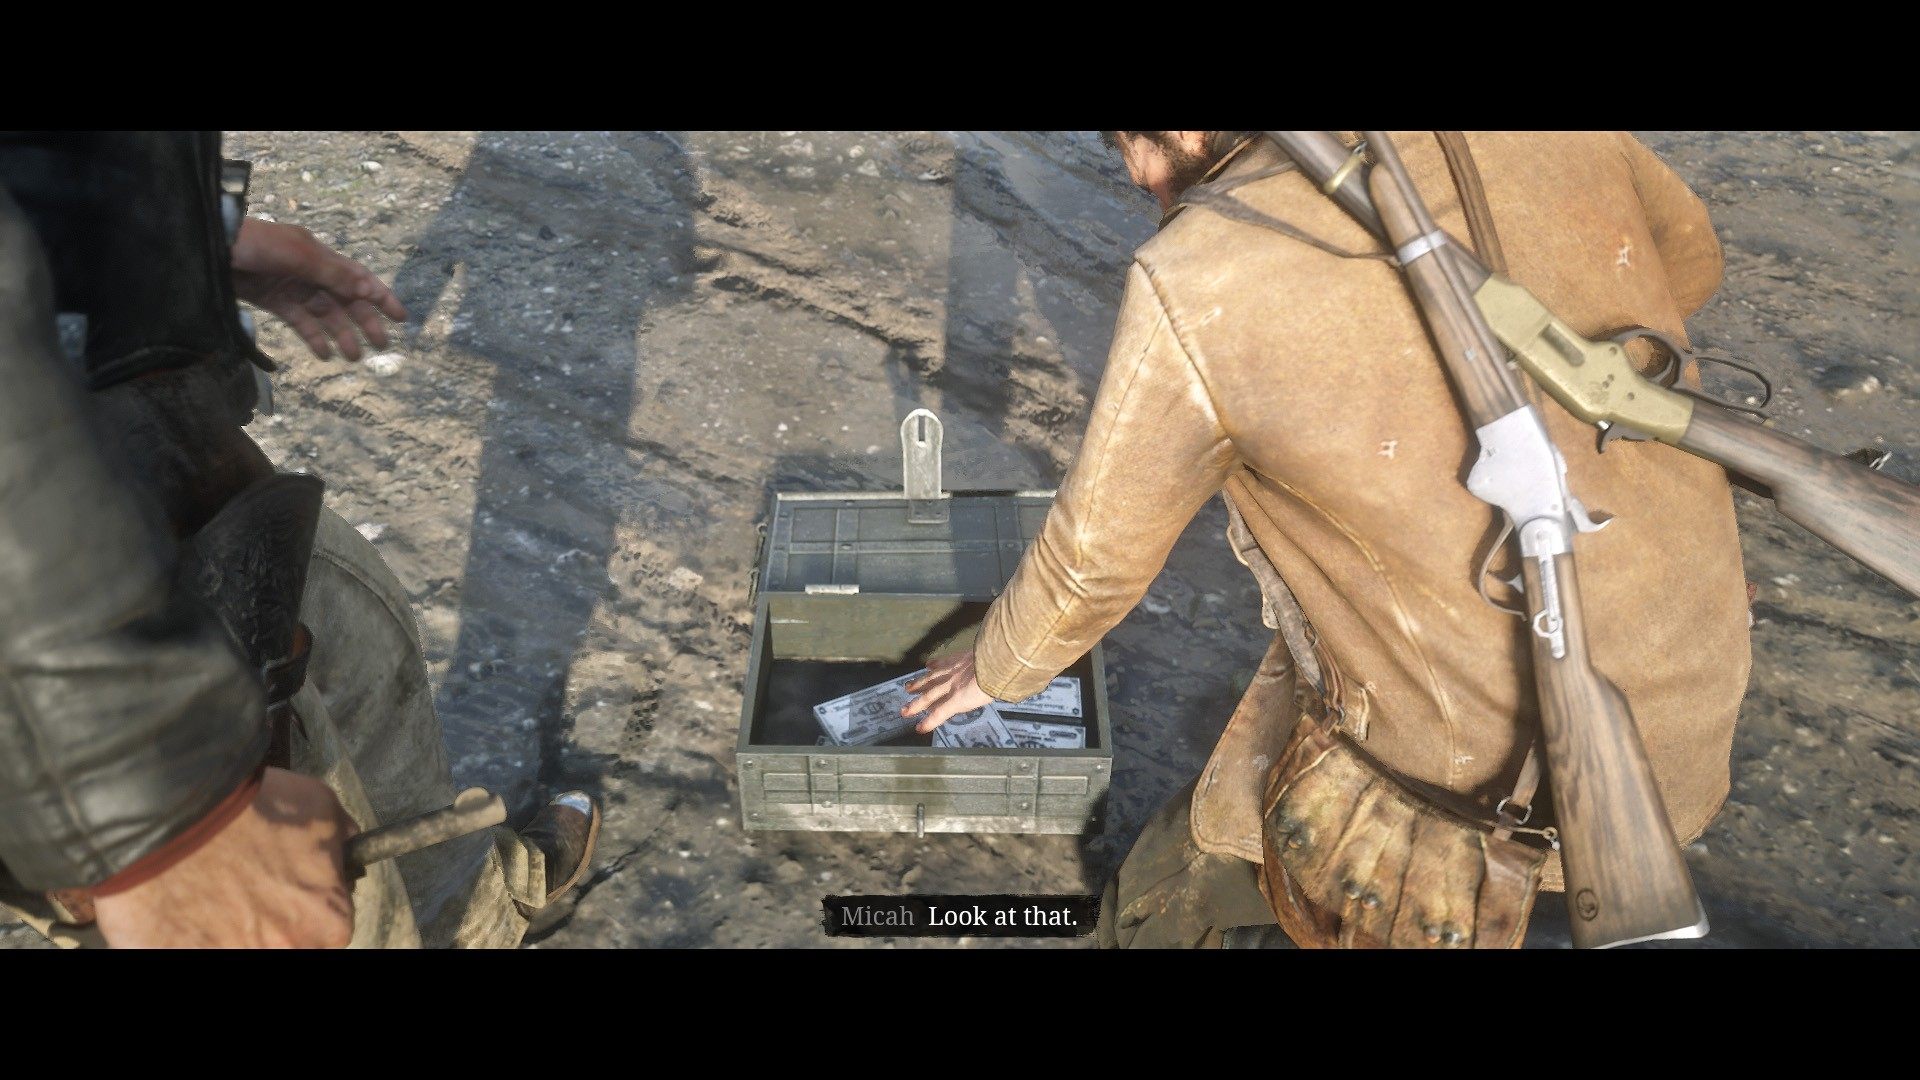
To gain access to the lockbox inside, shoot the lock at the coach. There’s a lot of money inside $500 for the group and $300 for you!
A Strange Kindness
You return to the camp to speak with Dutch about Leviticus pursuing you with the law.
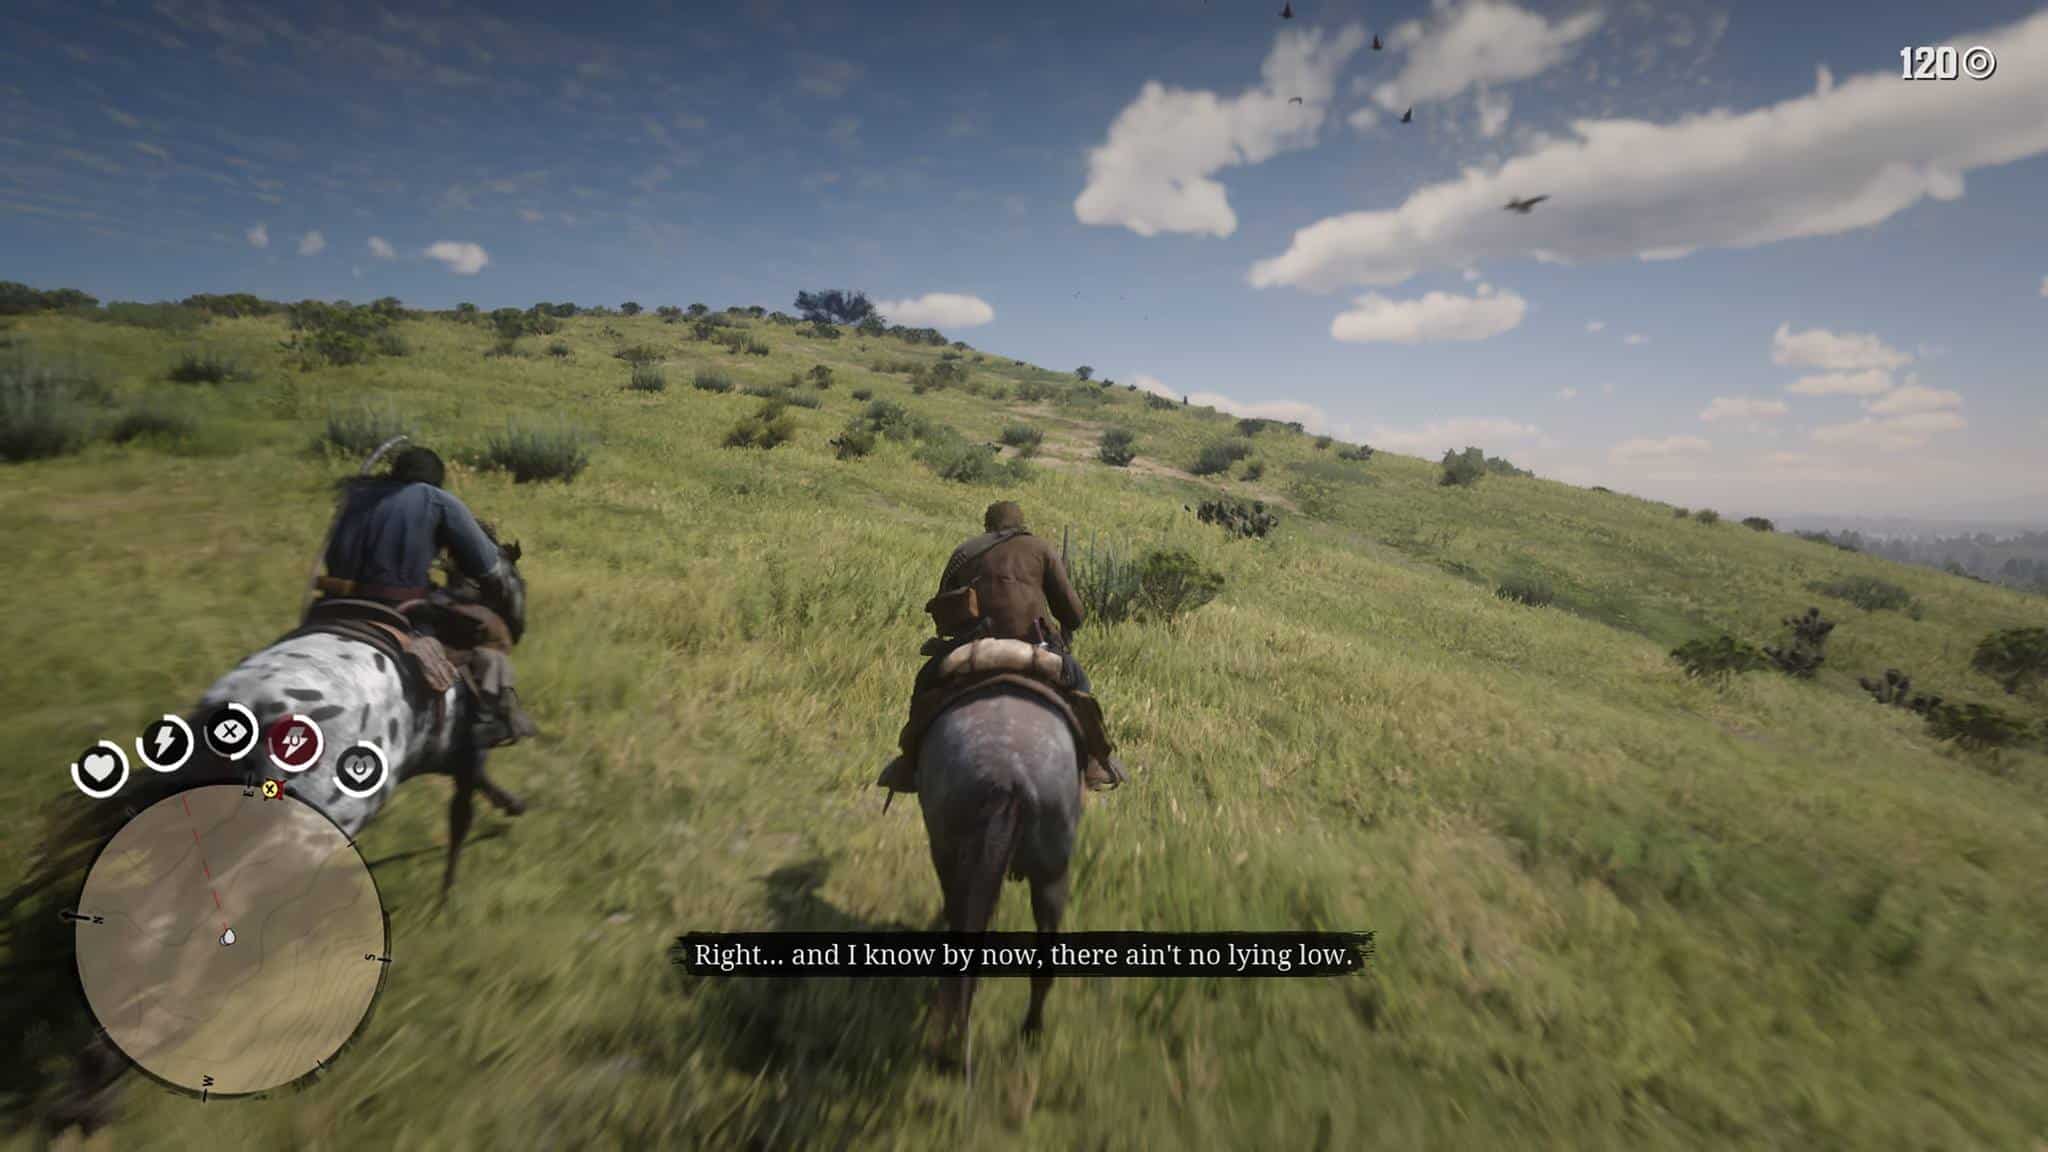
Charles will accompany you on a ride to Dewberry Creek to locate a new site for your tent. Staying still is no longer secure. When moving around and running away stop, Charles inquires Arthur. They talk about how the Pinkertons are riskier for them because Cornwall is funding them.
Investigating and Searching the Camp
There will be a body on the ground when you reach your destination. Examine the settlement, particularly the tents. There are some canned vegetables on the table and handgun ammunition inside, but no one is present.
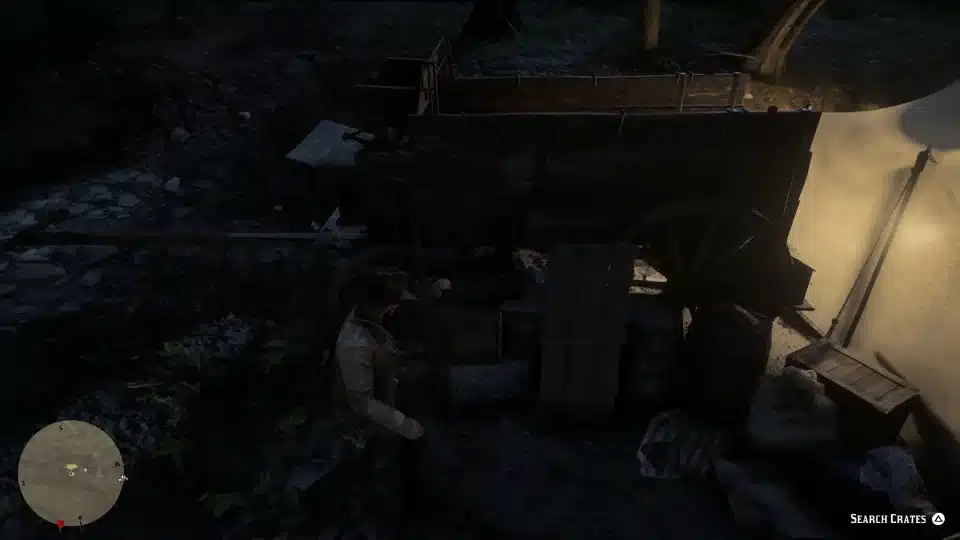
If you check behind some crates underneath a wagon, a lady and two children are sheltering beneath a wagon, Charles and Arthur effectively persuade the lady. Her daughter informs you that some guys kidnapped their father the night before.
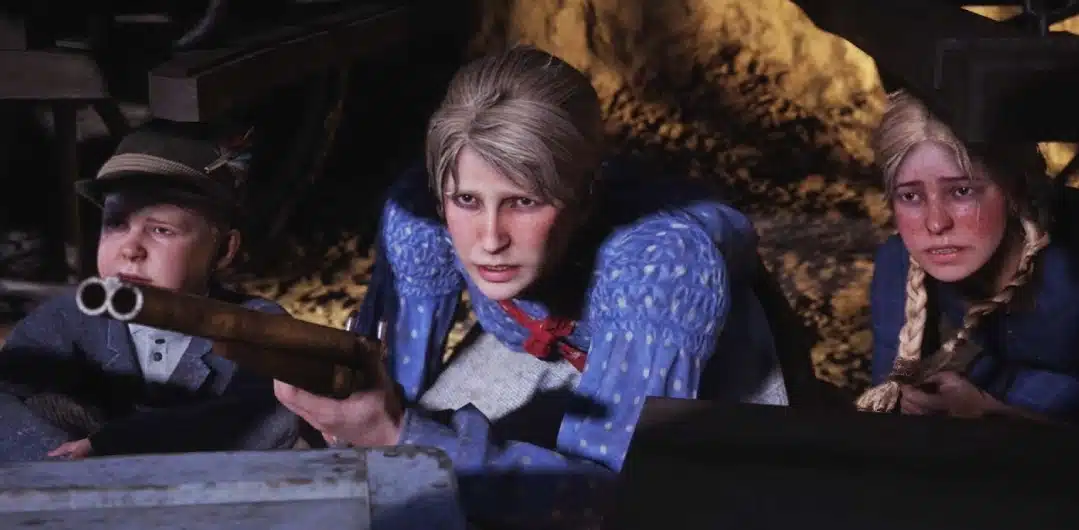
Arthur desires nothing to do with their issues but Charles convinces you otherwise. Follow Charles as you look for the perpetrators.
As you travel, you’ll talk about how stupid John’s plan to return to the auction house to receive their money for the livestock is.
Searching for the Settler
When you arrive at the next site, no one appears to be present. Charles remarks that this location is even better than the one they previously scouted.
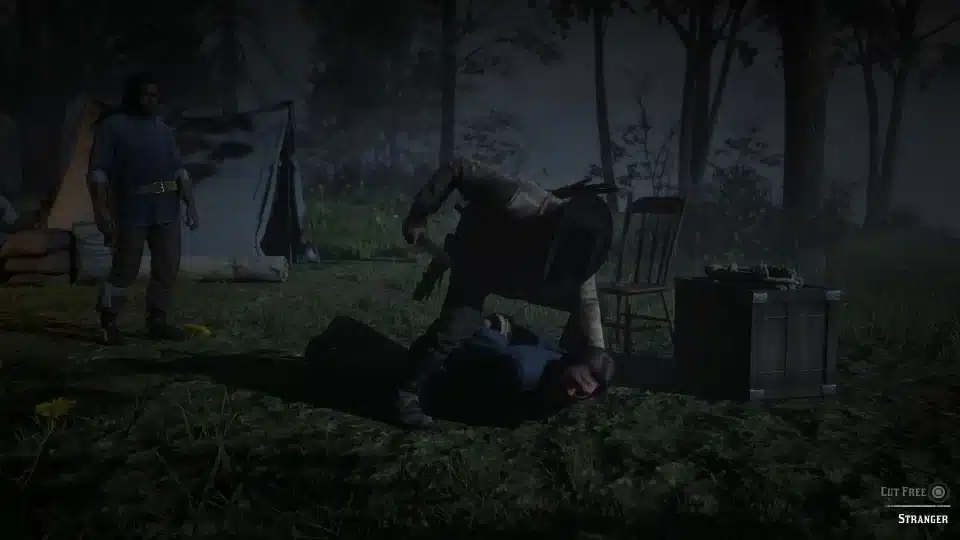
The settler can be easily identified – he’s bound to the floor. Of course, it’s all a deception; as soon as you try to liberate him, you’ll be attacked by those responsible.
If you want, you can use Dead Eye. In this battle, the repeater – or any semi-automatic ranged rifle – will serve excellently. You can also fire a few flammable lamps, but they won’t do much unless an opponent is right next to them.
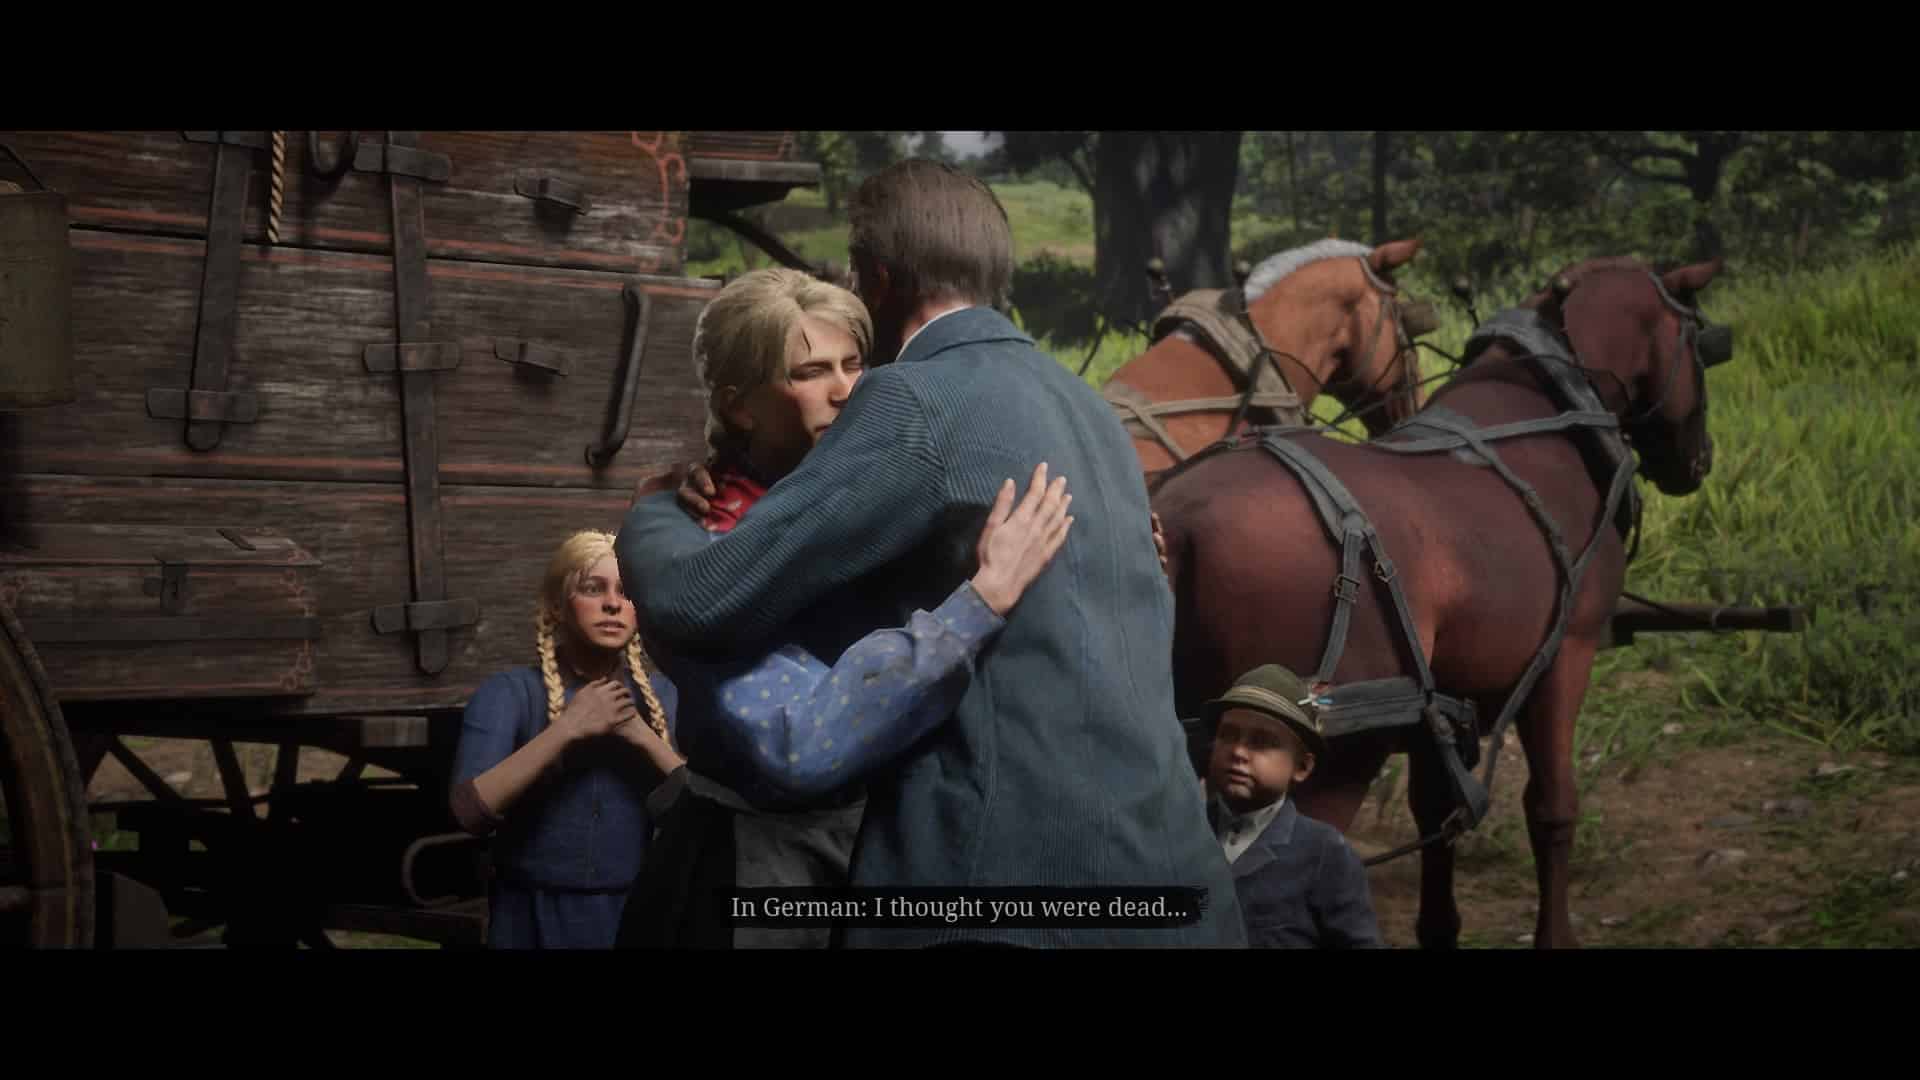
Return to the Family
Other Game Guides:
- All Fungal Creatures in The Last of Us
- The Biggest Game Releases of 2023
- All new Locations in Fortnite Chapter 4 Season 2
- GTA V – San Andreas Sightseer Trophy Guide – Explore all of Los Santos and Blaine County
- Best PlayStation / Xbox Controller And Sensitivity Settings For Fortnite (Chapter 3)
- Fortnite Chapter 3 Season 1 – All Legacies / Achievements
- Fortnite launches Impostors mode, an Among Us-like experience (And it’s Great!)
