Chapter 2: Part 1
A few items are spread throughout the building, as well as a save point. You may keep the task by traveling southeast or hop back into a boat and ride across to the merchant’s new roost, in an alcove to the northeast.
There are a few objects you can discover about the merchant’s lair, but you can find many more if you move around the enormous crates. You may even climb to the roof of the merchant’s hut and lower through a hole so you can land next to the merchant, behind his counter, with an item that’s free for you.
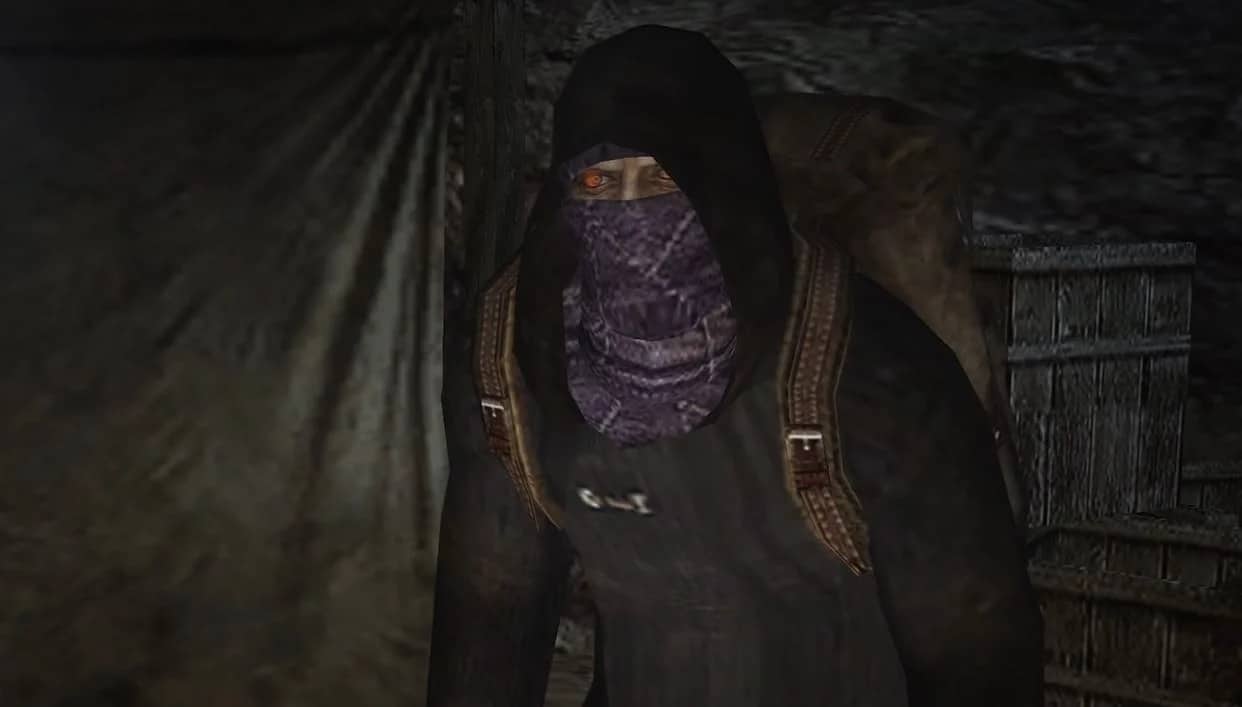
When you’ve finished taking from the merchant, return to the eastern shore and enter the next section through the door. As soon as you reach the new region, you’ll be confronted by two locals, one of whom has a new head. Take them out swiftly (the rifle works well), focusing on the parasites, and then cross the dam.
To get to the north side of the riverbed, you’ll have to hop over a few gaps. Head to the northeast corner of the region, equip your rifle and snipe the lone person sitting in a tiny cottage before climbing down the rope to the level below.
The trail comes to an end at the running river on the eastern side of the region. Shoot the chains hanging up the nearby container, and it will fall into the water, providing you something to leap across to get to the other side. Before jumping across to the southern dock, blast a gem out of one of the rafters on the center dock. Climb the staircase on the south shore then pull the handle to open the underground passageway.
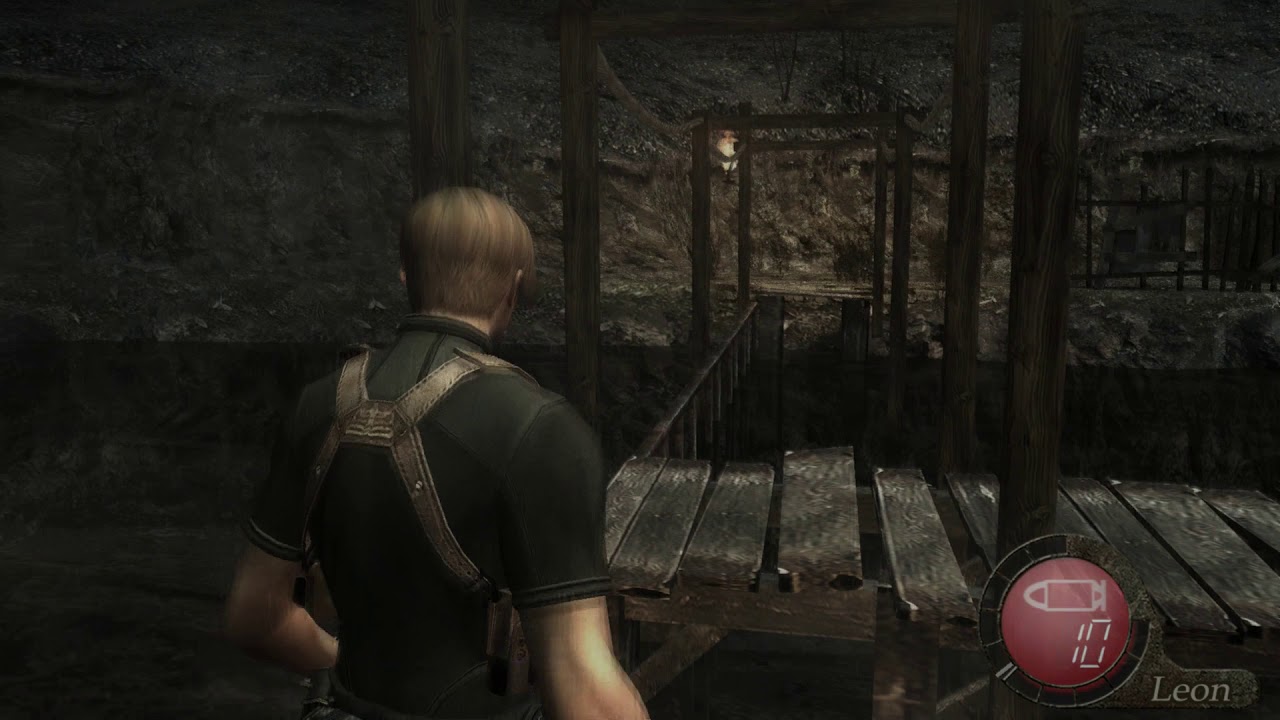
As you jump back to the central dock, a new crowd of foes rushes out as the passageway unlocks. Turn around when they arrive and leap back over to the south dock before aiming your weapon at the adversaries. Shoot at them with your handgun as they jump over the boxes;
if you hit one of them with a decent shot, one will fall into the water. After eliminating them, return to the central dock and enter the cave beneath the waterfall.
A big entrance at the cave’s end has an object in the middle. Take the Round Insignia and enter the main cavern through the two doors. Hop aboard the cavern’s boat, and Leon will bring you back to a prior cavern with a merchant and a save point.
Head north up the stairs and the ladder to the next area. There’s a green herb in the barrels nearby that you should collect right soon since as you go through the gate to the left, you’ll be met by one ferocious creature—El Gigante.
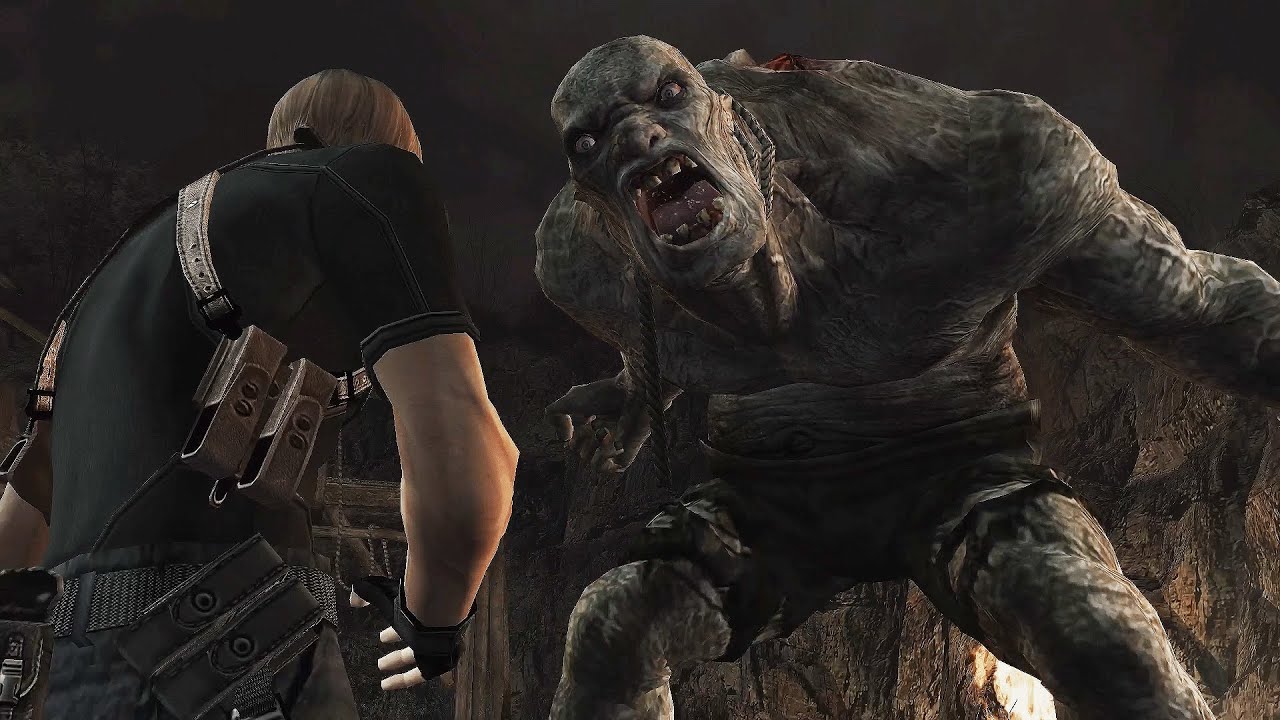
Fortunately, El Gigante wipes the near folks, putting Leon as the only opponent. To defeat the beast, you must first inflict harm on him with your weapons, causing the giant to kneel and the parasite within him to emerge.
Run up to El Gigante and hit the action button to jump up on top of him once he’s on his knees. Take notice of the button that displays at the bottom of your screen when Leon hops onto the back of the monster, and mash it to cut away at the parasite.
The monster must be brought to his knees at least twice (and maybe three times, depending on how skillfully you press the slice button). Making El Gigante concede is the challenging aspect of the battle. Finding targets isn’t always very simple, and it takes a lot of ammunition to be pumped into his body to kill him.
Your greatest option when the battle breaks out is to just flee from the monster. Although the monster will keep up with your pace and prevent you from ever getting behind him, you may safely run around him in circles. So even if you’re not actually doing anything by fleeing, you are effectively delaying him.
After a little while, the white dog who you earlier in the game liberated from a bear trap (hopefully) rushes out to assist you. Standing back, fire rounds at El Gigante with the shotgun, rifle, or even explosives as he pursues the dog. Although El Gigante won’t pursue the dog endlessly, you will get the opportunity to cause some excellent damage.
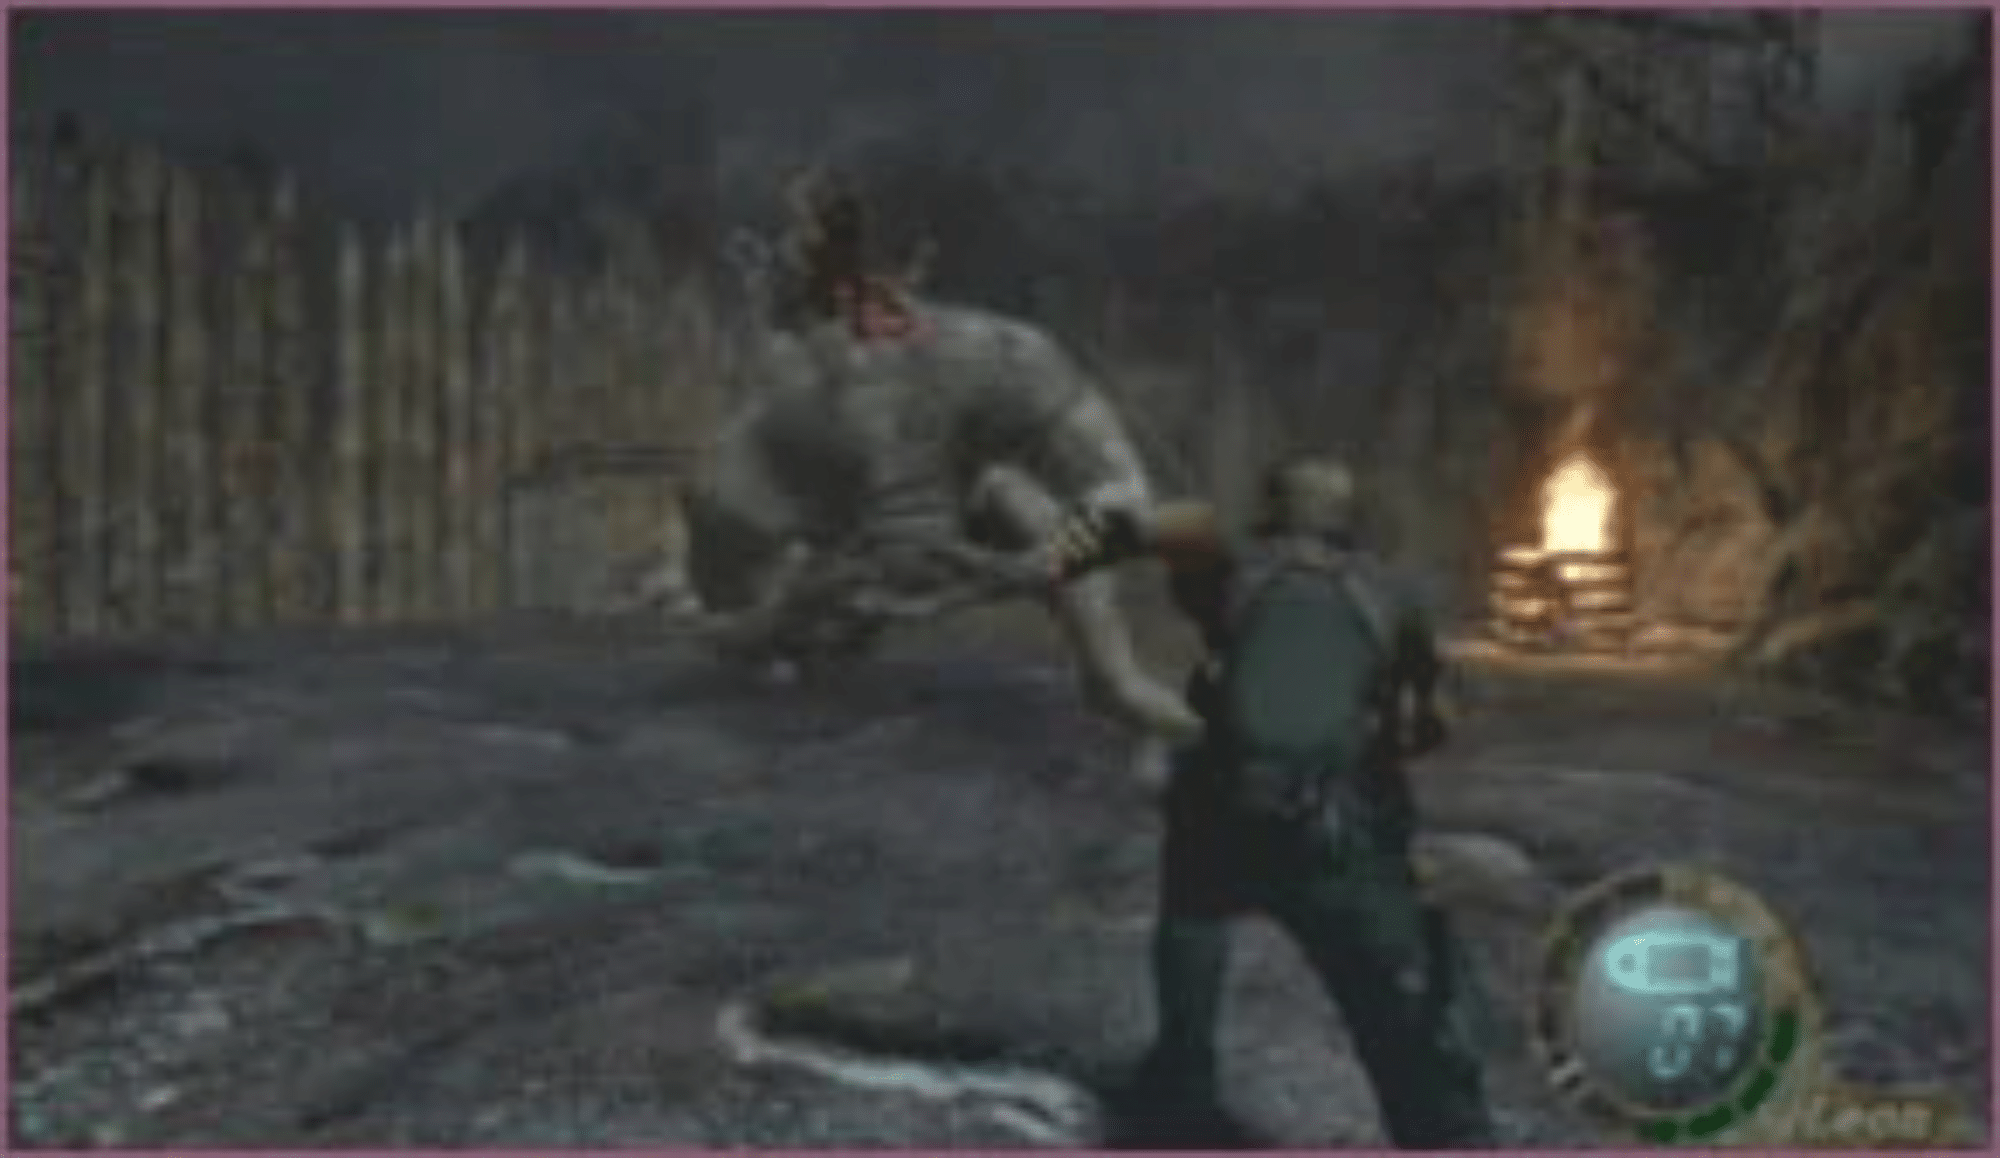
El Gigante will also use a couple of assaults against you. Sometimes he’ll rip a tree out of the ground and use it as a club. Your best option when he does this is to remain still and allow him to approach you.
A set of buttons (often the shoulder buttons) will suddenly emerge at the bottom of the screen as El Gigante swings the tree. You may avoid the onslaught by pressing the buttons quickly, allowing you time to fire one shotgun discharge before reversing course.
The monster’s arsenal also includes a charging shoulder ram assault and a boulder that he launches. You can dodge the shoulder ram assault by simply going around El Gigante, but if you pause to take the position at the monster and notice that he’s ready to strike (he’ll growl, then drop his head between his knees), you’ll need to know how to avoid it. The event is similar to the tree strike in that you must hit the proper buttons at the right moment (typically the shoulder buttons) to evade the blow.
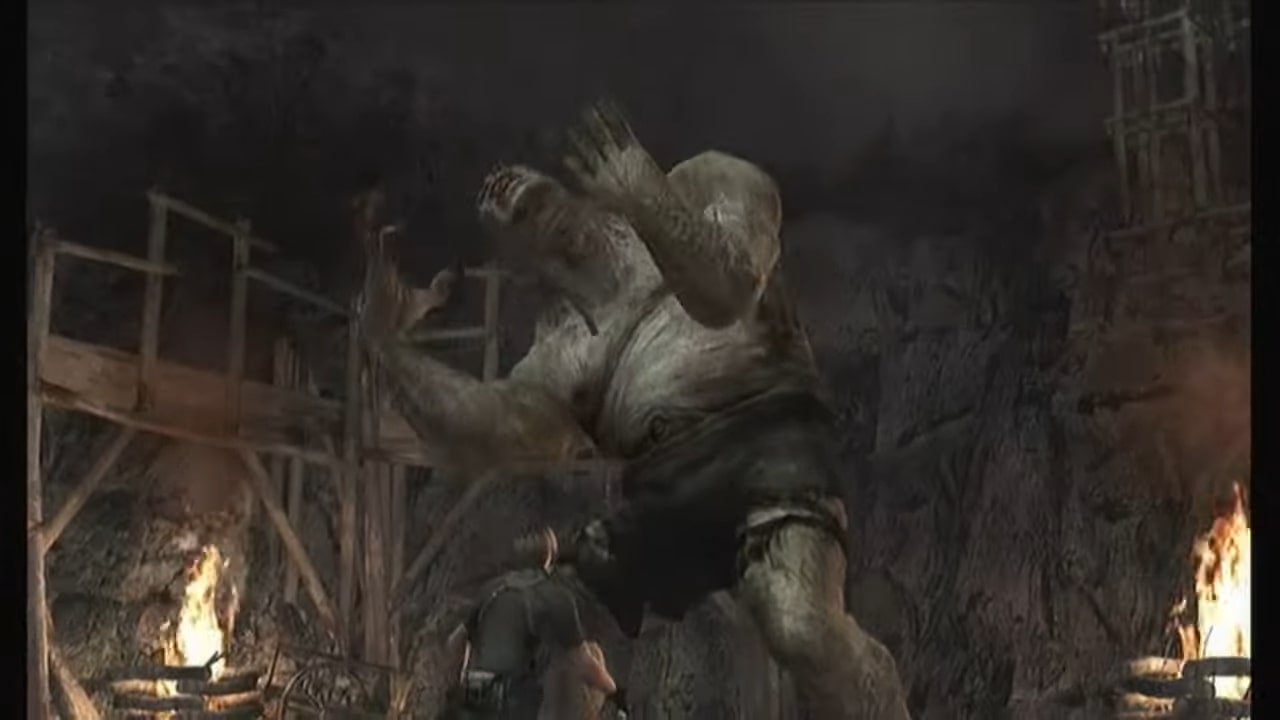
Essentially, you’ll end up racing away from El Gigante, turning quickly to aim and shoot him once or twice, and then running away again. When the dog begins to distract the monster, take advantage of the chance to get in some clean gunshots (or load your gun) and be ready for his counter-attacks. Once the monster is on his knees, use the action button to leap above him and break away at his parasite. The beast will perish sooner or later.
Begin going west toward the chapel. Before heading up to the church, pause and equip your weapon after traversing the shaky wooden boardwalk. Just ahead of you, you’ll notice the blazing eyes of a wolf. Shoot the wolf again with your rifle before switching to your shotgun.
Two wolves will charge toward you, but you’ll be able to dispatch them quickly with your shotgun. Go up the hill as the two are dead, keeping an eye out for a third wolf (which can also be sniped if you’re careful).
Enter the church (using the Round Insignia to open the entrance) and turn left into the entrance. There’s a tiny corridor leading to a ladder.
Take the stairway to the church’s higher level, and you’ll notice that the entryway is locked. Lean out to the middle of the church and leap across the gap to land on the bell to go around the barrier. Jump again when the chandelier moves forward to bridge the gap.
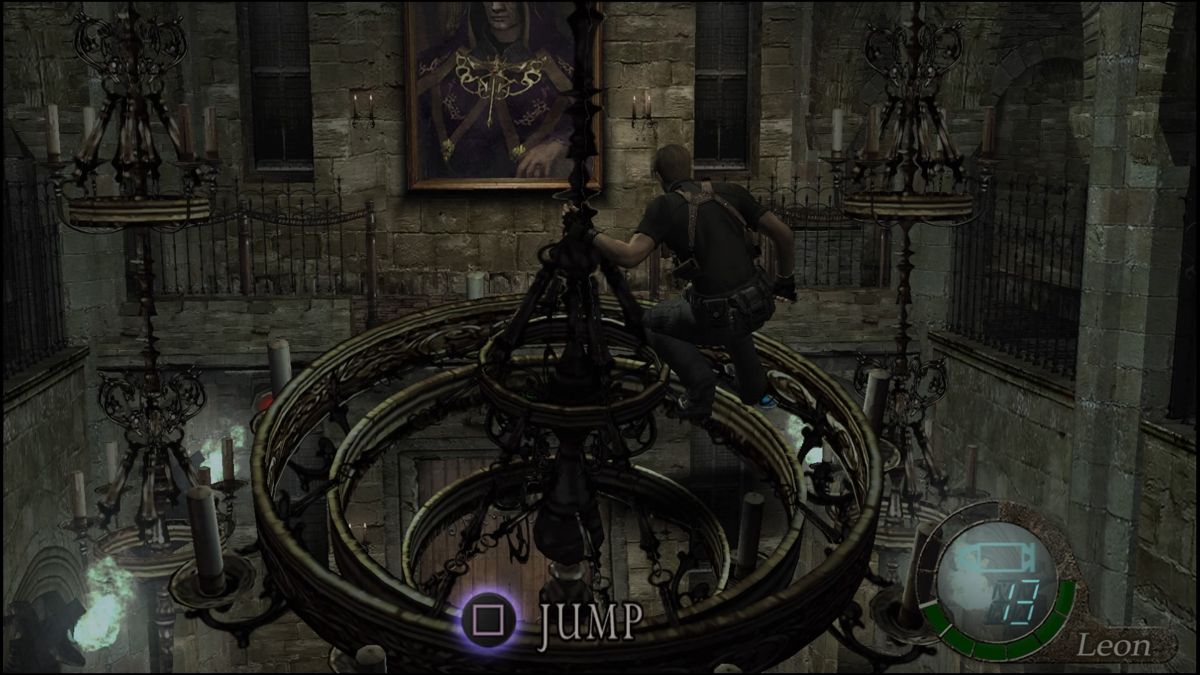
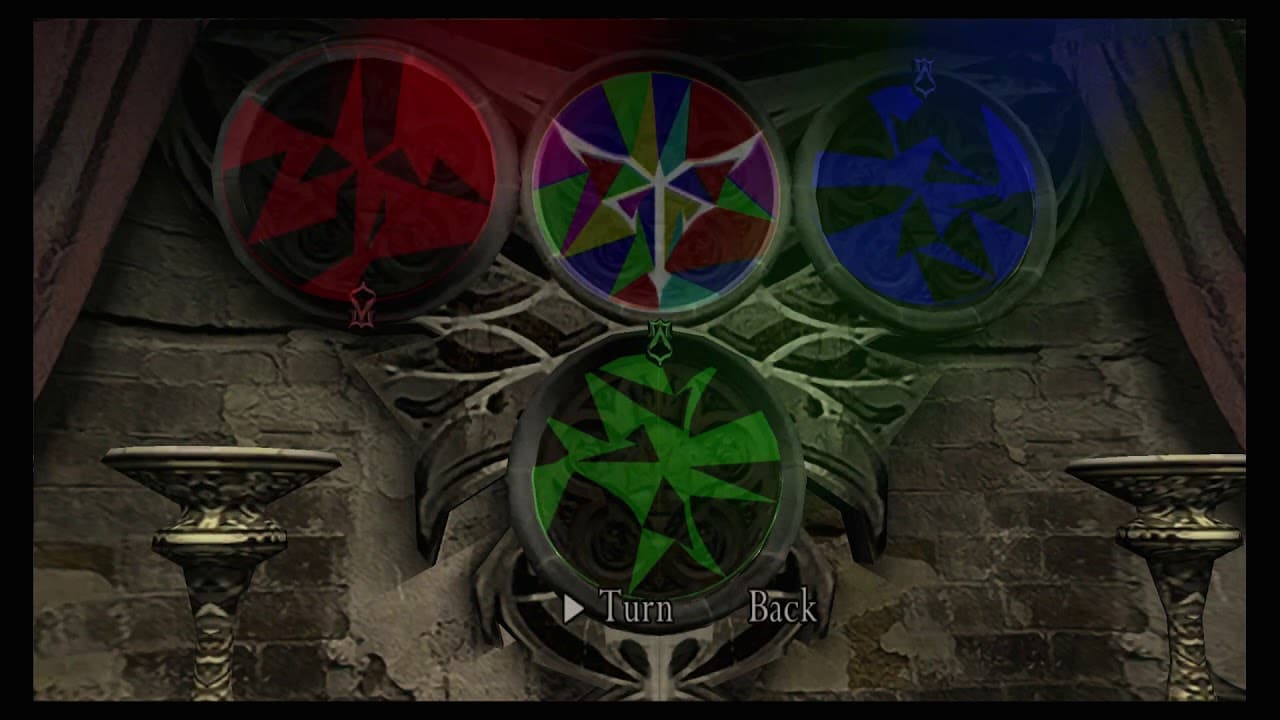
An electrical panel for the lighting is located on the different sides of the church’s top level. Three lights on the control panel can be turned on. The objective is to coordinate the patterns of the lights such that, when they combine, they completely overlay the already-existing colorful image.
Turn the red light so that the little keyhole at the bottom of the frame faces downward. Turn the green light to the left so that the keyhole faces the left. Turn the blue light to the right so that the keyhole faces forward. Combine the three lights once you have them in the appropriate positions to unlock the entryway on the southern side of the church.
When you open the entrance behind the elevated barrier, Ashley will finally appear. Obtain her cooperation and lead her in your direction as you go toward the ladder that lowers to the ground level (you’ll need to grab her at the bottom of the ladder). The level will conclude once you exit into the main church hall.
Chapter 2: Part 2
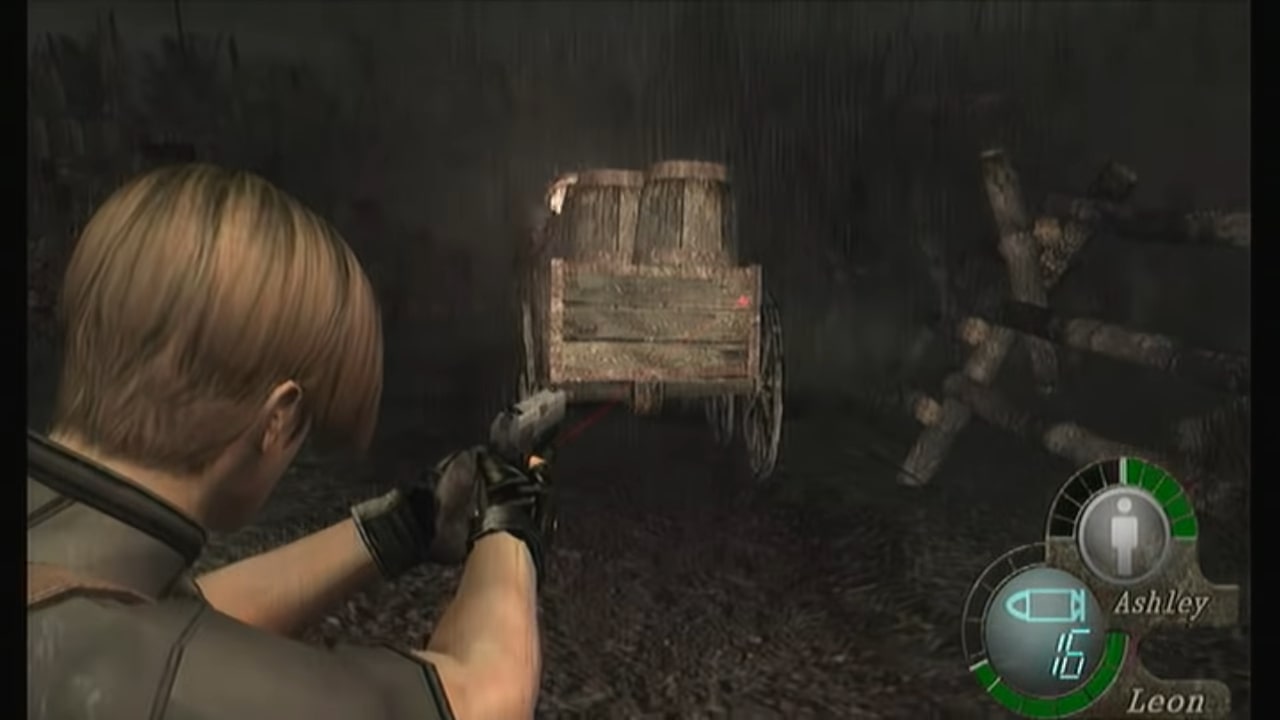
A short cutscene shows you the hostile crowd in front of you as you leave the church storage area. As Ashley waits by the entrance, you should arm your gun. Fire at one of the buckets that are in the wagon just a little bit down the hill; the barrel should burst and cause the cart to roll backward, killing most of the foes behind it. After moving back and taking out any remaining enemies, lead Ashley across the cemetery to the west.
To access the cave with the merchant, lower the stairway to the west. Before ascending the staircase to the north (near a save point) and moving on to the following region, take care of him as you see fit and get the object or items you can find within.
A local approaches you from the left as you reenter the village core. Lay him out, then concentrate on securing Ashley’s safety. The tall bell tower should be on your right. As you search the settlement for things and enemies, lead Ashley to the summit and leave her there.
Return to the bell tower after searching the town. You may go to the next region through a path that heads northeast (you previously followed the trail). It won’t be a straightforward stroll in the park, though, since a lot of residents and bear traps act as barriers.
Take down the enemies one at a time while Ashley is still in her protected hiding place, and then set off the traps to prevent you or Ashley from getting caught in them later. Call Ashley down from her hiding place and lead her through the door and into the subsequent area when the route is clear (there are three or four villagers to watch out for).
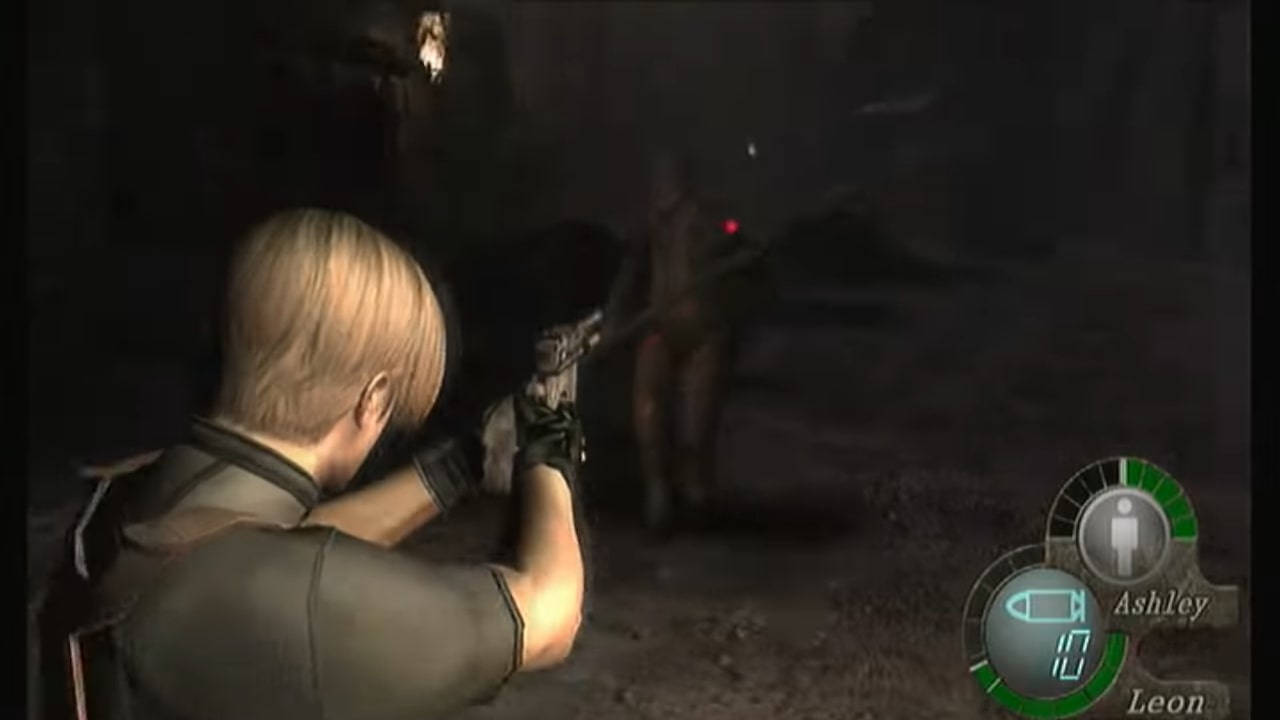
As soon as you get to the farm area, move a little bit farther down the road, then have Ashley hide in the red metal container to the right. Since there are enough of the bizarre opponents to deal with (around eight in all), she will be absolutely secure here while you purge the region of villagers.
Navigate across the farm’s perimeter, sniping any foes you spot in the distance with your weapon. There are two of them slightly northeast of the main barn, two more on the wood-plank “balcony” encircling the barn, and even a resident or two inside.
As soon as the area is clear, check to see if the barn’s inside is secure. You should remove the bear traps that are on the ground in front of the ladder.
Go up the staircase to the second story and through the window to the outdoor balcony made of wood. The final enemy in the vicinity is propped up on a ladder at the north end of this balcony. Remove it before returning to fetch Ashley.
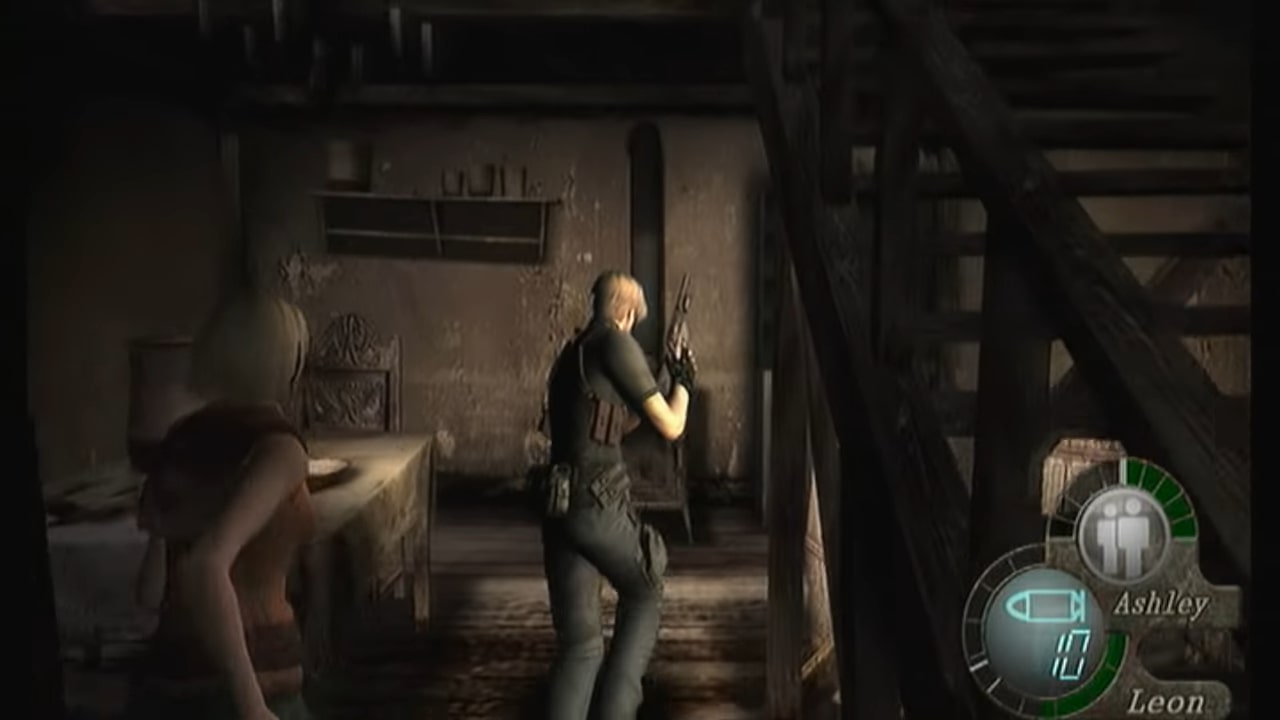
Lead her back to the location of the final villager and drop to the ground level once more. You can ride along behind Ashley in the northeast corner as she opens the door on the other side. Move on to the following region.
There is a merchant you may deal with at the start of the new road. If you haven’t already, it would be a good idea to update your shotgun (fire rate and ammo quantity are two good ideas). You and Luis will have to fend off the biggest (by far) swarm of not-zombies you’ve ever encountered as you and Luis are pursued inside the abandoned home as you cross the bridge up ahead.
As soon as you regain control of Leon, you may begin establishing up shop in this temporary fortress. You must repel the zombie invasion for a fixed amount of time (only a few minutes), but thankfully your accomplices will not be a problem (Ashley hides around the area, and Luis is invincible).
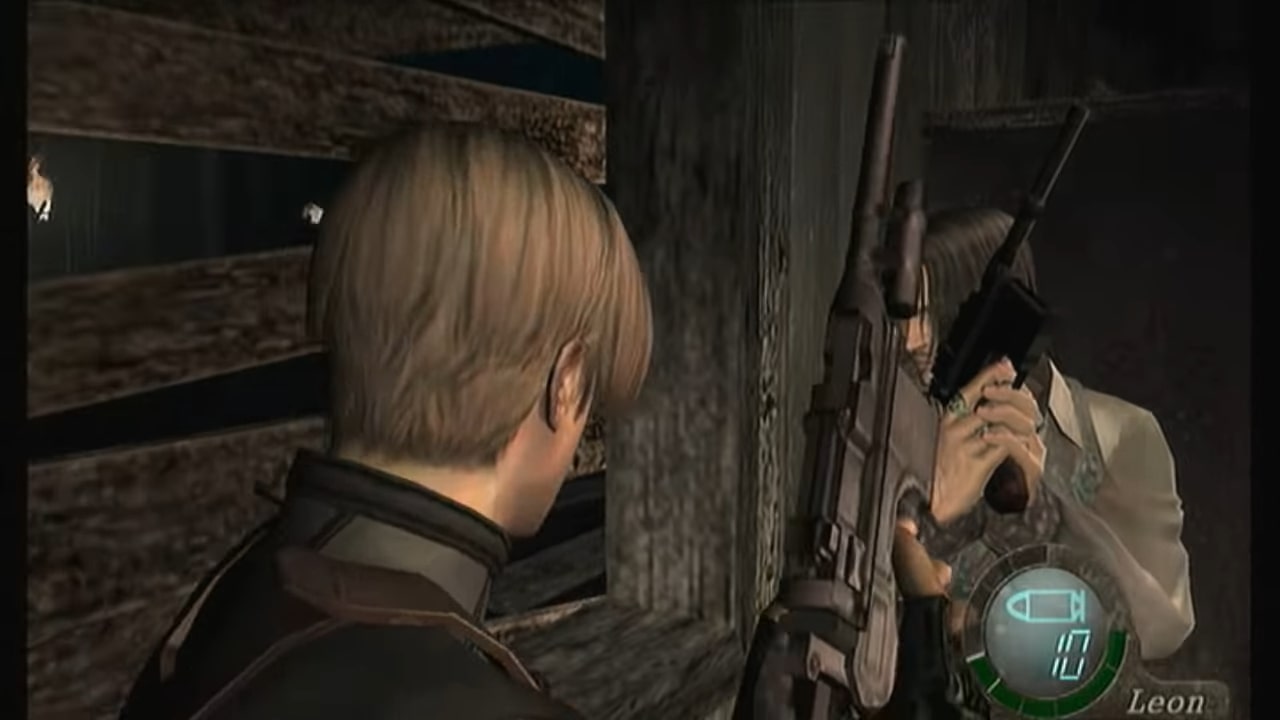
You simply have to care for yourself, which is not an easy task. Begin by shoving the three bookshelves in front of the windows that the locals are attempting to burst through. You must also gather and blend a few herb plants in the basement area. Run upstairs once you’ve gathered the herbs and closed the windows.
Stand at the top of the stairs, shotgun drawn, staring down the steps for any opponents that may come racing up. Luis will attempt to keep them away from downstairs for a bit, but that doesn’t mean you won’t witness something up there.
Your shotgun will keep the locals at bay, and you may throw a grenade or two down the stairs to help thin out the throng. Luis will eventually accompany you upstairs, signaling a shift in strategy.
Around the time Luis goes upstairs, the herd outside will start throwing up ladders to climb through the three upstairs windows. Run up to the ladders and kick them off whenever feasible to slow the flow of villagers. The enemies will keep coming up the stairs, requiring you to keep an eye on every direction.
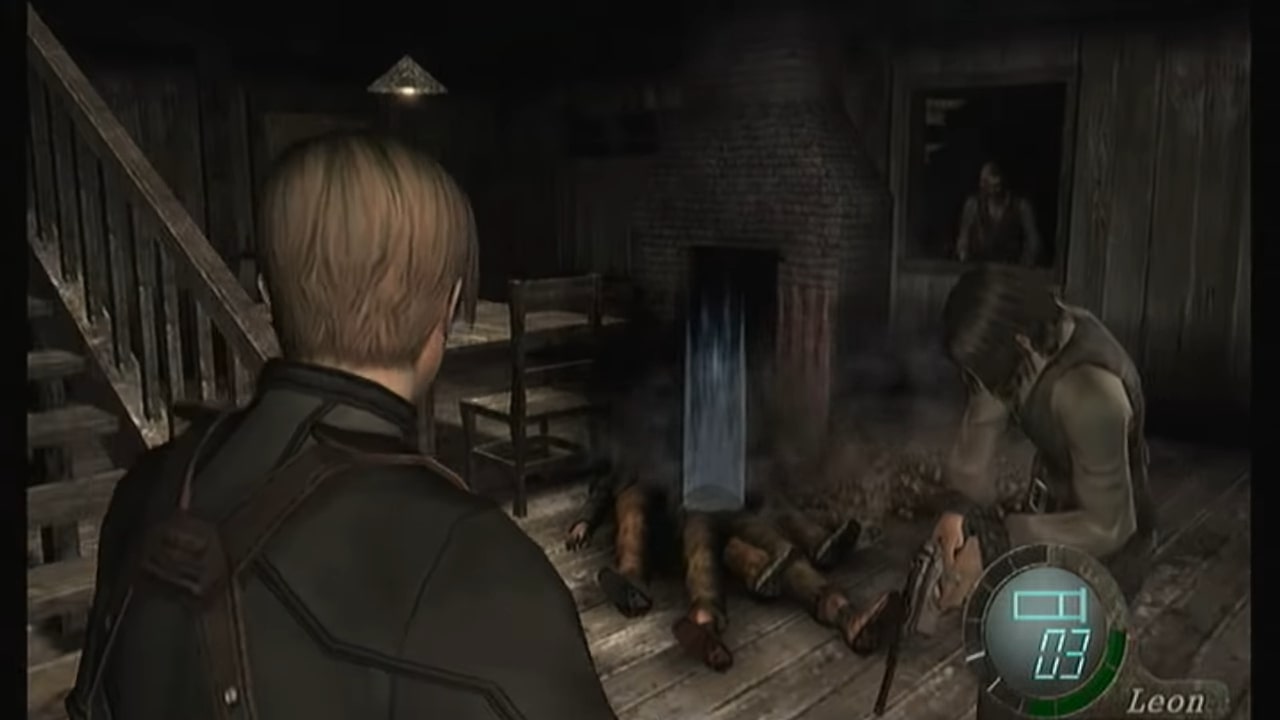
To grab a number of foes at once, throw grenades at the top of the stairs (again, don’t be concerned with Luis, even if he’s in the way), then use your shotgun to take out the rest. The flow of enemies will eventually stop, and the stage will finish.
Chapter 2: Part 3
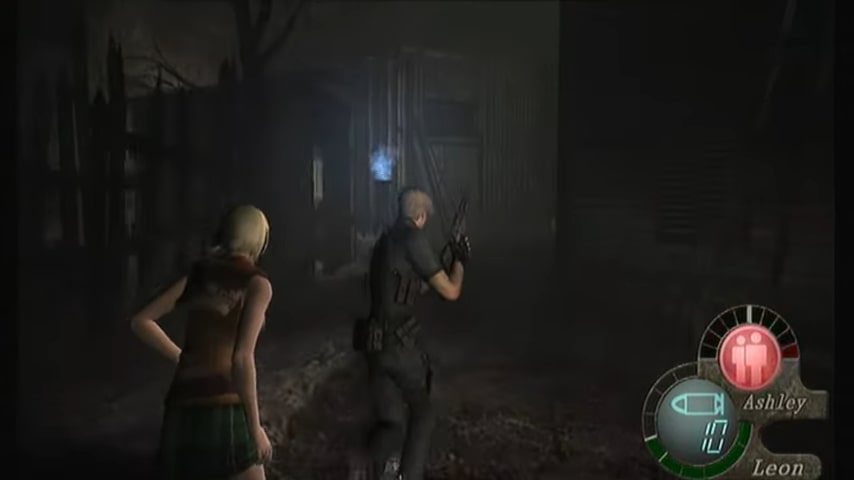
Right Path
A quick (but difficult) chase awaits you if you choose the passage to the right (the western entryway). Ashley joins you as you begin to sprint down the canyon as another enormous creature appears behind you. Although you won’t have to directly confront the beast, evading its hold while traveling along this constrained path won’t be easy.
Always keep Ashley behind you. Aim your handgun towards the western wall (which should be on your left) as soon as the giant emerges. Upon a flimsy wooden framework, a huge boulder perches perilously at the very top of the ravine wall.
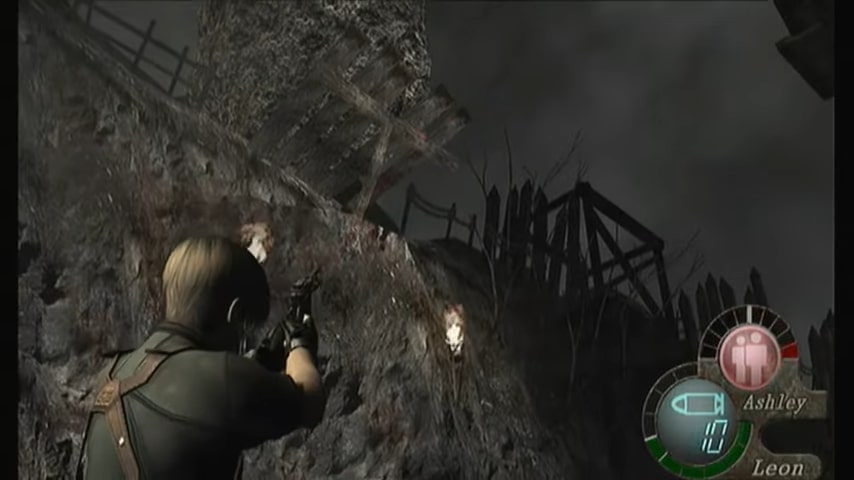
The boulder will collapse with just one shot into the wood, providing you with a useful barrier to divert the ogre’s attention. When the boulder hits the ground, spin around and dash towards the gate up ahead. The door is locked, but you can open it by shooting each lock with a handgun (kicking them in would also work, but it takes too long).
You must dodge a few tiny sheds as you go through the second section of the canyon. Turn 180 degrees and aim toward the northern boundary (to your right) once you have passed the barns.
Before coming back to resume your dash down the canyon, there is yet another block that you may fire down. You’ll need to blast the locks blocking the next entryway once more, even if you don’t want to rush through it straight immediately.
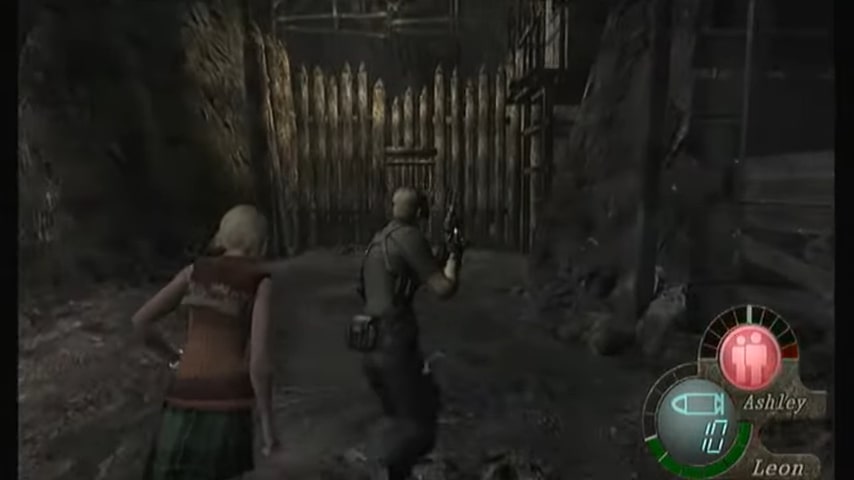
Thus, have Ashley stand at the doorway and spin about to face the creature. It will have broken through the buildings that were before blocking your path, revealing the Old Key, which should now be lying on the ground. Slip between the monster’s legs and return to Ashley with the key.
You’ll come up to a closed door in the third section with Ashley in tow. Open the door using the Old Key and go to the next sector. If you’re willing to take a chance, there’s a valuable item you may obtain if you return to the canyon.
The monster is still around, but he’s on the opposite side of the canyon. Return to the canyon, and in the second section, you’ll notice the gleam of an object inside a bucket leaning over the canyon (around the same spot as you discovered the Old Key). You may either fire it down and pick it up, or you may put it down, leave the area, and then return to have another go at it.
Left Path
This route may cost you plenty of bullets, but it will also reward you with several useful goods (including a few herbs). You’ll see a bunch of locals ahead of you as soon as you approach the area with Ashley.
A wagon loaded with hazardous kegs is in the center of it all. Select one of the barrels and fire one pistol bullet to eliminate a swarm of villagers with a single strike. Run ahead and make Ashley shelter in the red container after the flow of foes has ended.
Equip your weapon as you turn just around the corner and you may zoom in on a local strolling out on the platforms above (to the south of you). Shoot him, and mount the ladder right beyond him.
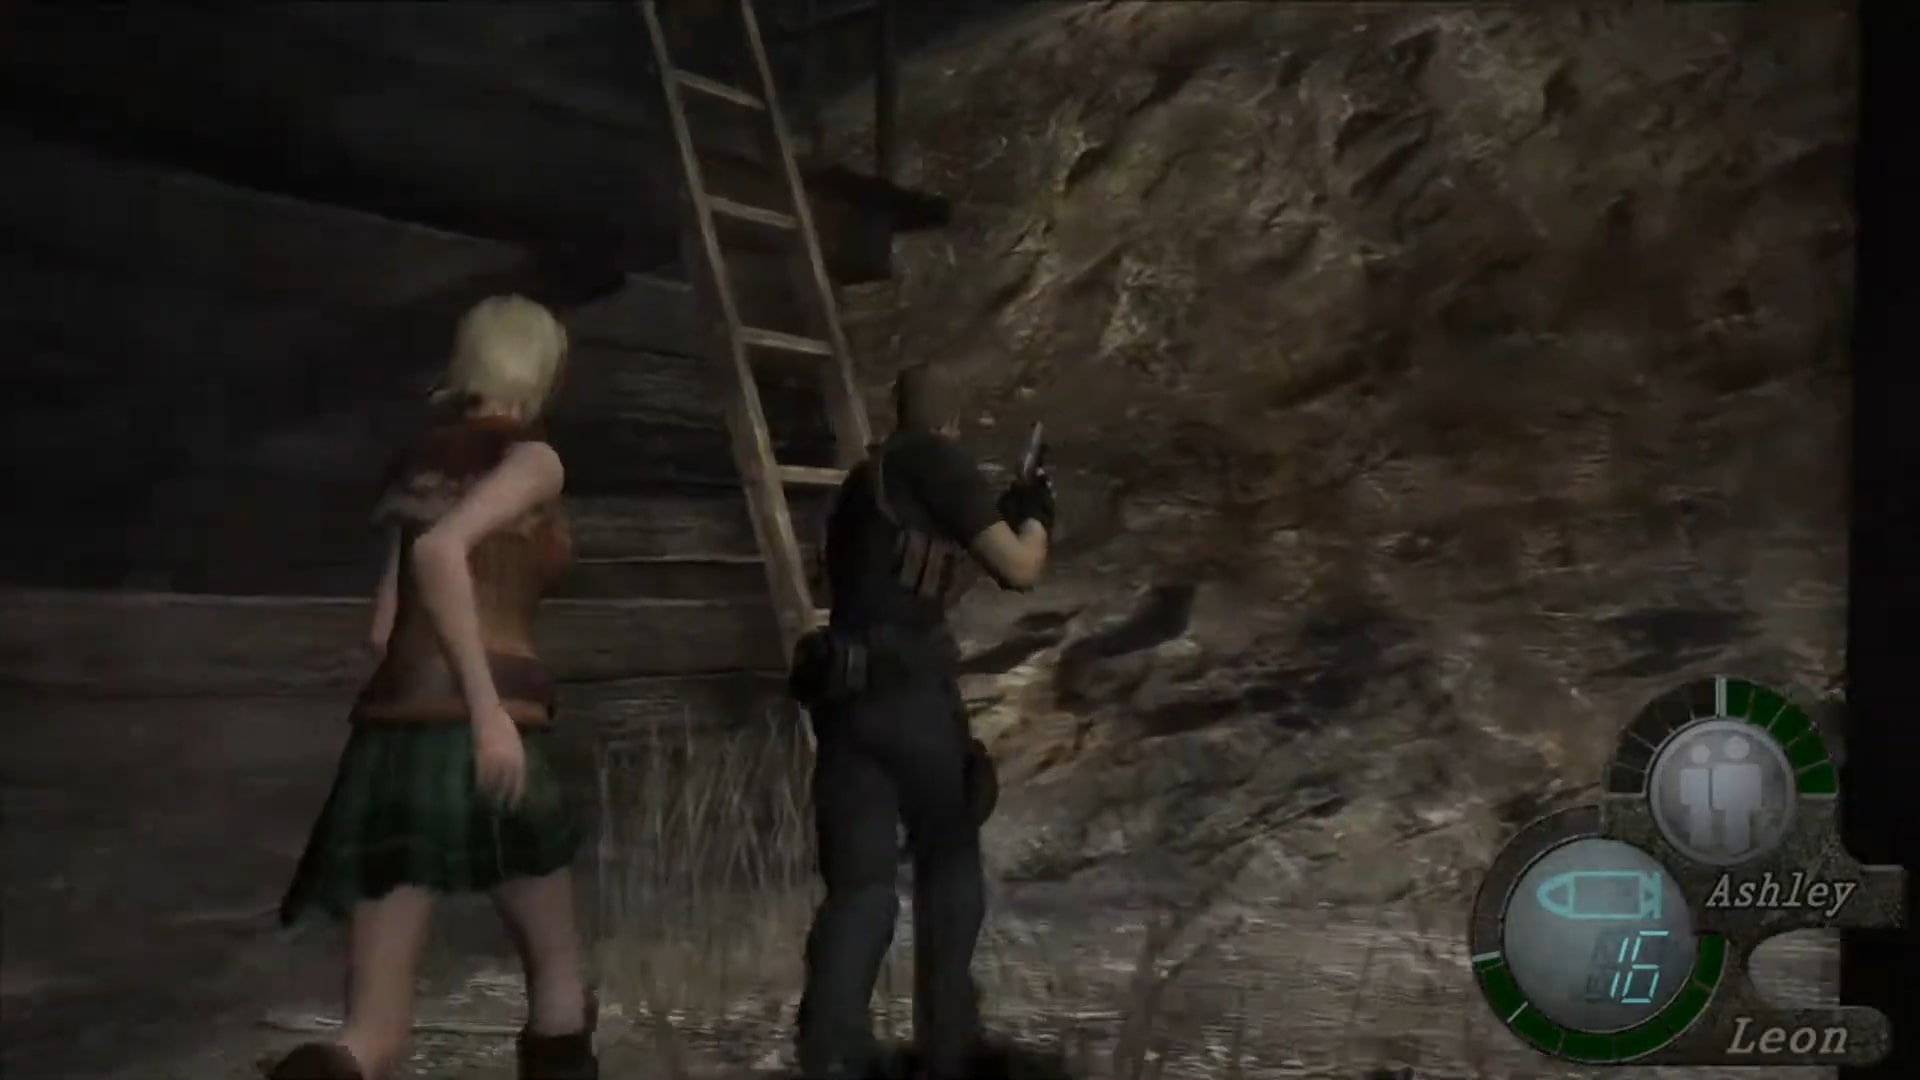
You may use your gun to zoom in on roughly four additional locals who are lingering about this upper walkway from the top of the ladder. Load up your arsenal and equip your shotgun once the higher levels have been cleared of foes.
You may drop down to the ground level in the center of the wooden structure by going to the northeast corner of the top walkway; do not kick the ladder down in the process. As you land, a horde of enemies, including two wielding chainsaws, will charge you from all directions.
Return to the higher platforms by climbing the ladder once again, then sprint around the walkway to the spot where Ashley was left and leap from there. You will be protected from attackers coming from behind if you lean back against the entryway.
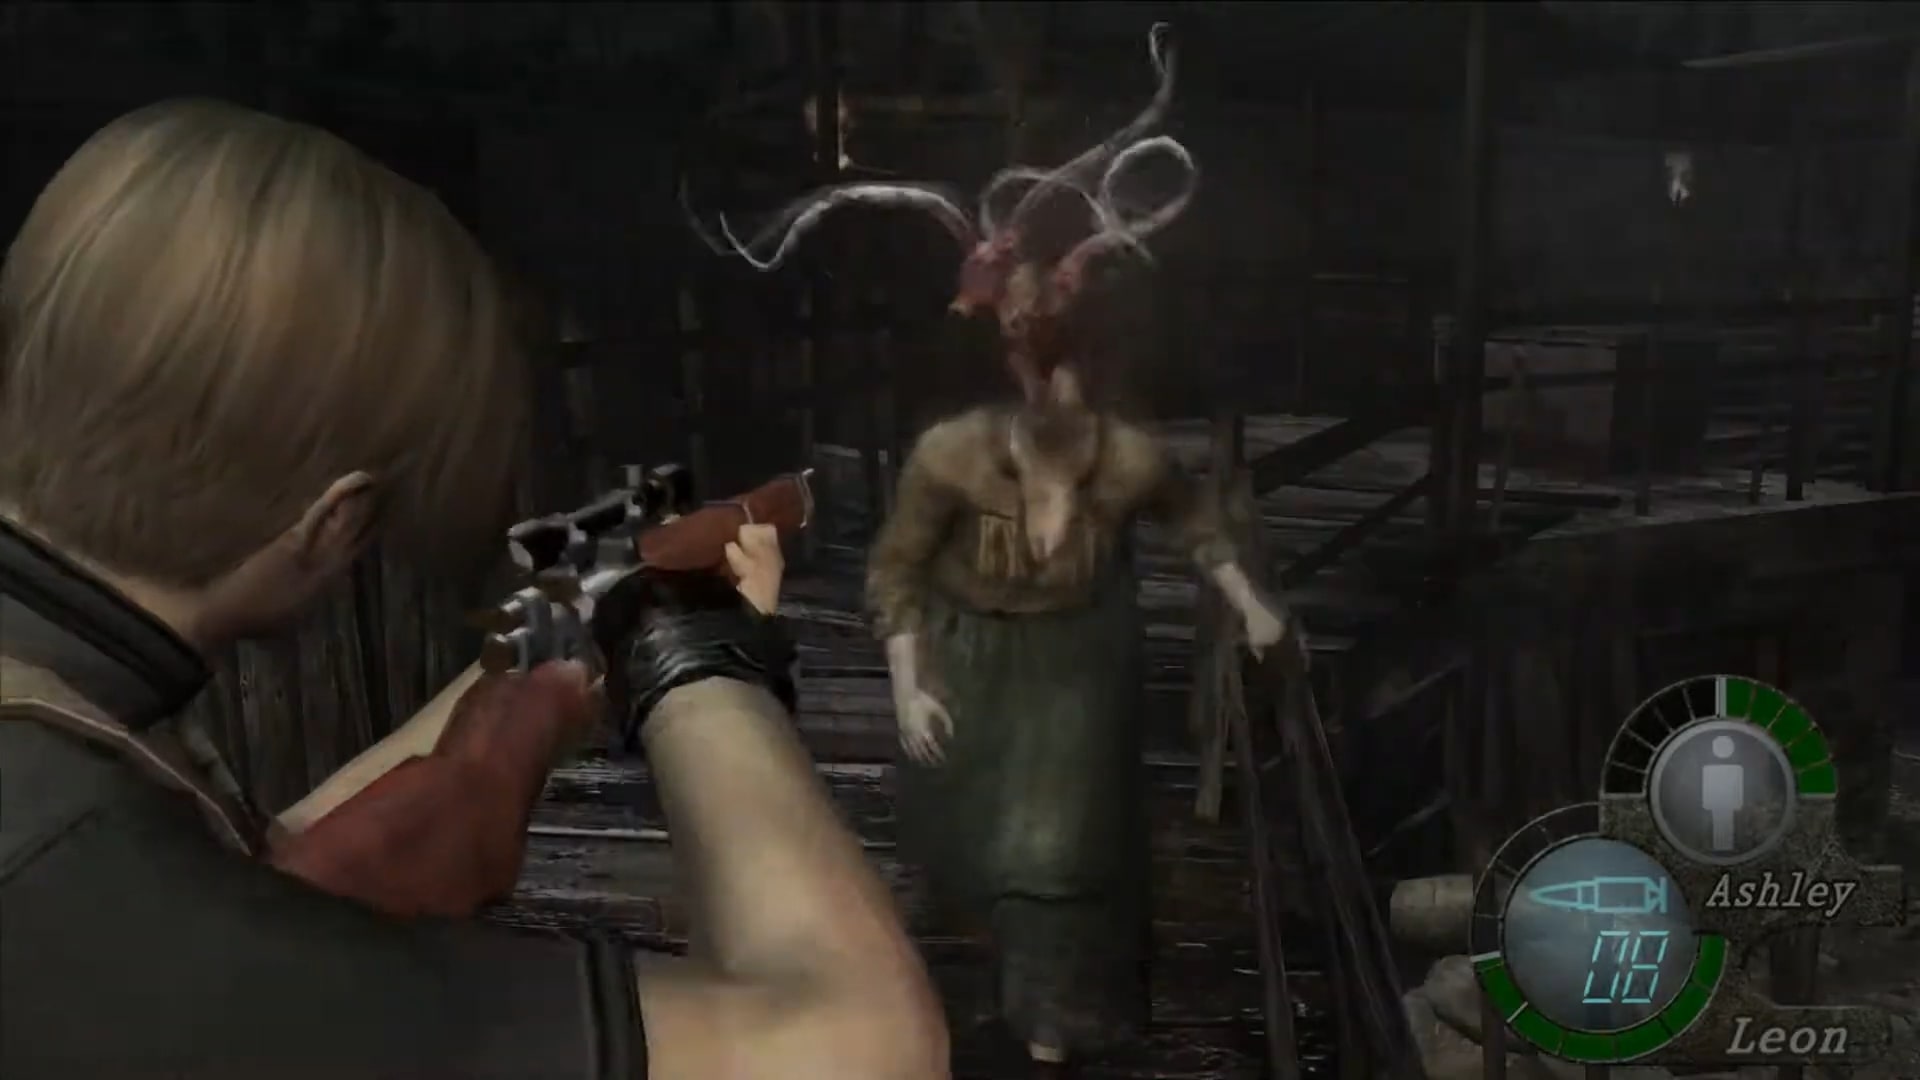
Fire grenades and shotgun blasts at the residents as they rush at you. From where you are standing, you should feel rather secure while you defeat your enemies. Verify there are no loners when the flow appears to have stopped (frequently, one of them may become stranded on the upper platform and throw axes at you as you approach him).
You’ll need the item that is dropped by one of the two chainsaw enemies. If you still hear the music, another adversary is probably nearby. Take the Camp Key from her, then return to the wooden building’s upper floor.
Drop into the middle section and use the Camp Key to open the neighboring door. Through the entryway is a thin corridor that connects the wooden structures, and as you round the bend to the south, you’ll encounter another set of residents.
Take them out quickly (the tight corridor is ideal for grenades) and proceed around the curve to ensure the way is safe. Once all villagers have been wiped out, call Ashely and exit using the southeast doorway.
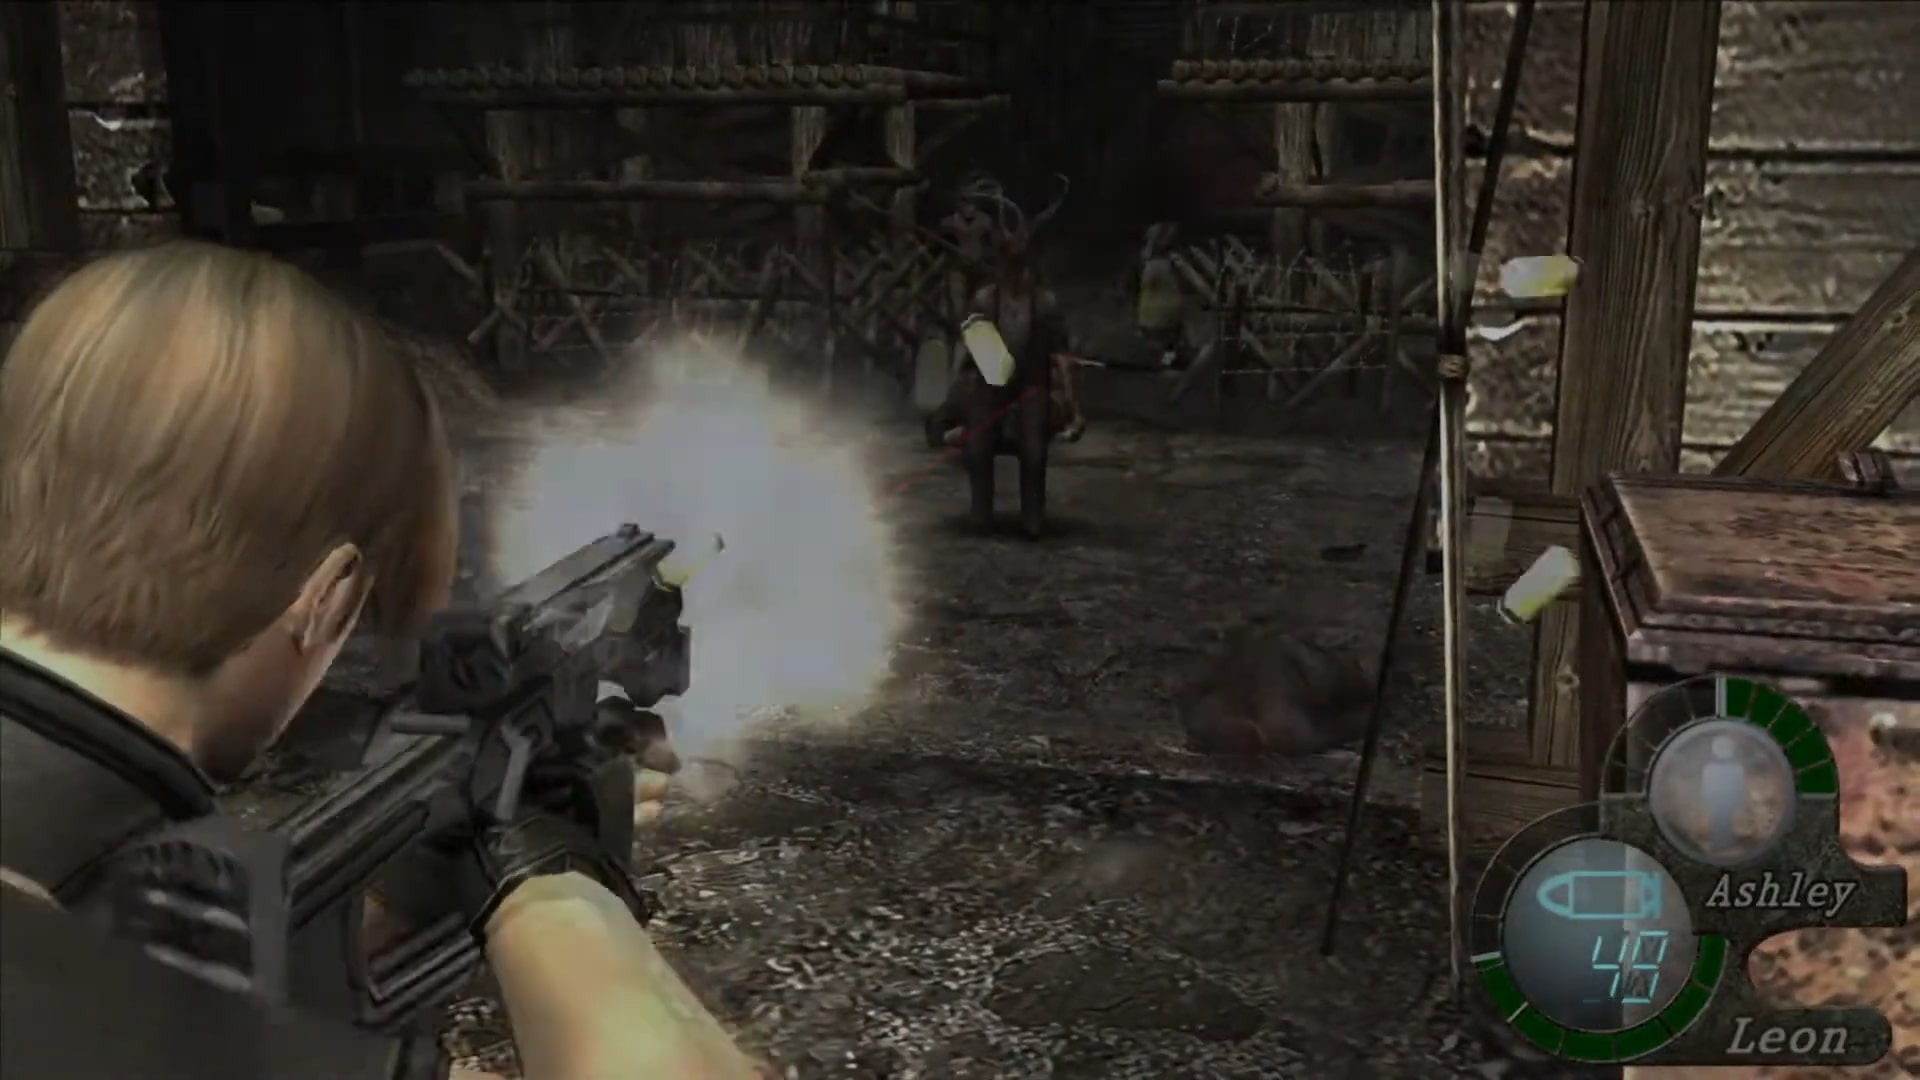
You’ll wind up at the same place as another merchant no matter which way you select. It is highly suggested that you follow the left path first if you want to collect the things from both paths.
You’ll be free to retreat through the area without worry of being attacked, and then open the door to the right to begin the pursuit scenario. Backtracking will be more difficult if you choose the right way first.
The initial section of this region is free of villager infestation, so you may freely stroll around and examine. There’s a merchant to interact with, a nearby save point, and the door leading to the village’s exit (which is locked). When you’re ready, climb the slope to the north to get to the lift.
Load your firearm and take a glance down the canyon before boarding the lift. You’ll see two locals on the left wall (you must be positioned far to the right to view both) that you must absolutely take out immediately to make things simpler in a second.
When you’re ready, board the lift and start going down. You’ll have to fire down the villagers that are on the lifts heading your way as you make your way down.
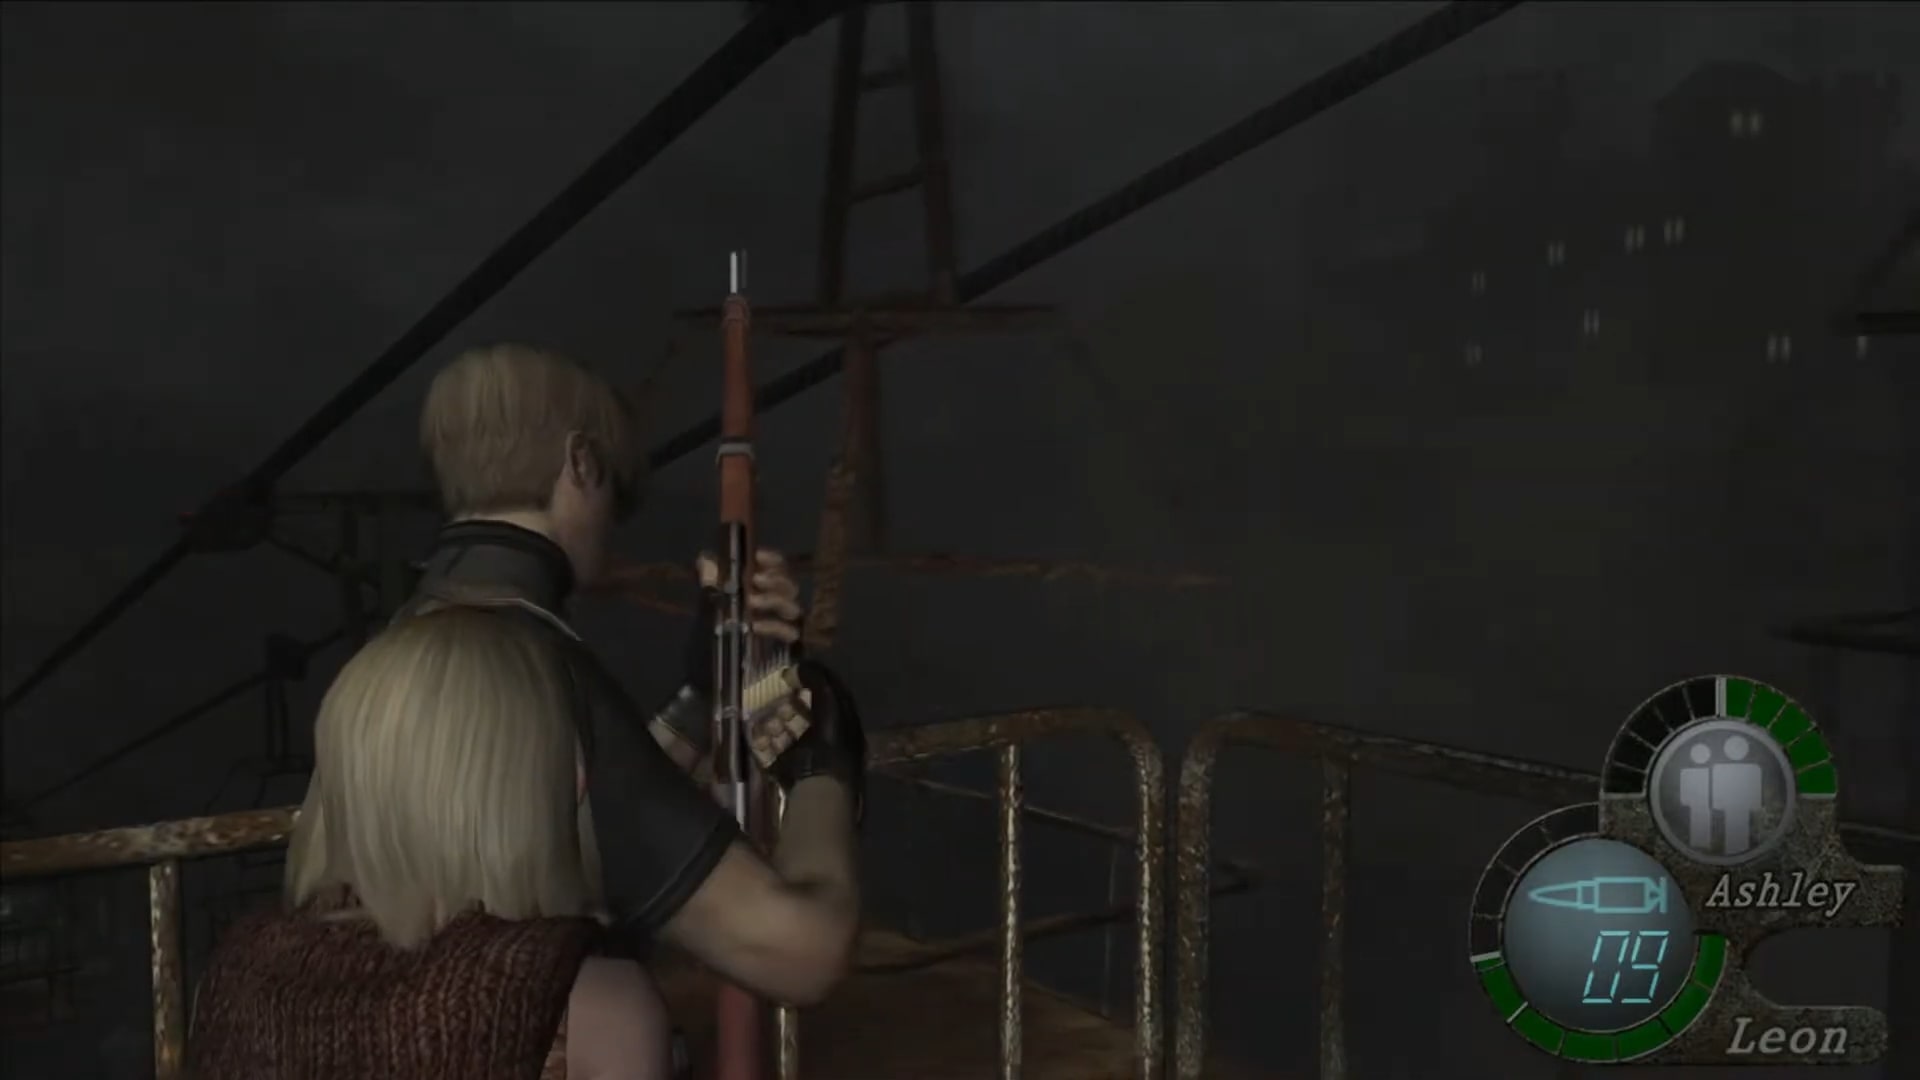
The pistol is the greatest weapon you can use (one shot in each opponent knocks them off the lifts), and you may obtain the best view if you right away tell Ashley to wait.
While traveling down the lift, take aim at your foes and keep an eye out for any potential hatchets they may throw at you. All of the adversaries to be concerned about will appear on the lifts (assuming you sniped the first two before boarding), so don’t look away for a single moment until you reach the bottom of the ride.
At the bottom of the elevator, there are no opponents to be concerned about. As you walk around the region, the walkway will split in two.
To proceed, walk east toward the merchant; however, if you want an extra jewel for the Beerstein, head west via the passage (there are three villagers to defeat, including one at the top of a ladder).
When you approach the enormous shed in the next section, a cutscene will begin, leaving you to face a new antagonist, the town mayor. Be prepared to evade an assault in the cutscene that precedes the fight.
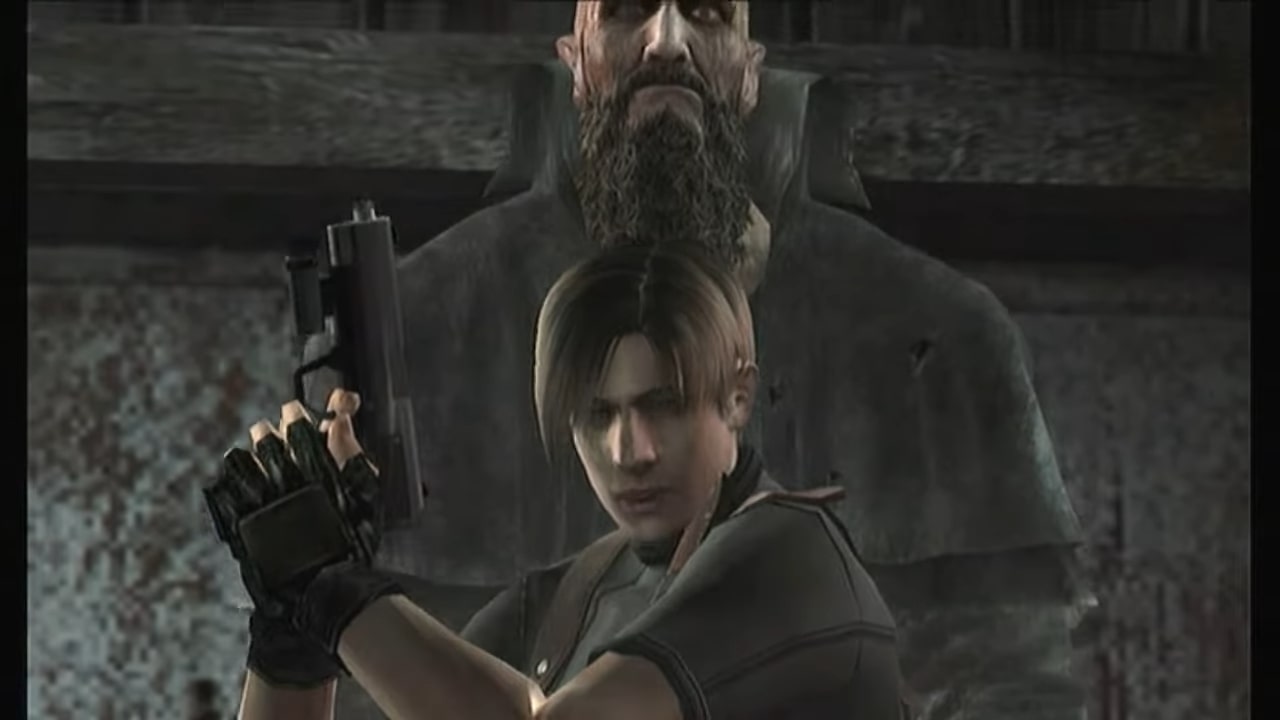
Mayor’s fight is split into two halves since he changes forms halfway through. For the initial form, simply equip your handgun and you’ll be alright.
As the mayor approaches, aim for his head and fire as many shots as you can before he gets too near. There’s also a gas can you may use to do damage when the mayor is nearby (it’s to your right at the start of the fight).
When the mayor gets close, run by him on either side—as long as you speed around him (use whatever side has the biggest room between him and the walls), you should be OK. If you remain motionless for too long, the mayor will approach you and launch a tremendous attack, which you must avoid by pushing the buttons on the screen (typically the shoulder buttons).
You may easily continue with this method and finally wear down the terrible adversary. When the horrible enemy is brought to his knees, he will transform into a far more nasty and terrifying form.
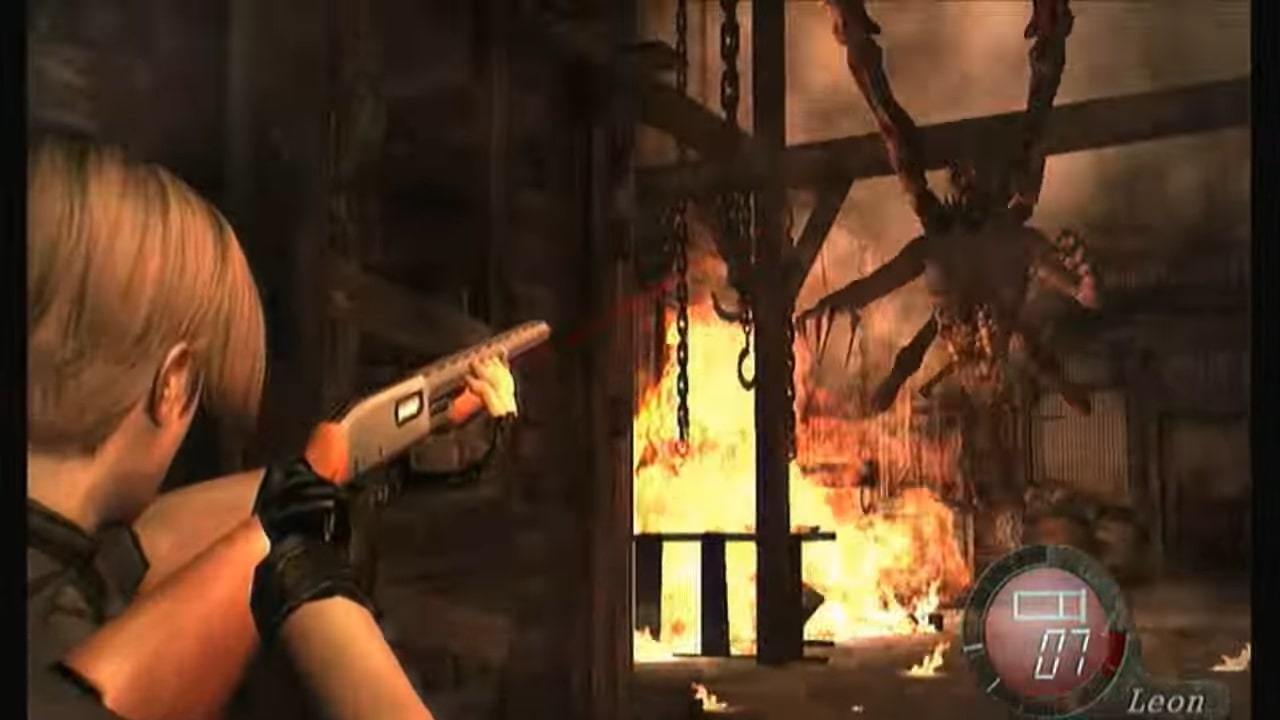
The rifle is the greatest weapon for dealing with the mayor’s second form. To deliver the greatest damage, shoot at the creature’s upper torso and head from the opposite end of the chamber.
You should try to follow him up into the ceiling during his initial climb, but if you don’t knock him out, you should run beneath him to the opposite side of the room.
Move if it falls to a lower rafter and hangs directly in front of you! He’ll swing at you with his lengthy tentacle-like arms very quickly, causing huge damage. If you get beneath him before he falls, you’ll evade the assault completely and may even have enough time to spin around and shoot him from the opposite side of the room.
One thing to keep in mind is when you decide to reload. You don’t want to reload if you don’t know where he is or if he’s anywhere near you. Solid torso and headshots can occasionally knock the beast to the ground, causing him to crawl away from you and continue his swinging rhythm.
Take advantage of this opportunity to reload your gun, even if you’ve only fired one round from the clip. The last thing you need is to run out of bullets in your clip and be unable to reload your gun.
Killing the enemy does not take long, so don’t hurry your assaults. Priority should be given to evading his strikes and creating safe attack chances for yourself.
When he perishes, you may explore the within the building for an array of goods, including a number of herb items (a handful are on the second level of the shed). Be careful to collect the Fake Eye that is left behind once the nemesis is defeated.
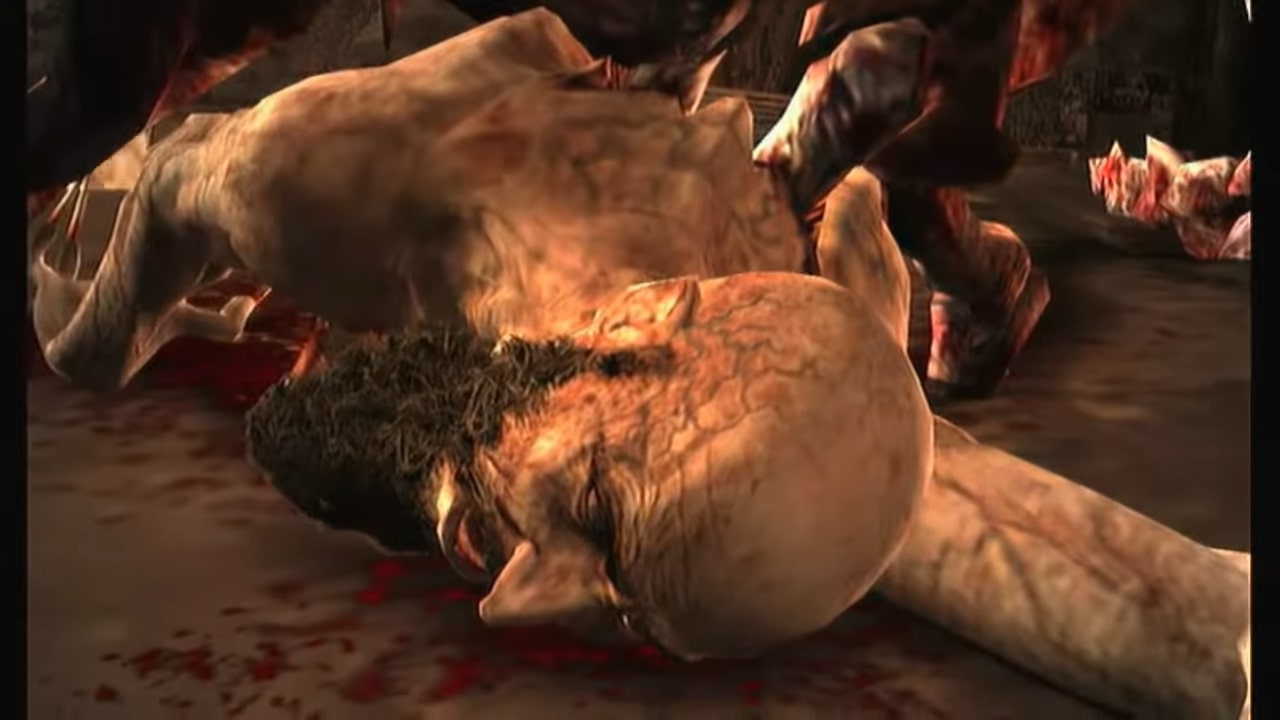
To escape from the building, search around the room for a blown-out wall. The hole is tiny, but if you get near enough, Leon can jump over the flames and through it to finish what he started.
Return to the place with the lifts and take them back to the mountain’s summit while holding the Fake Eye. To access the last section of the town, use the Fake Eye to unlock the door to the southeast.
You’ll notice three torches glowing in the distance as soon as you arrive at the location. Arm yourself with a rifle, take the adversaries out with a quick snipe, and then advance up the hill. A villager in a vehicle is going to crash down the slope when you accomplish this.
Kill the villager quickly with a close-range shot to send the vehicle careening out of control. Several locals emerge from the vehicle; rapidly dispatch them with your shotgun to protect Ashley, then carry on running along the trail.
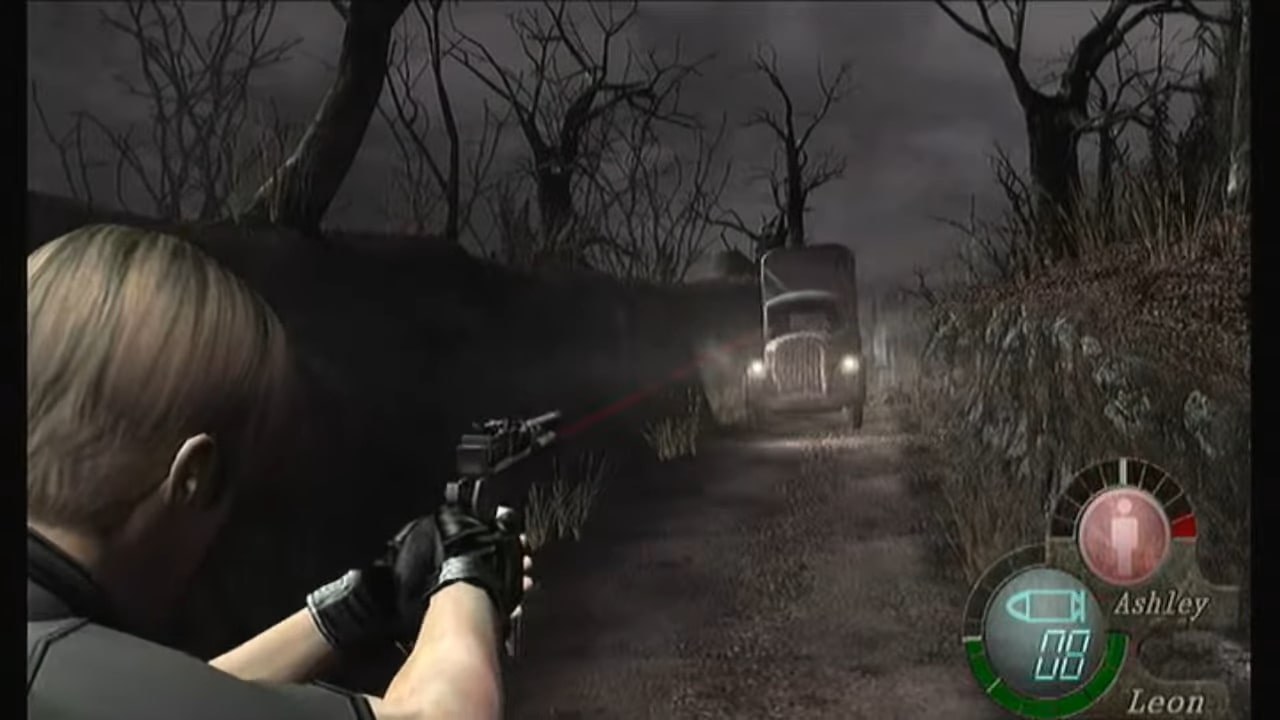
The chapter will conclude once you reach the castle.
Other Game Guides:
- Resident Evil 4 (2005) Game Walkthrough: Chapter 1
- Fortnite Update v24.30 Patch Notes: Star Wars Event, New Skins, and More
- All Genshin Impact codes — April 2023 — Free Primogems
- Top 5 Free PlayStation & Xbox Games You Must Try in 2023
- Top 20 Excellent Games in PlayStation Plus’ Game Catalog List
- All new Locations in Fortnite Chapter 4 Season 2
- The Quarry: How to Keep Everyone Alive (Best Ending)
- Best PlayStation / Xbox Controller And Sensitivity Settings For Fortnite (Chapter 3)
